How to Deactivate Campaign Contacts
Tip
Campaign contacts can now be “deactivated”. Deactivating a contact makes removing access easier as viewing roles no longer need adjusting. When a contact is deactivated they will now see a configurable message in place of any pages they previously had access to. The message shown can be edited in the configuration settings.
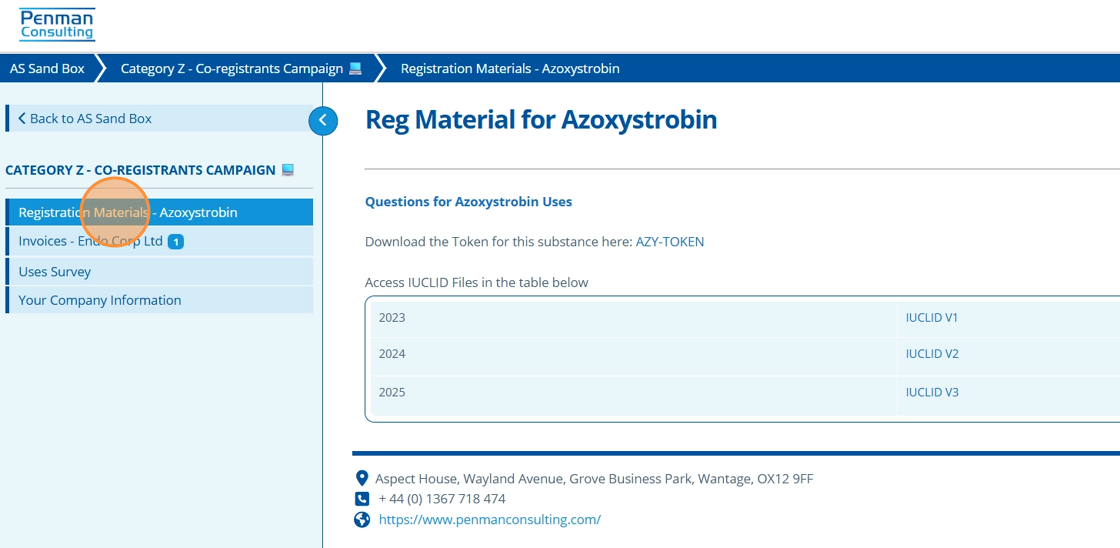
A helpful feature is that we can allow deactivated contacts to view certain pages. For example, we can allow viewing of invoice and company information pages, whilst not allowing access to registration material or survey pages. To display a page to a deactivated contact there is a checkbox option, which when ticked, means the page can be seen by deactivated contacts who have that page's access settings (other non-deactivated contacts still see the page as expected).
The main use case for the deactivating feature is to restrict a contacts access to materials and information if they have not paid invoices, whilst still allowing them to see their overdue invoices.
It is easy to restore contact access as their viewing roles/ permissions remain saved on their contact record.
Deactivate Contact
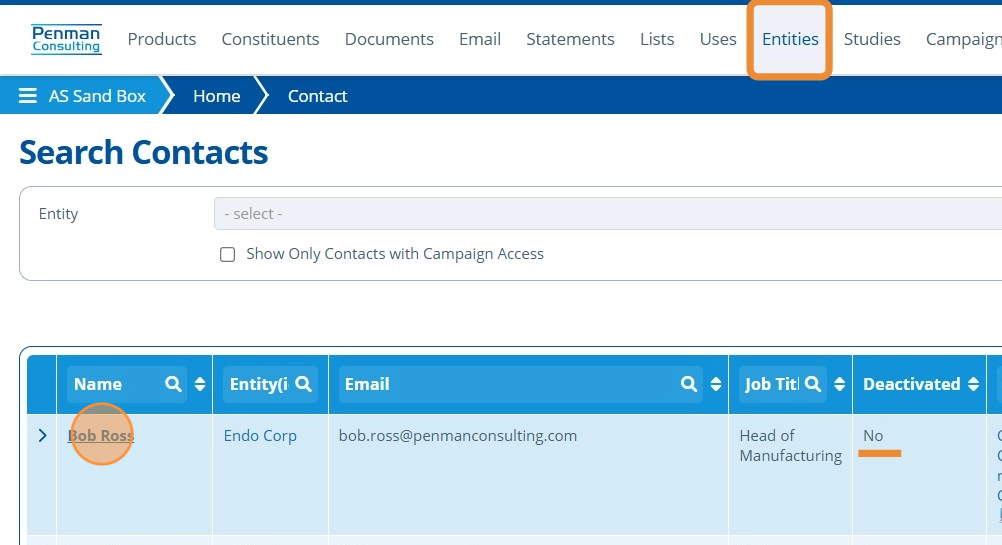
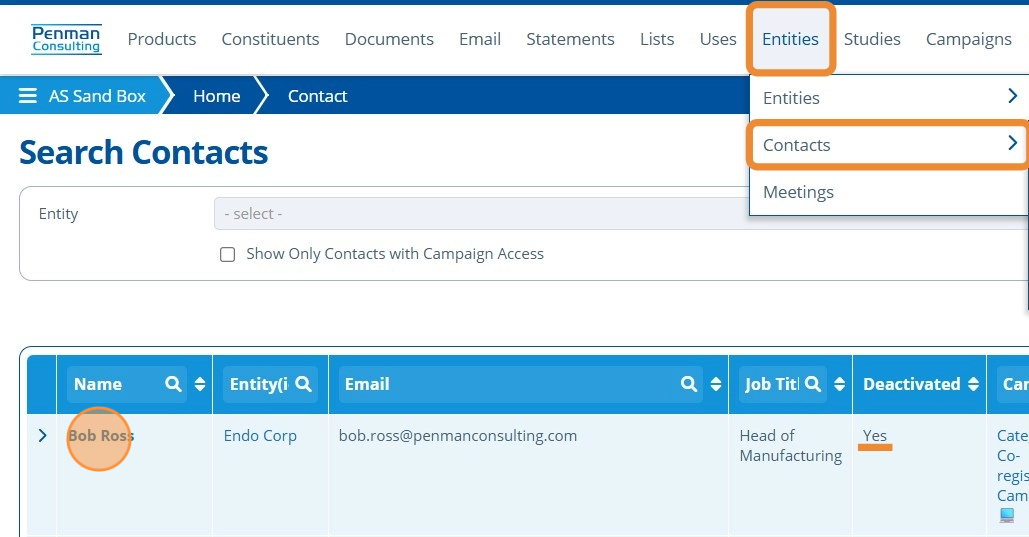
1. 👆 Navigate to Entities 👉 Contacts 👉 Select the contact to be deactivated.
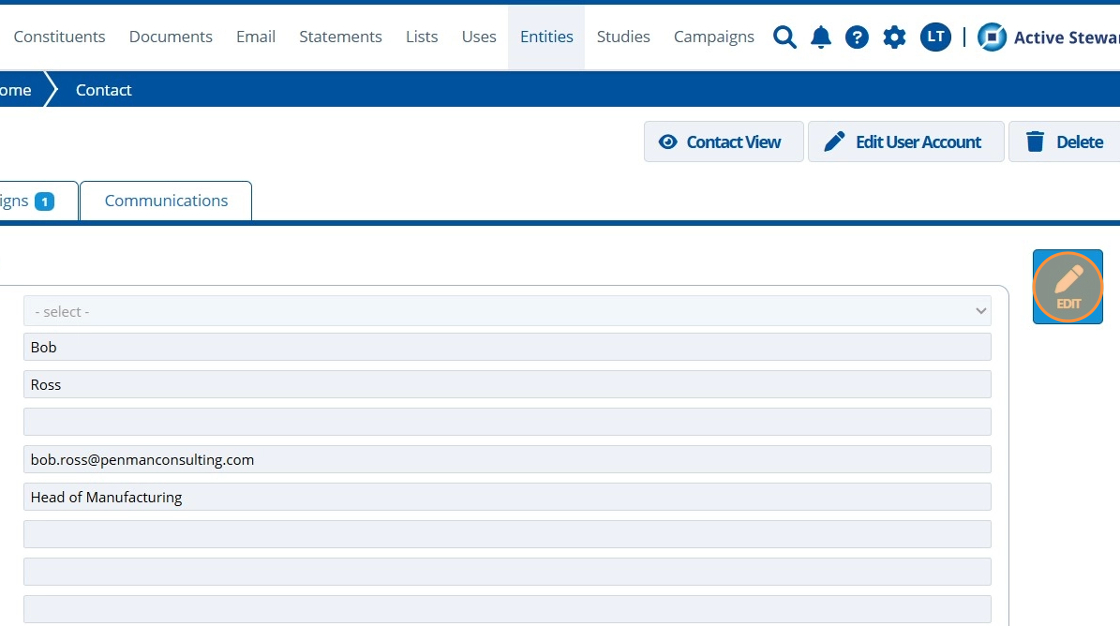
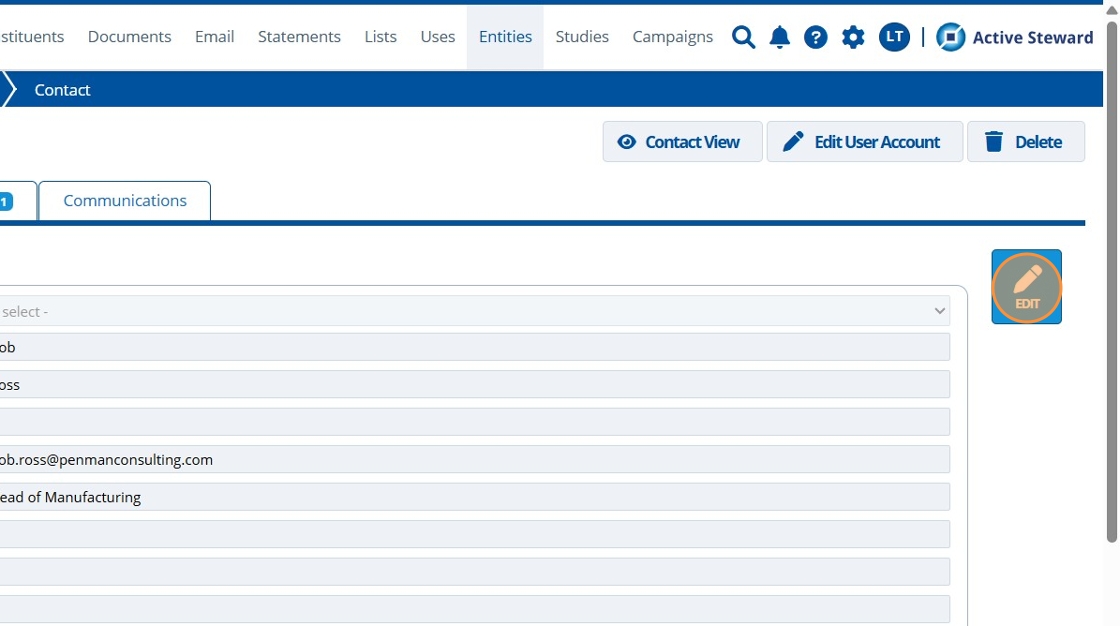
2. 👆 Click "Edit".
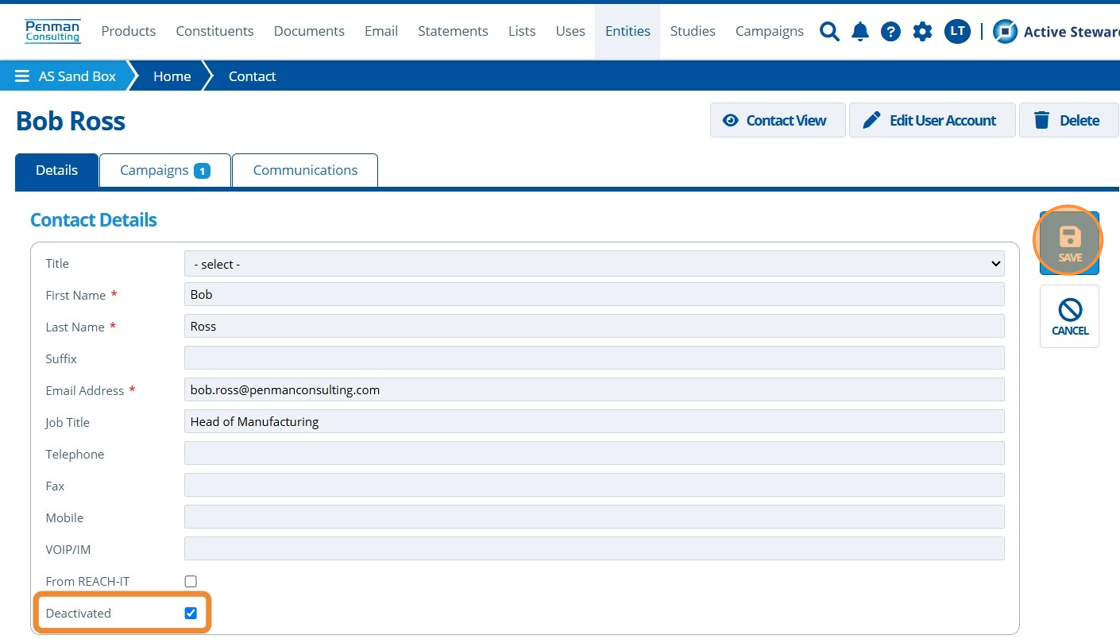
3. 👆 Tick the Deactivated checkbox 👉 Click "SAVE".
Show Page(s) to Deactivated Contact
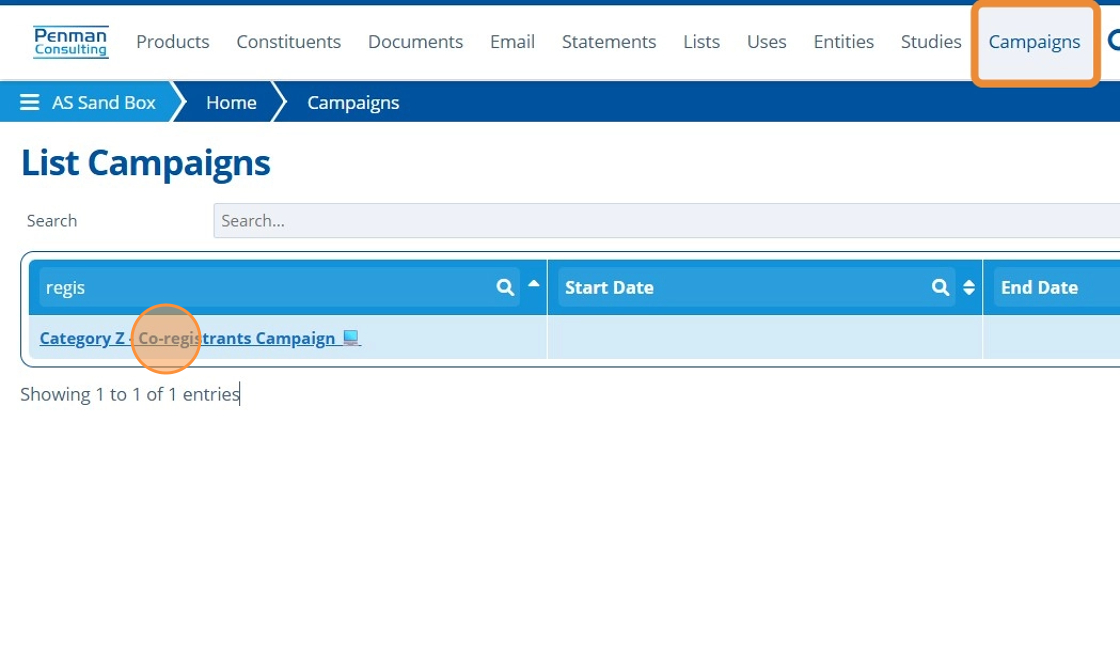
4. 👆 Navigate to Campaigns 👉 Select the relevant campaign from the list.
5. 👆 Navigate to Web Portal 👉 Pages 👉 Click the edit icon for the relevant page.
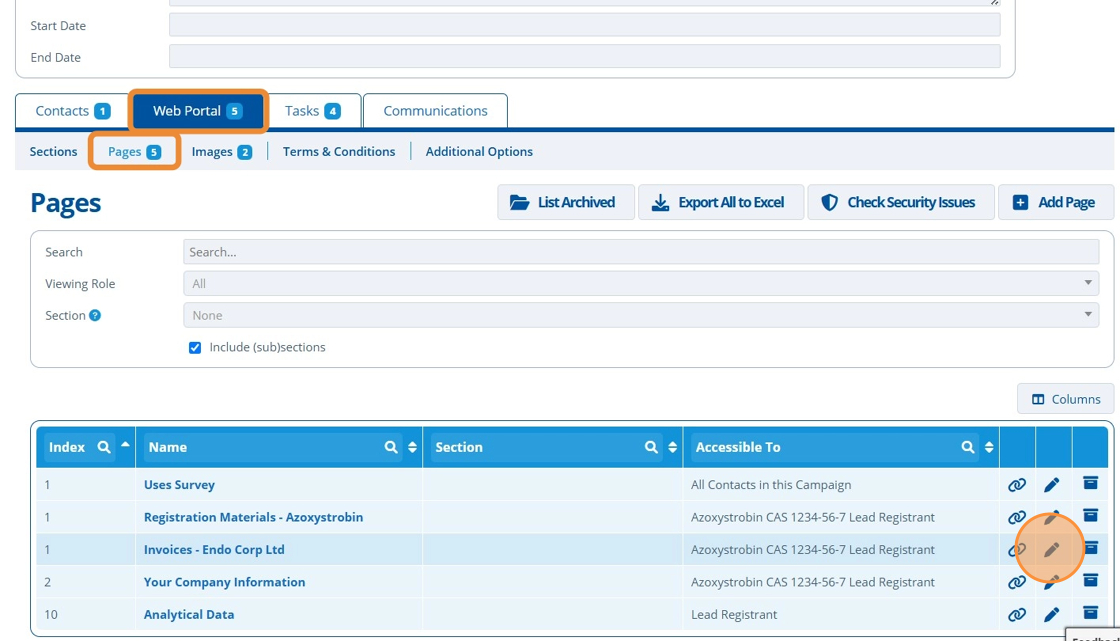
6. 👆 Click the "Visible To Deactivated" checkbox.

7. 👆 Click "SAVE AND RETURN".

Tip
Repeat steps 5-7 for all pages that should still be visible to the deactivated contact. Note that the contact will only see these pages if they have the relevant viewing roles / access settings for the page.
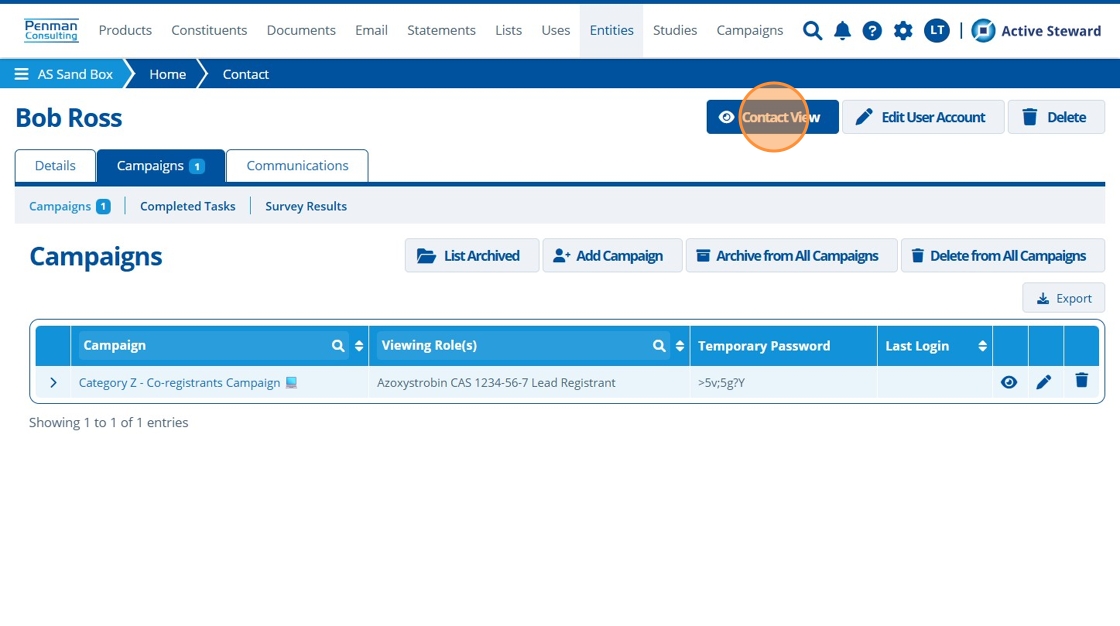
8. 👆 Navigate back to the contact record 👉 Click "Contact View" to check the users access.
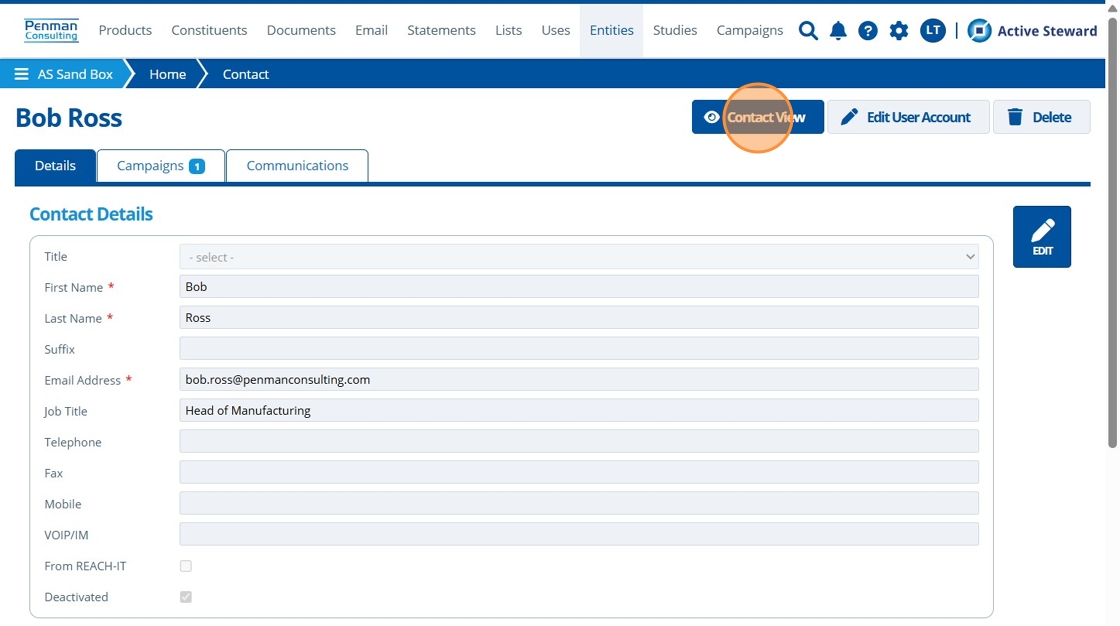
9. 🥳 See that when the user clicks on a page they used to have access to, they are shown a configurable account deactivation message. This message can be customised as required in the partitions configuration settings.

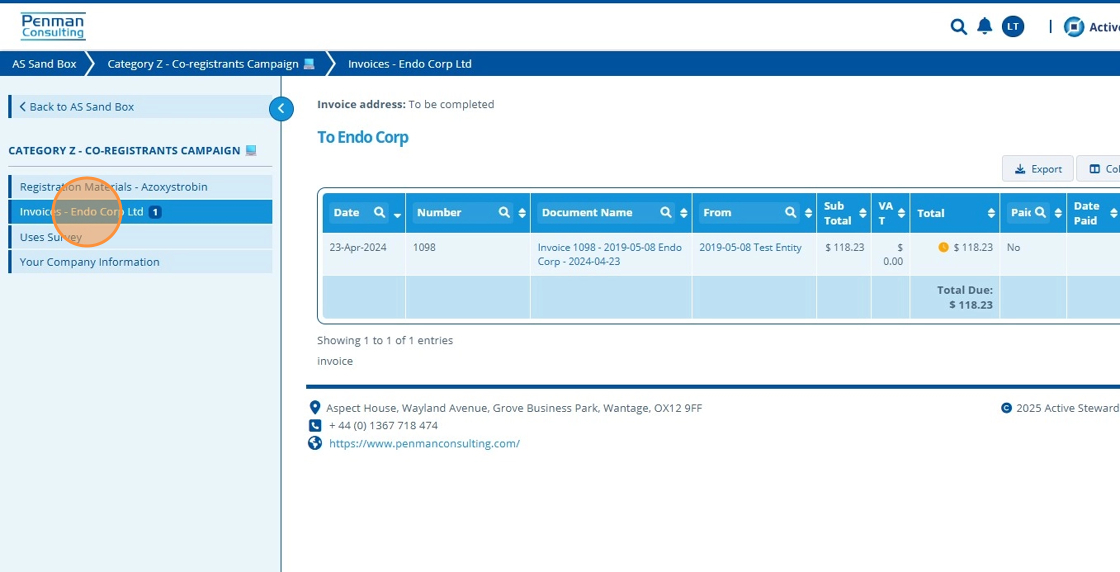
10. 🥳 See that the user can still view the page set as visible in step 6.
Reactivate Contact
11. 👆Navigate to Entities 👉 Contacts 👉 Select the relevant contact from the table.
12. 👆 Click "Edit".
13. 👆 Untick the "Deactivated" checkbox 👉 Click "SAVE".

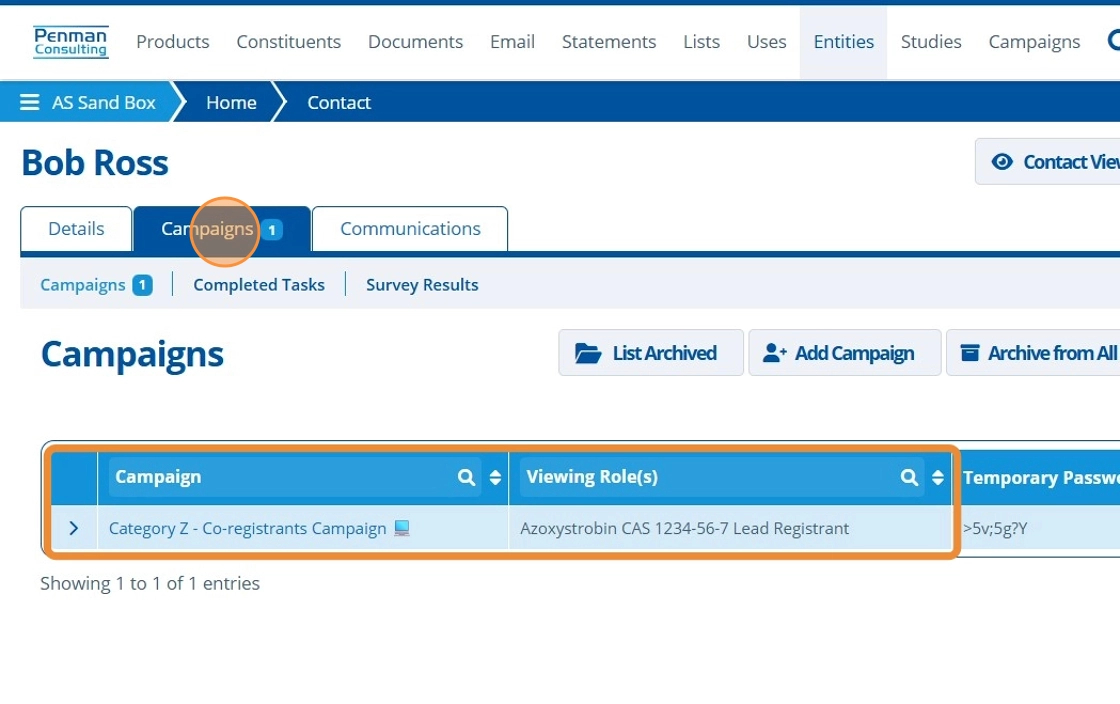
Tip
Note that on the Campaigns tab, we can see that the contact still has their existing access and viewing roles saved.
14. 👆 Click "Contact View" to check what the contact can now see.
15. 🥳 Any pages that match with the contacts viewing role(s), are now visible to the contact (in comparison to step 9 when they were deactivated).