Create a Meeting
Tip
The example shown in this tutorial is a non-study specific example. To see a study related meeting, go to Create a Study Meeting.
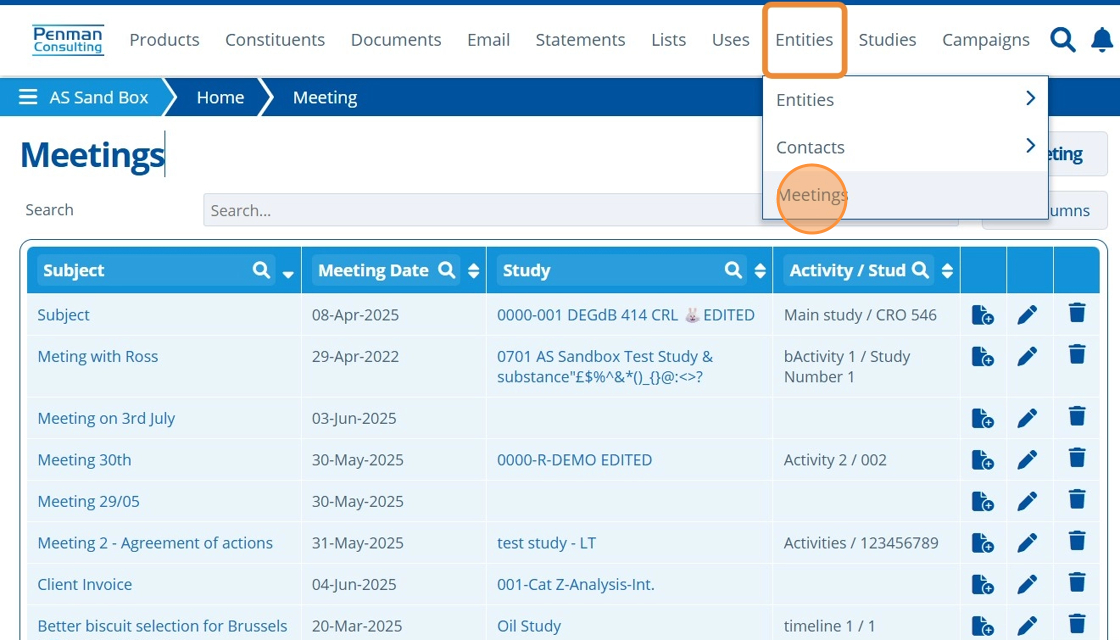
1. 👆 Navigate to Entities 👉 Meetings.
The Meetings overview displays all meetings in the current partition, including meetings for studies.
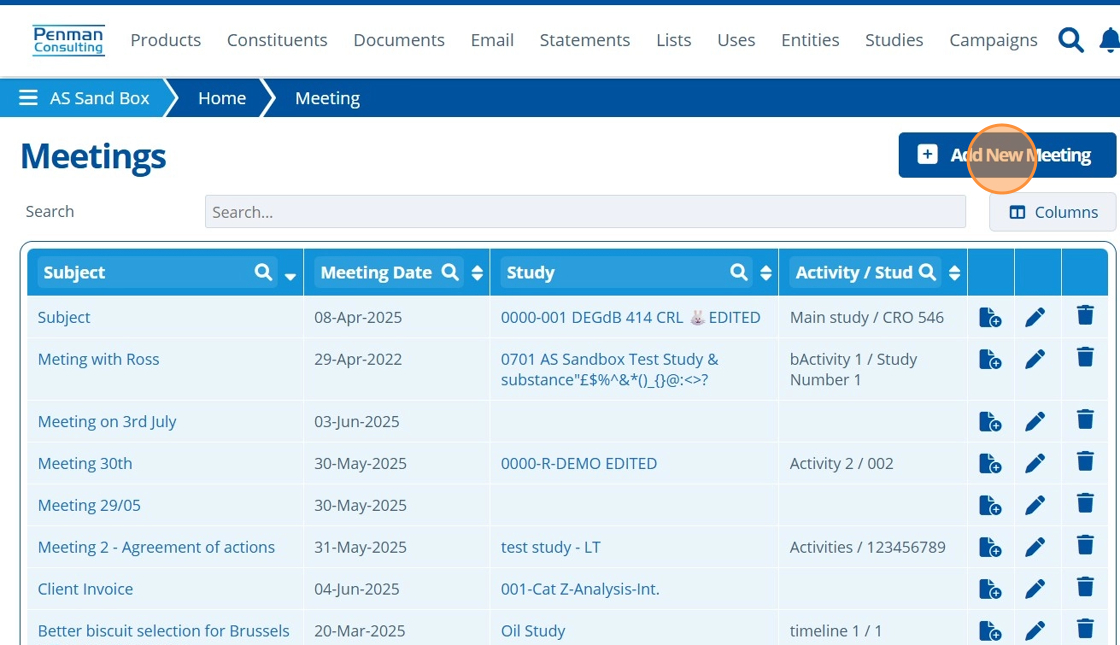
2. 👆 Click "Add New Meeting".
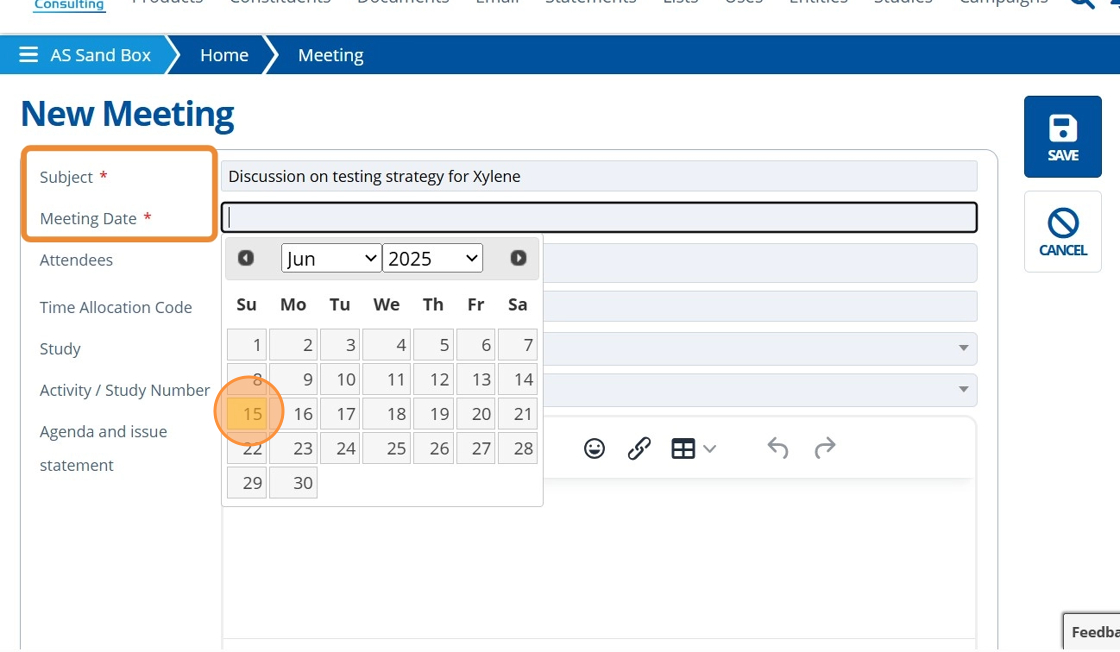
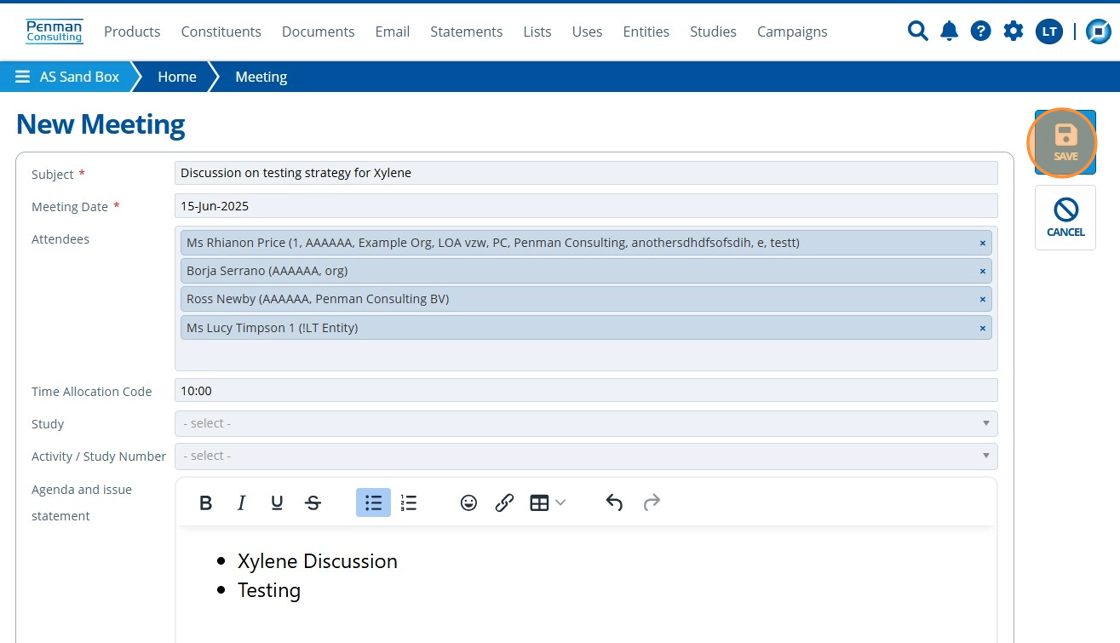
3. ✍️ Enter a meeting Subject and select the Meeting Date.
4. 👆 Click the "Attendees" field to assign users to the meeting. To assign a user, they must have an account.
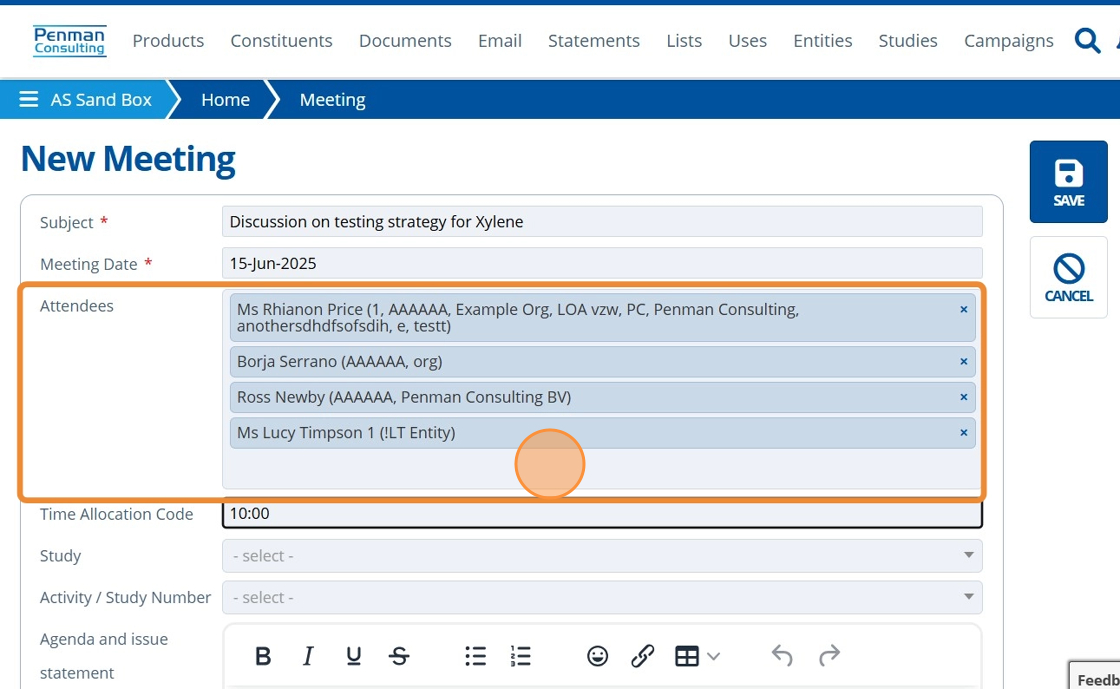
Tip
Skip filling in the Study field if the meeting is not study related. Note that only study records that exist in the partition can be selected.
5. ✍️ Fill in the "Agenda and issue statement", "Key Points of Discussion" and "Conclusions" fields with information about the meeting, if applicable. If left blank the export / meeting document will show little detail.

6. 👆 Click "Add Action" to create meeting actions.
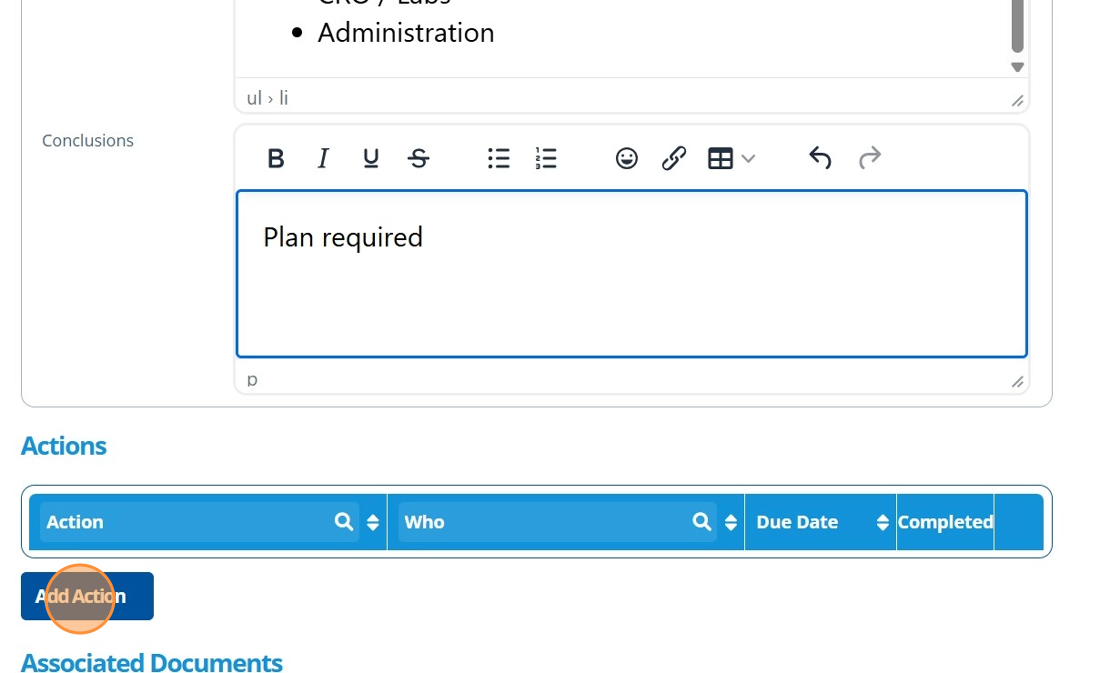
7. ✍️ Populate the "Action", "Who" "Due Date" and "Completed" columns with information.
To assign users to the "Who" column, they must have a user account.

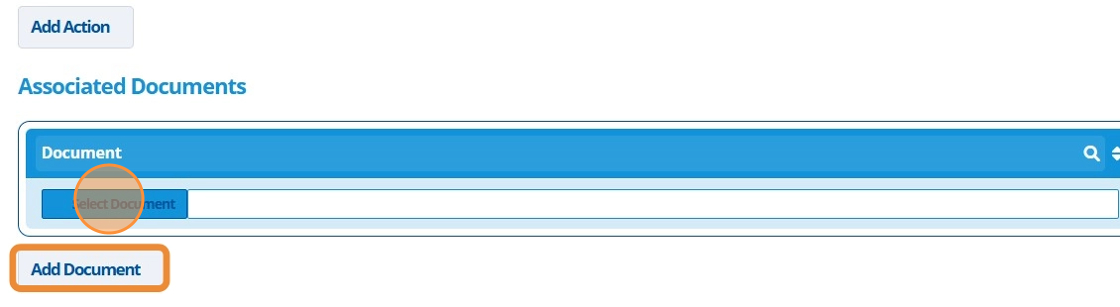
8. 👆 Click "Add Document" 👉 "Select Document" to link related files.
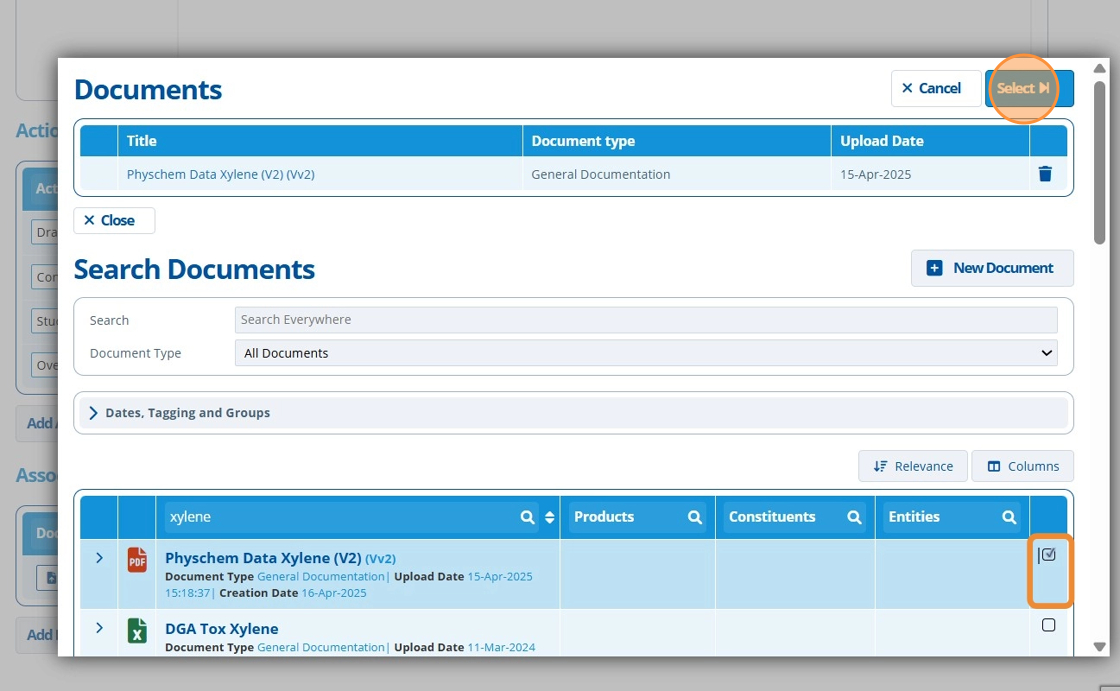
9. 👆 Tick the checkbox for the relevant file in the table 👉 Select.
10. 👆 Click "SAVE".
11. 🥳 Meeting saved.
🔍 Use column headers to search for a meeting record.

Export Document
12. 👆 Click the edit icon for the relevant meeting record.
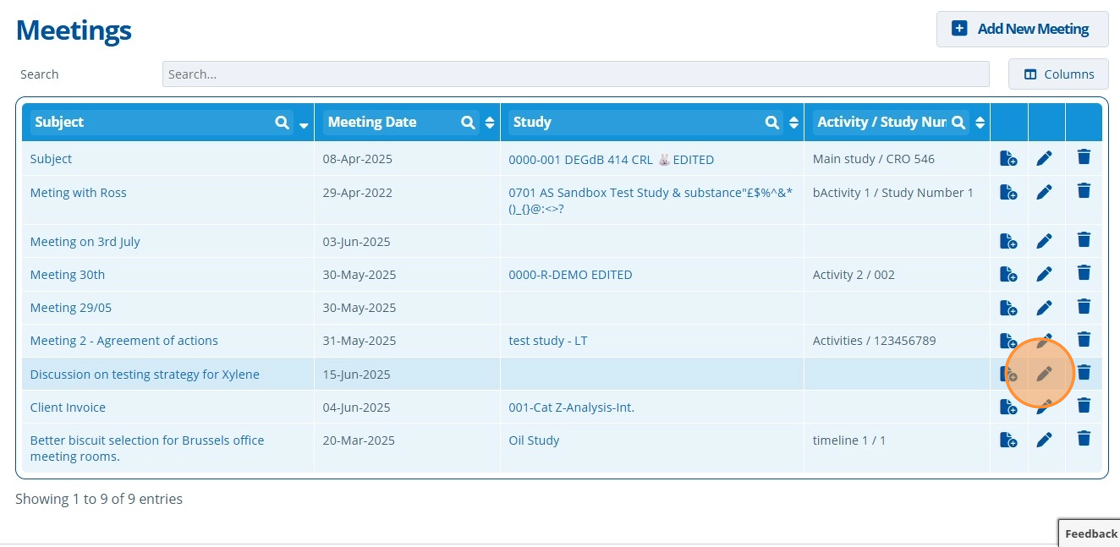
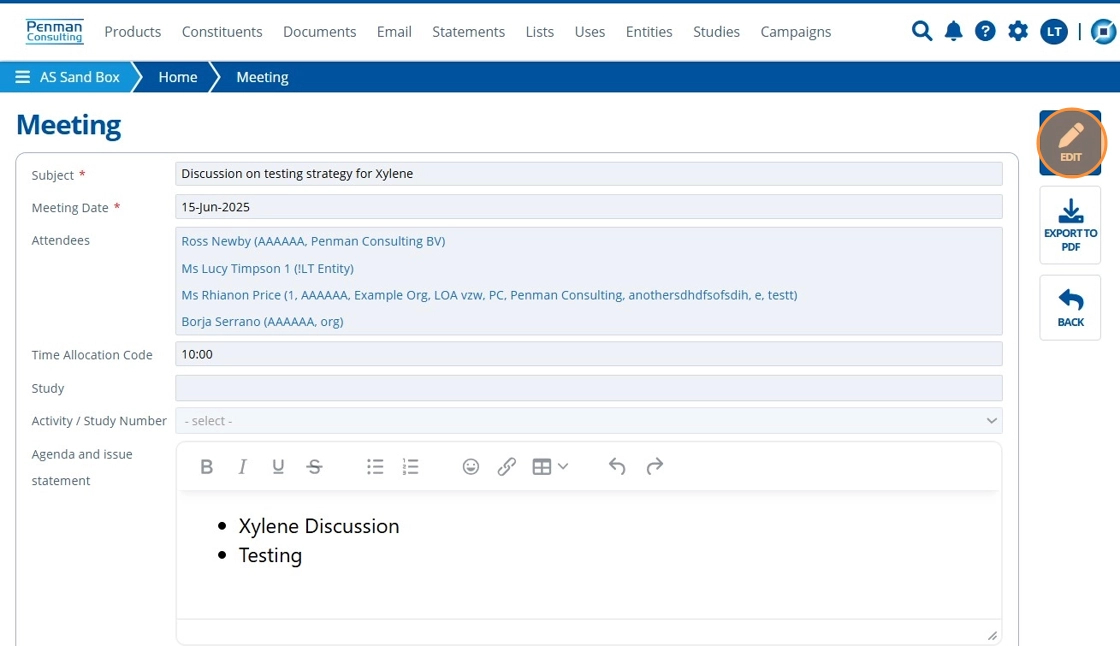
Tip
👆 Click "EDIT" to make changes to the meeting.
13. 👆 Click "EXPORT TO PDF".
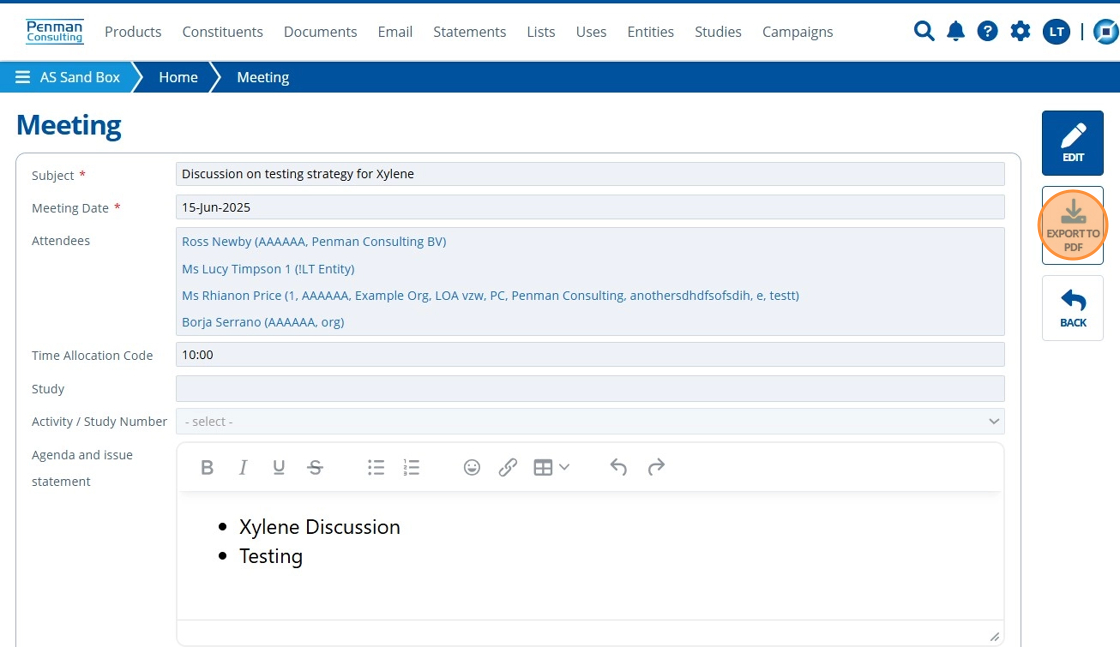
14. 🥳 PDF generated.

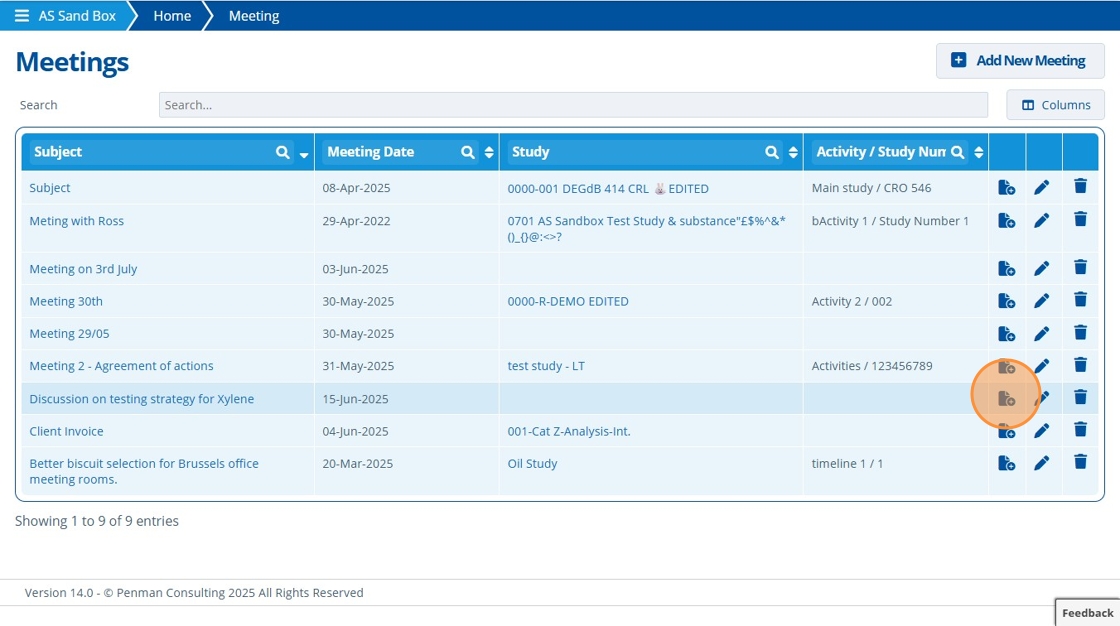
Save Document in System
15. From the meetings overview screen, 👆 click the document icon.
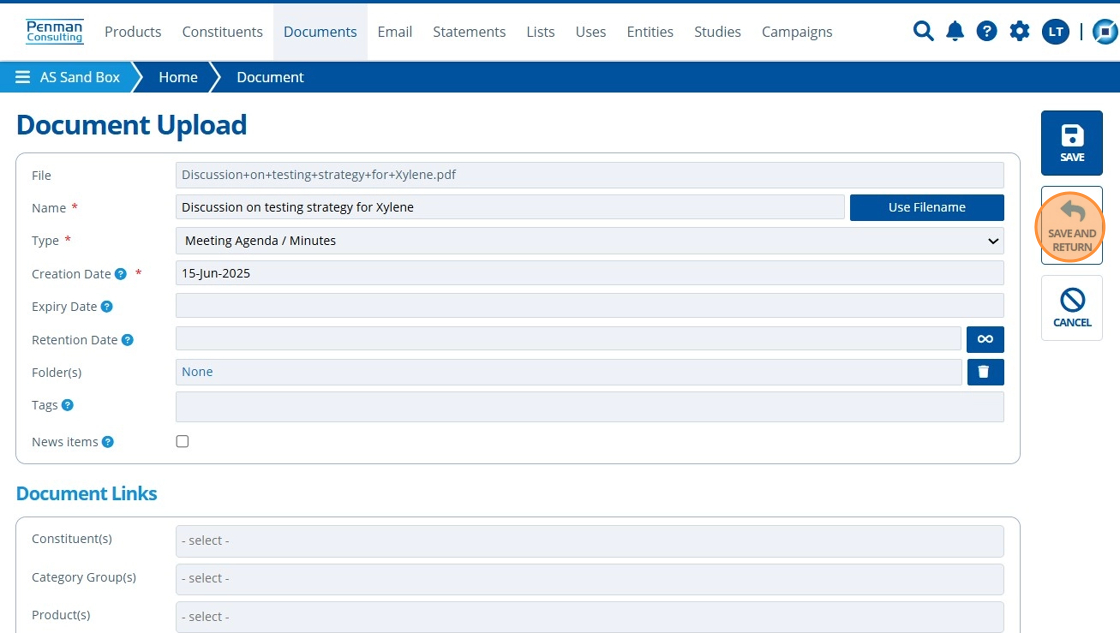
16. ✍️ Enter any document attributes 👉 Click "SAVE AND RETURN".
17. 🥳 Document saved.
