How to Create And Assign Viewing Roles
Tip
Viewing Role(s) are a way to restrict and control what content (pages / tasks) users can see within the campaign.
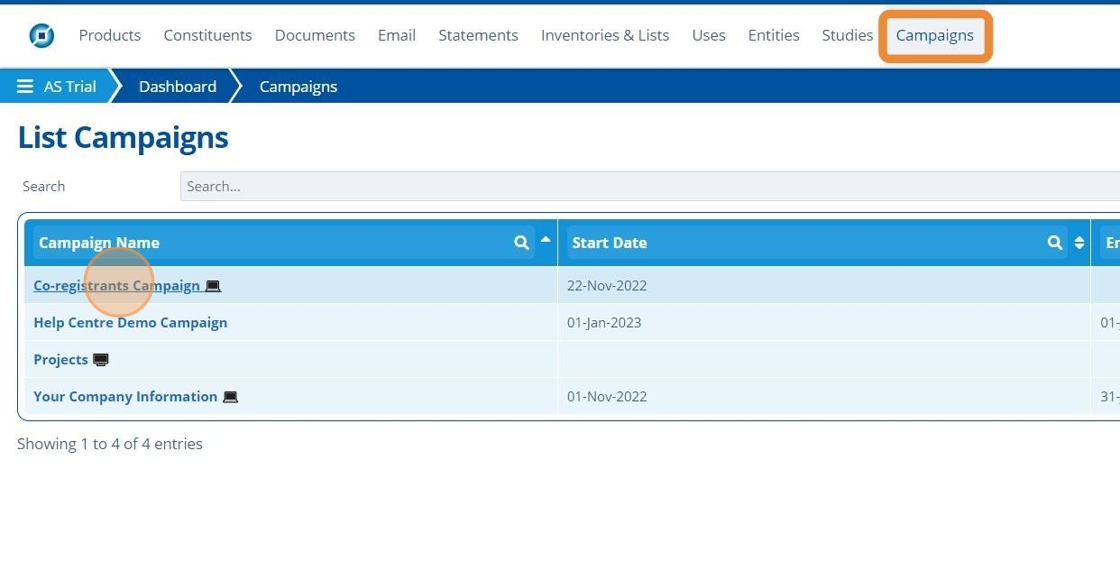
1. 👆 Navigate to Campaigns 👉 Select the campaign of interest from the list.
Create a Viewing Role
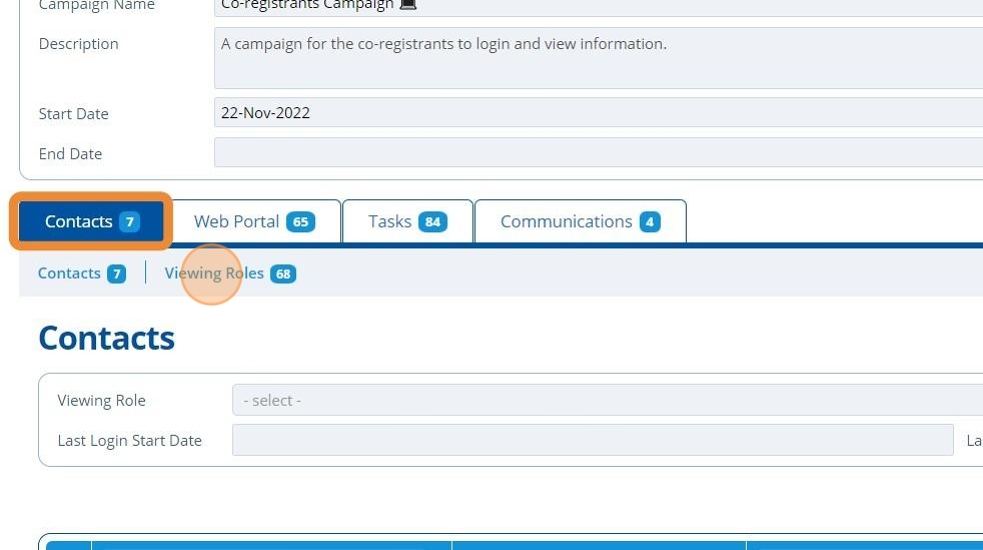
2. 👆 Navigate to "Contacts" 👉 "Viewing Roles".
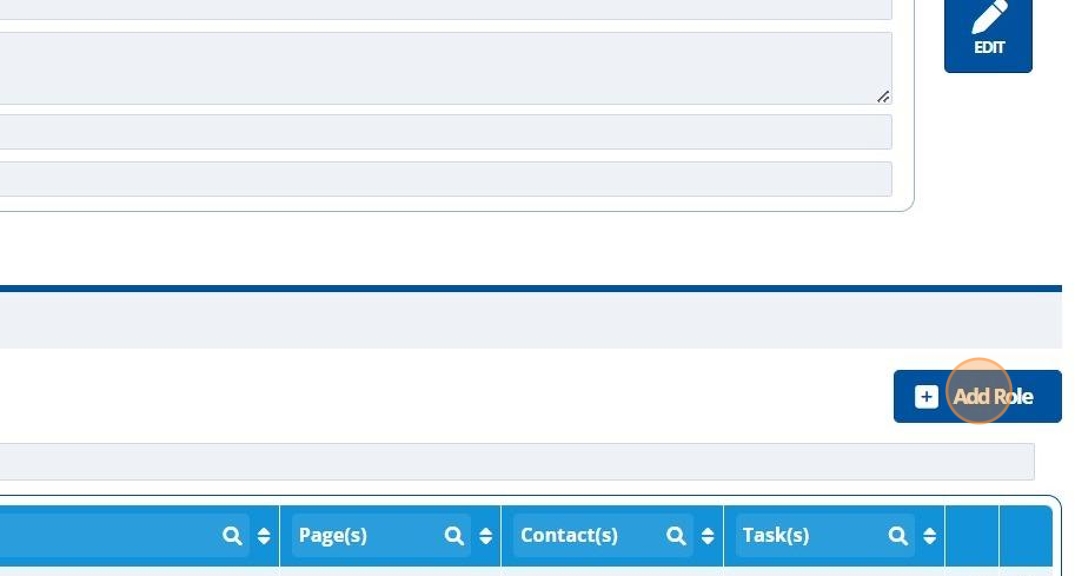
3. 👆 Click "Add Role".
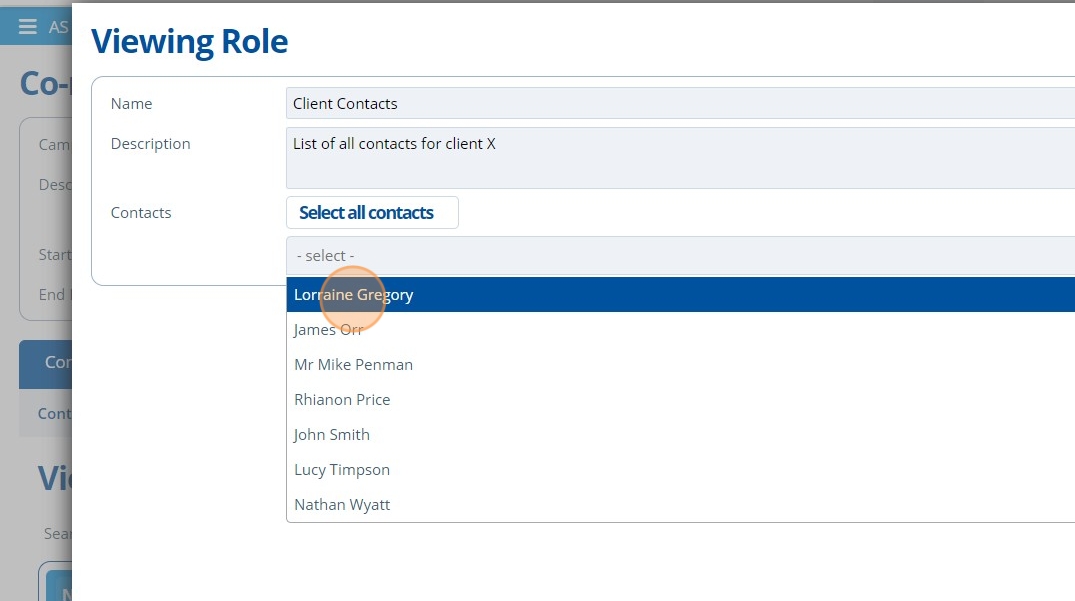
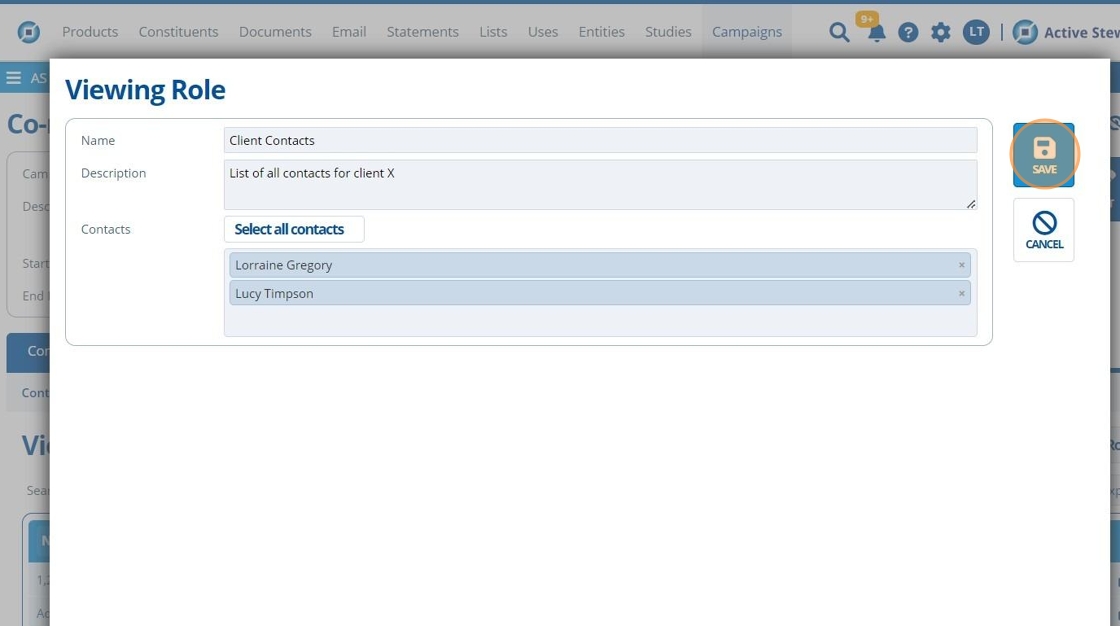
4. ✍️ Enter the name of the viewing role. If necessary add a description to explain what the role is for.

5. 👆 Click the "Contacts" field and 👆 select the contact(s) to add from the dropdown list.
This list will be empty if no contacts have yet been added to the campaign (Add Contacts to Campaign).
Tip
If the new role applies to all contacts that have already been added to this campaign, then click the "Select all contacts" button.
6. 👆 Click "SAVE".
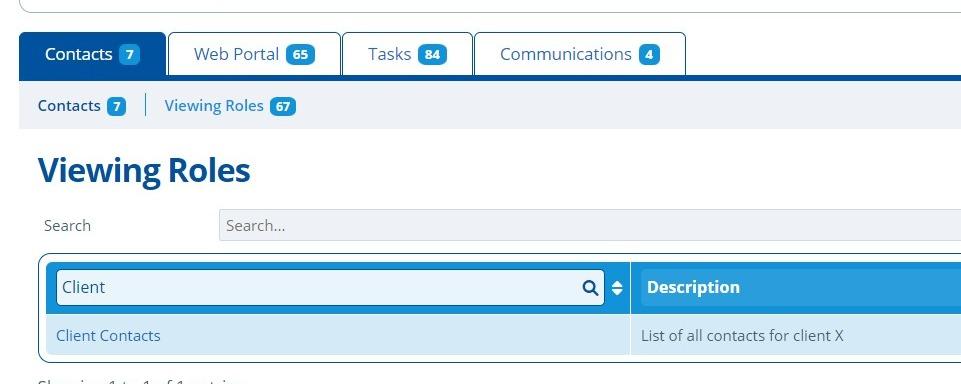
7. 🥳 The new role is listed in the "Viewing Roles" table.
Assign Viewing Roles
Tip
Viewing roles for contacts can be edited per individual or bulk updated. It is also possible to update viewing roles by excel upload. See Bulk Upload Contacts and Edit Roles for more information.
Update Contact Roles Individually
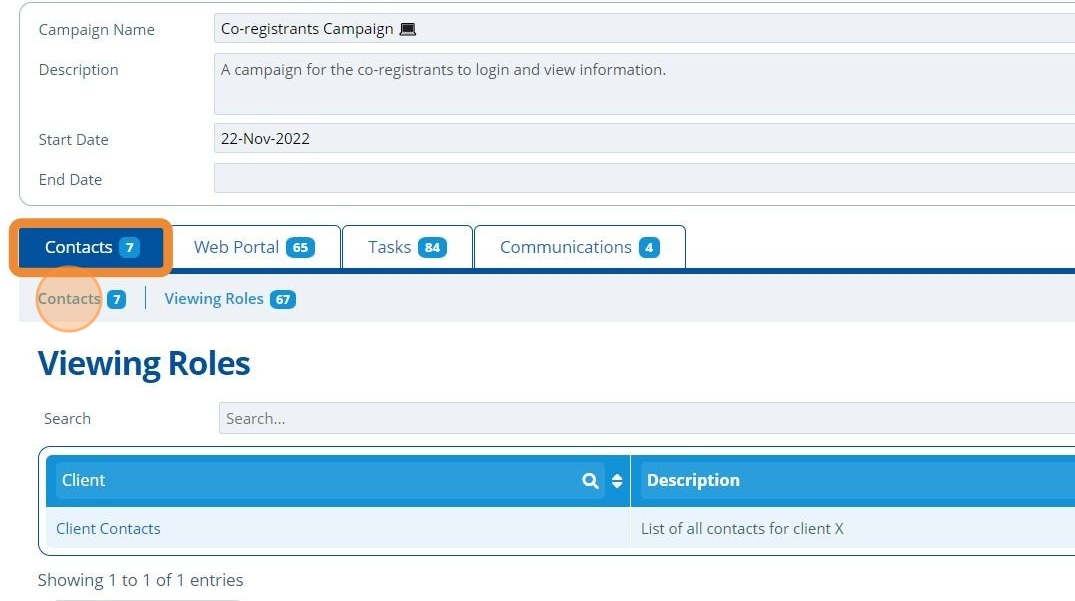
8. 👆 Go to "Contacts" 👉 "Contacts".
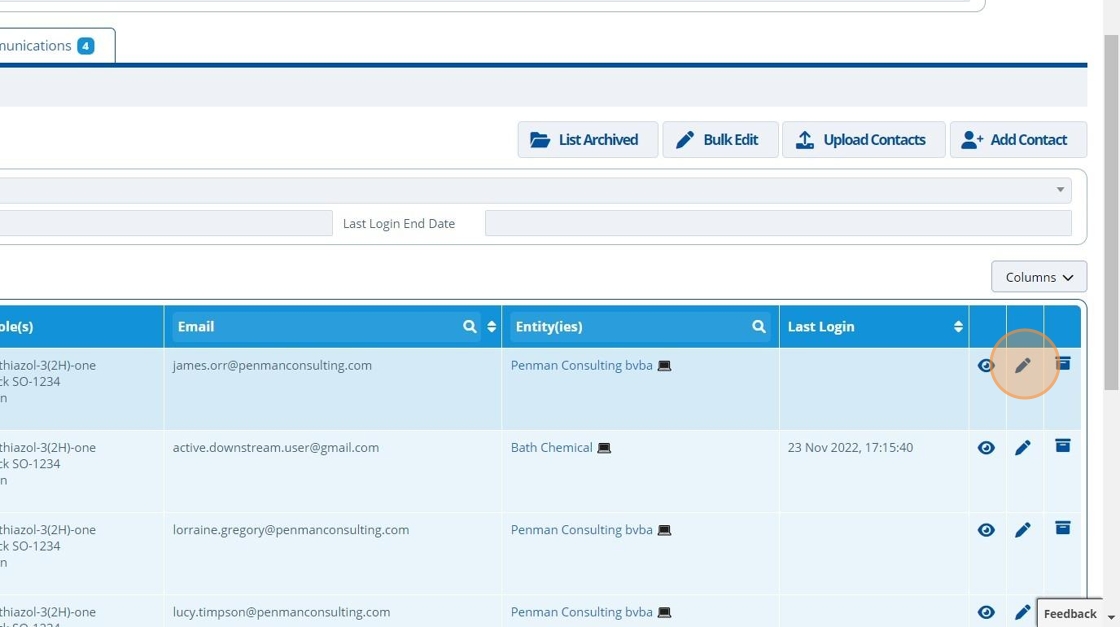
9. 👆 Click the pencil icon on the relevant contact to edit the roles assigned.
10. 👆 Click in the "Viewing Role(s)" field to bring up the drop-down list.
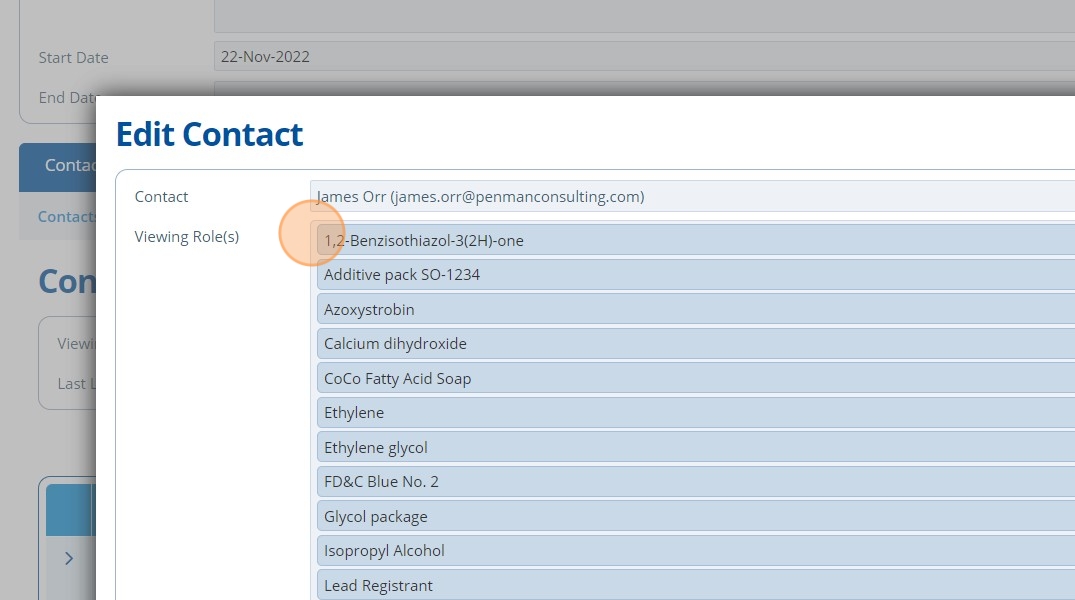
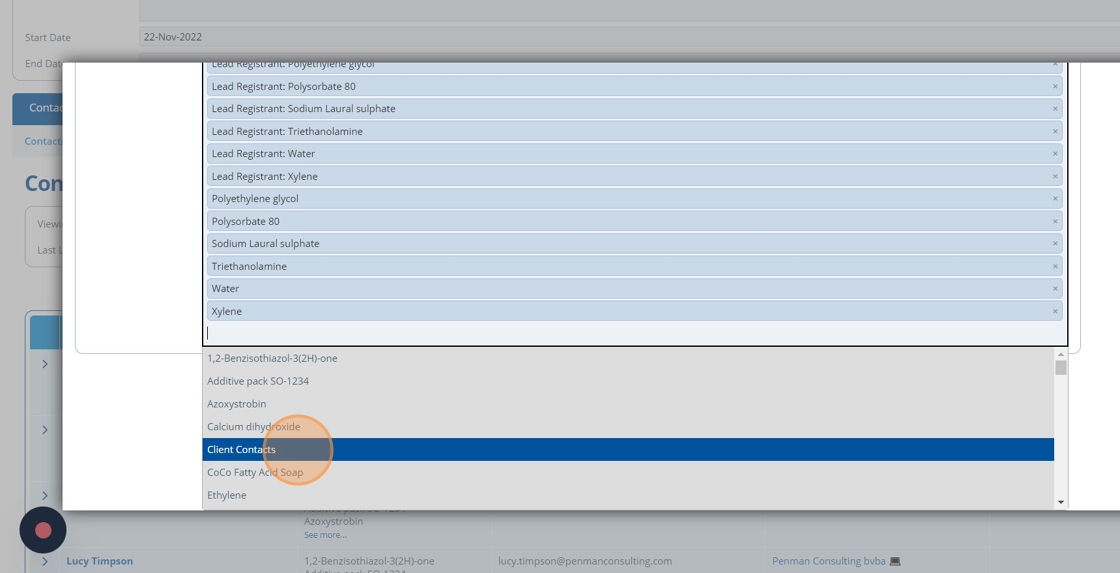
11. 👆 Select a role from the list to assign it to the contact.
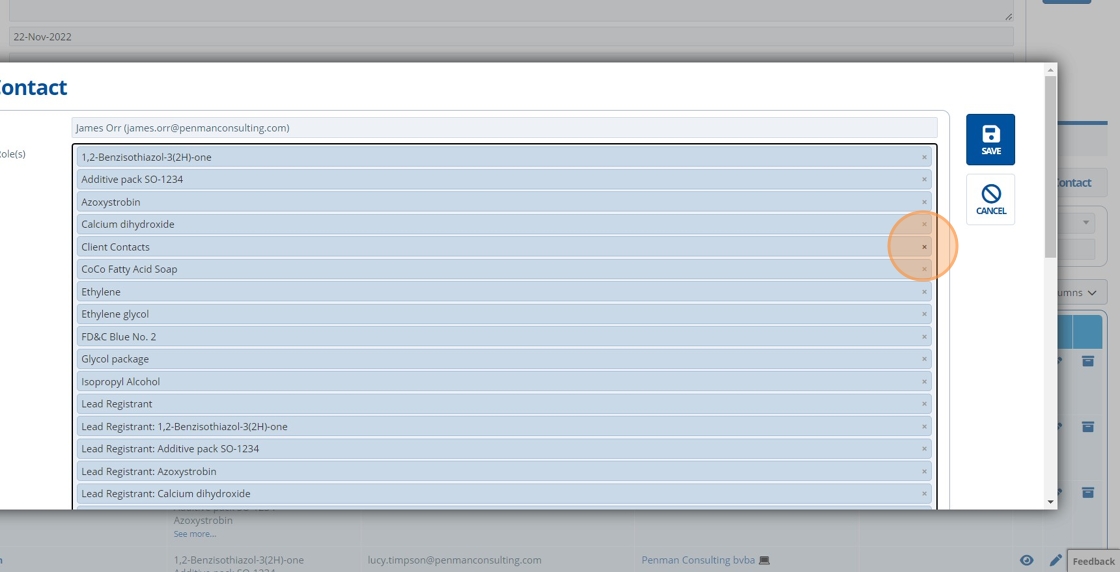
12. 👆 Click the 'x' on a role to remove it from the contact, then 👆 click "SAVE".
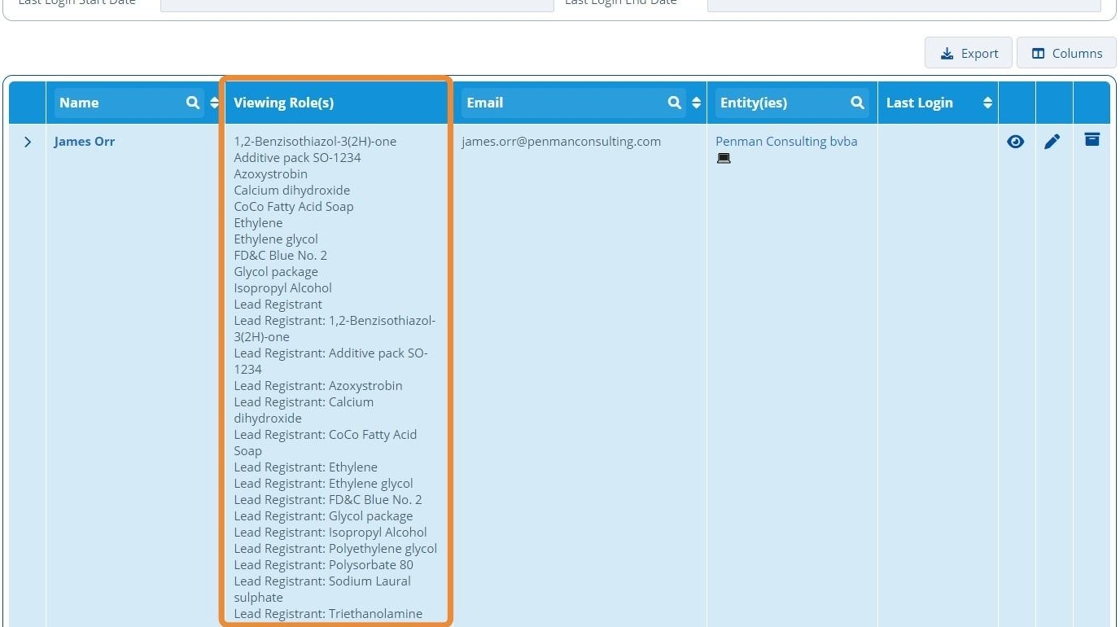
13. 🥳 The contact's viewing roles are updated, and can be seen on the "Contacts" tab.
Bulk Update Contact Roles
Tip
The following steps show how to bulk update contact viewing roles. The Excel method to bulk update viewing roles is shown in the following tutorial: Bulk Upload Contacts and Edit Roles.
14. 👆 Navigate to Contacts 👉 Contacts.
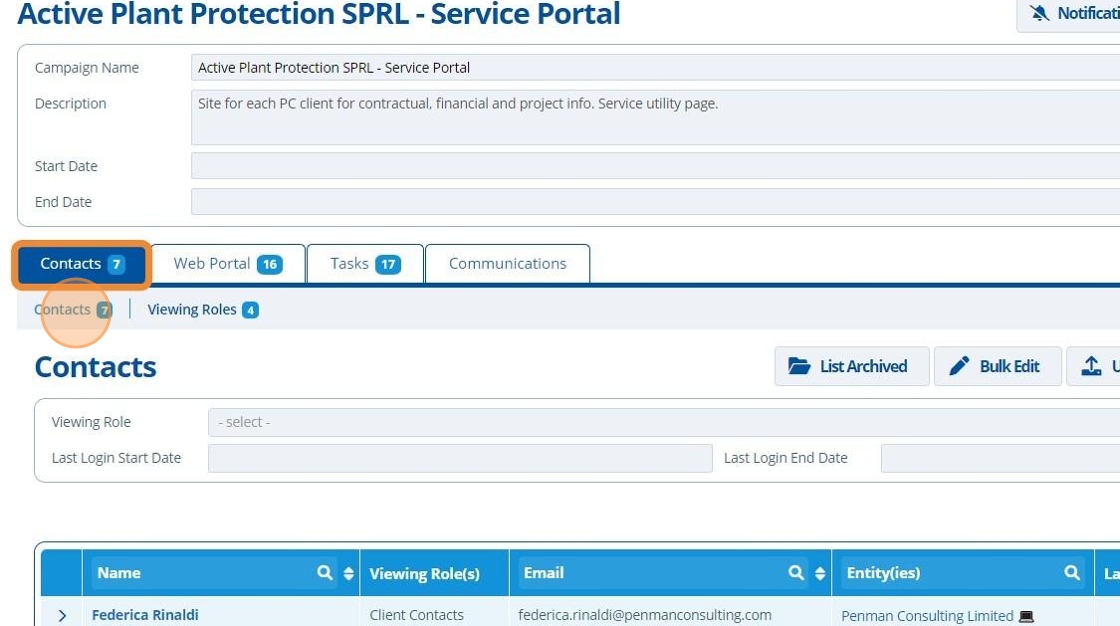
15. 👆 Click "Bulk Edit".
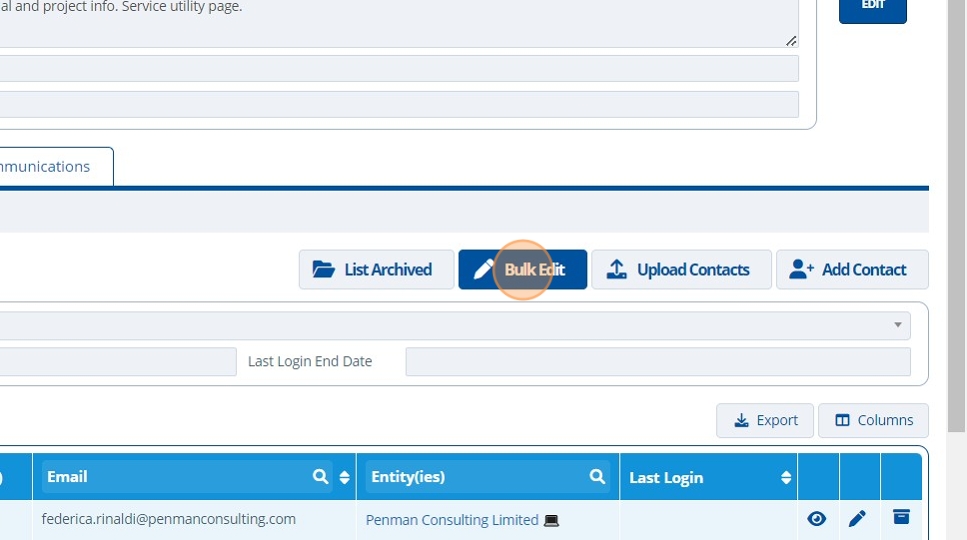
Add a Role to All Contacts
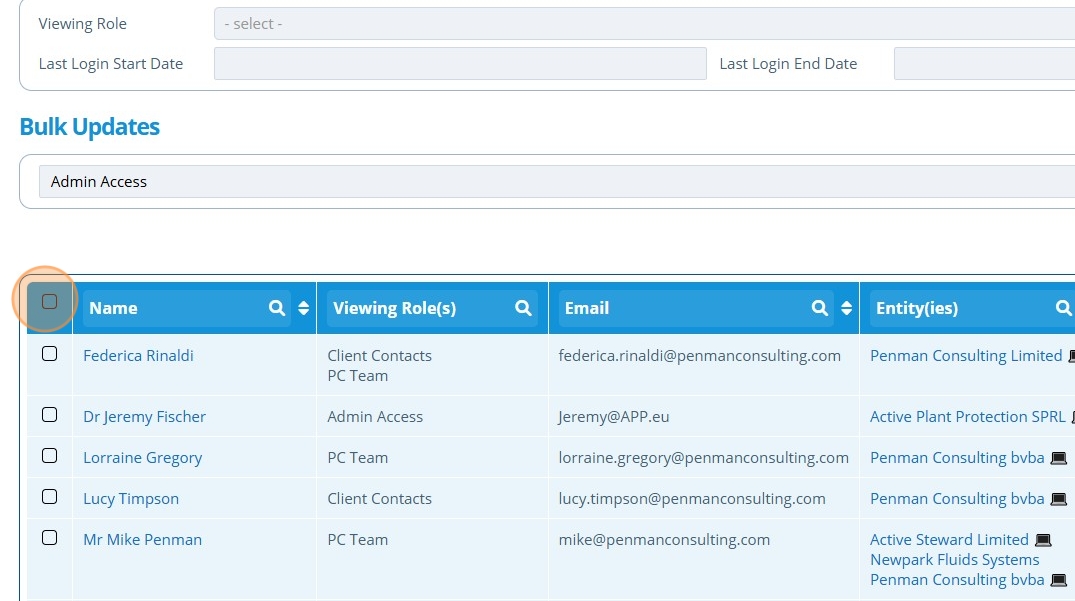
16. 👆 Select all contacts in the campaign by clicking the tick box in the table header.
17. 👆 Choose the role to remove.
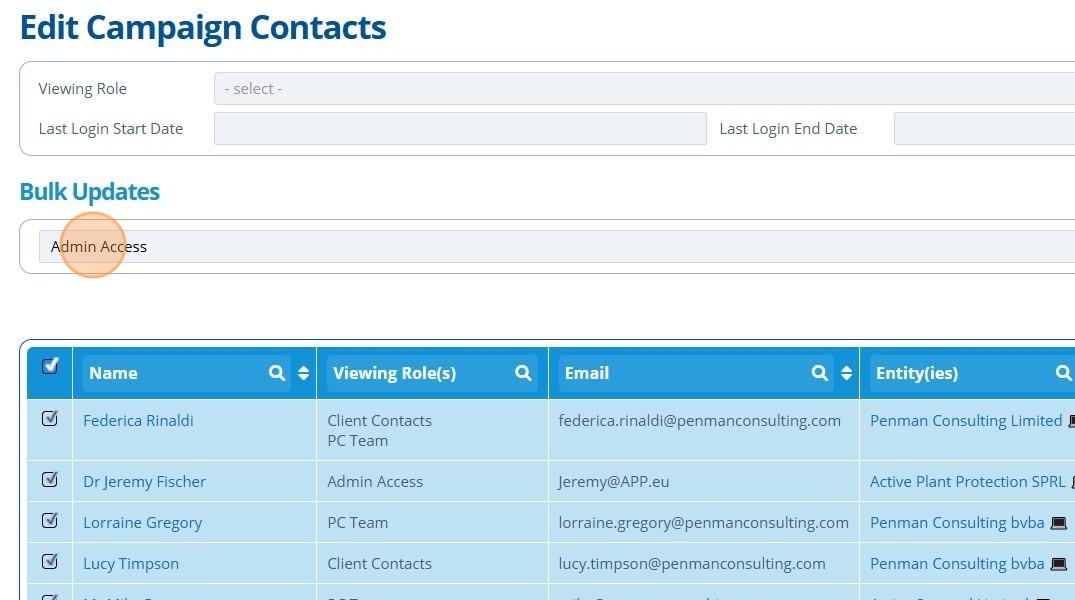
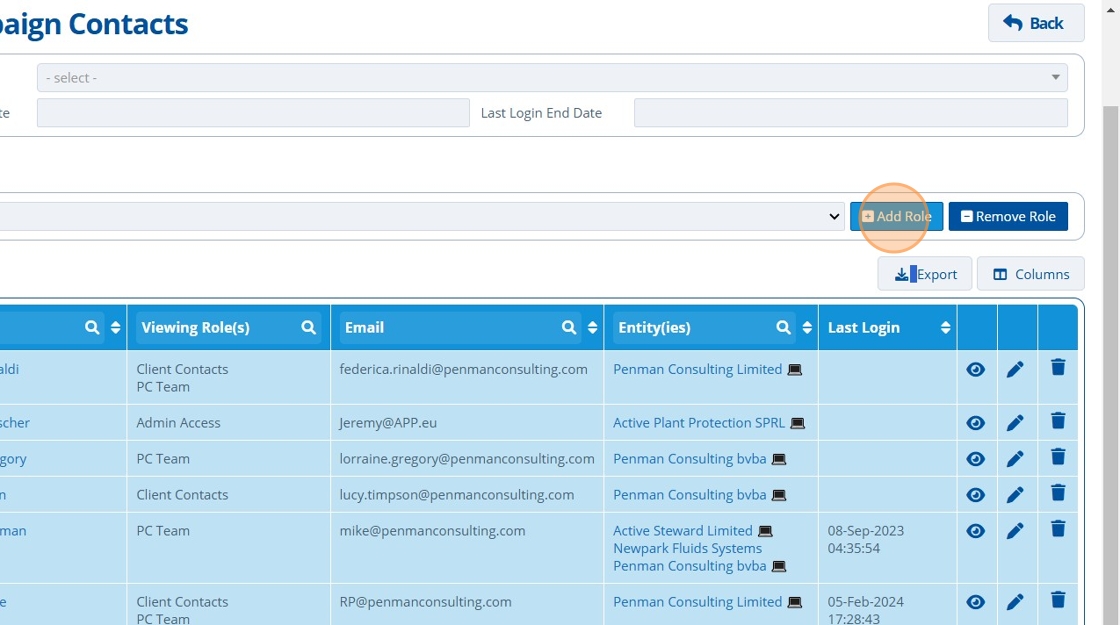
18. 👆 Click "Add Role".
Tip
To remove a role from all contacts in the campaign follow steps 16-18, but instead of selecting "Add Role" in step 18, click "Remove Role".
19. 🥳 The rows highlight green to indicate the change was successful. See that all the contacts now have role "Admin Access" that was selected in step 17.

Give a Role to Selected Contacts
20. 👆 Individually select the relevant contacts in the list by ticking the checkbox next to their name.
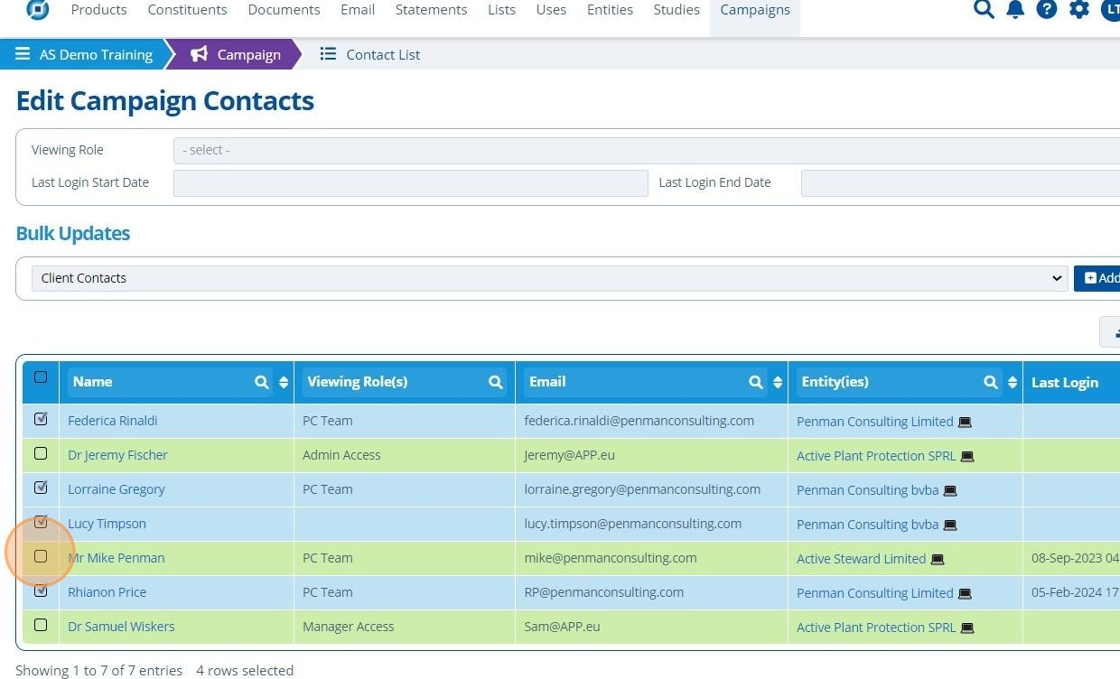
21. 👆 Choose the role to assign in the "Bulk Updates" section.
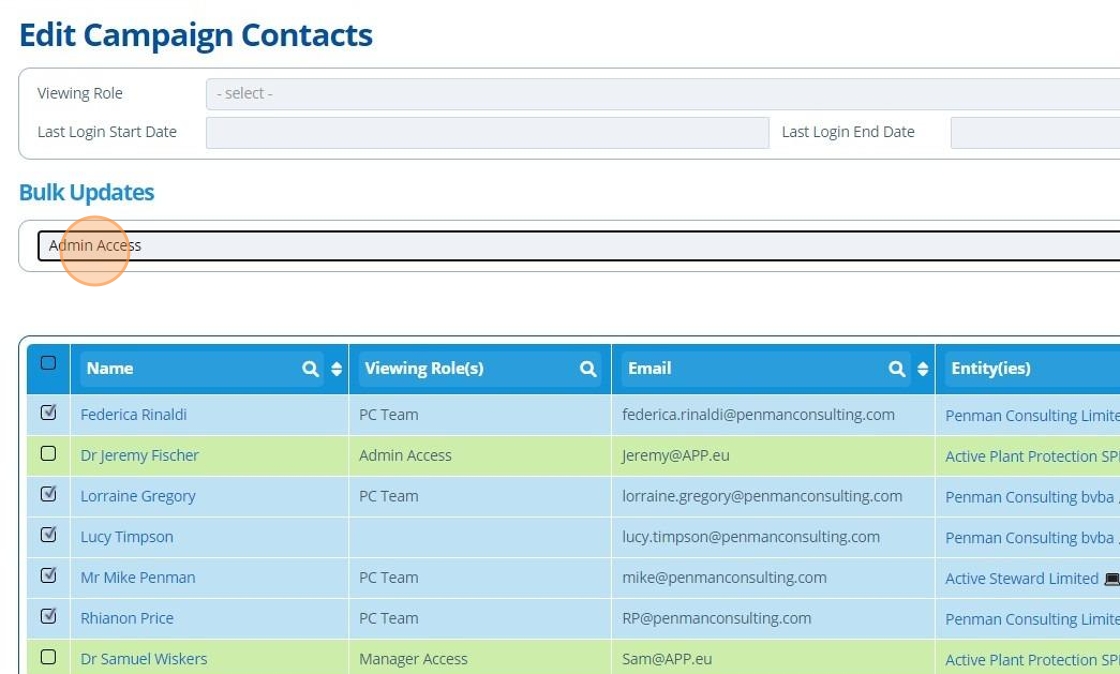
22. 👆 Click "Add Role".
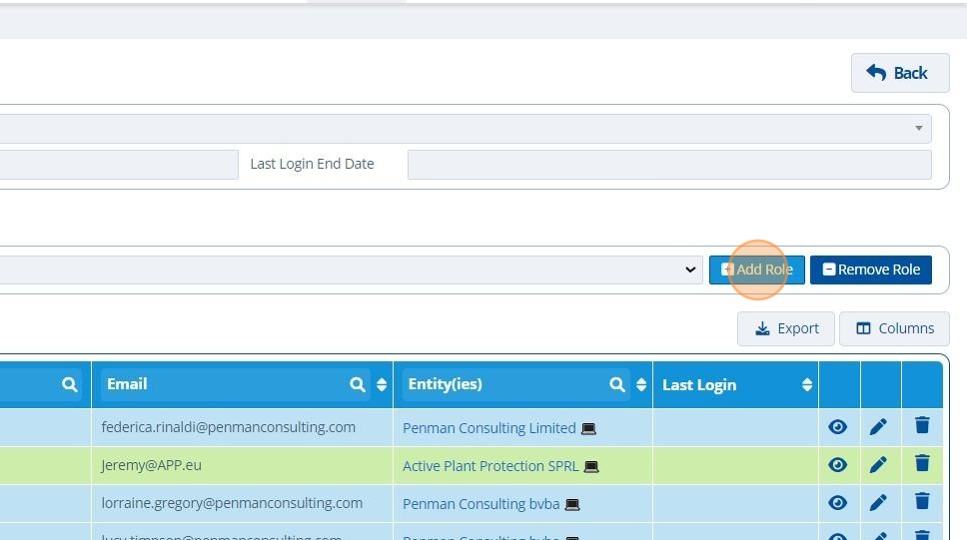
23. 🥳 The rows highlight green to indicate the change was successful. See that the 5 selected contacts now all have the role "Admin Access" that was selected in step 21.

Tip
👆 Click the eye icon to preview what the contact can now see in the web portal. It is good practice to check permissions are correct and the content provided is as expected.
👆 Click the edit icon to edit roles for an individual.

Tip
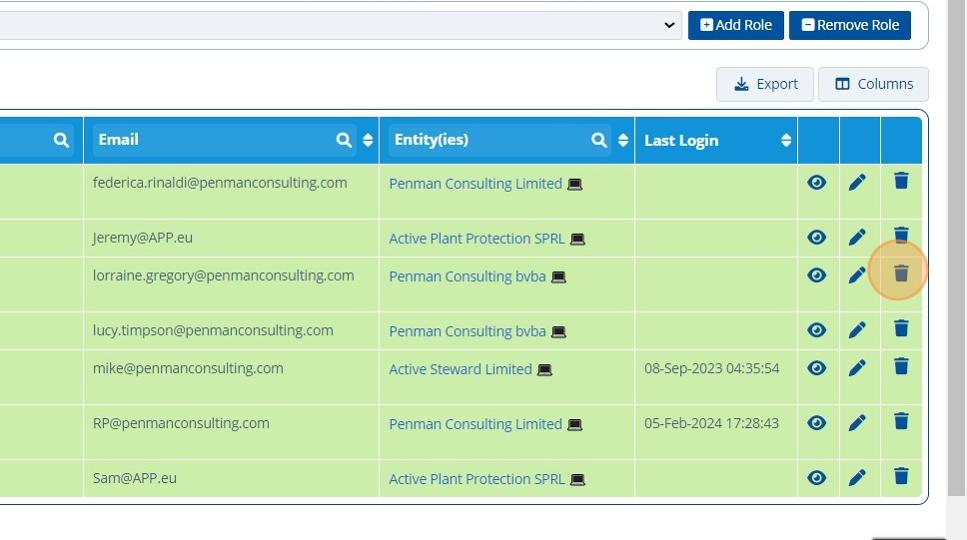
👆 Click the delete icon to remove the contact's access from this campaign. Note that after deleting, the contact still exists in the system and may have access to other campaigns.
Replace a Role
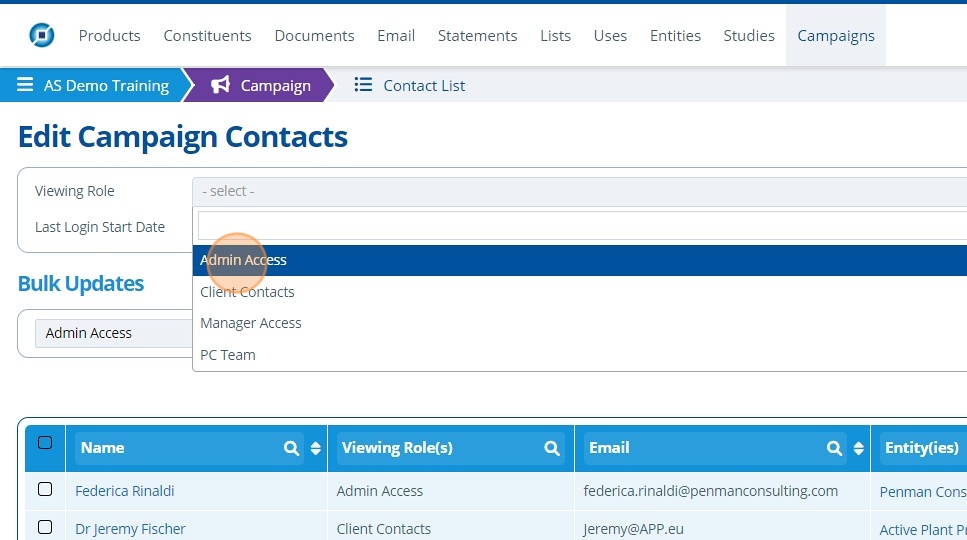
24. 👆 Select the role to replace in the "Viewing Role" field. This will filter the table below and only show contacts that currently have that role.
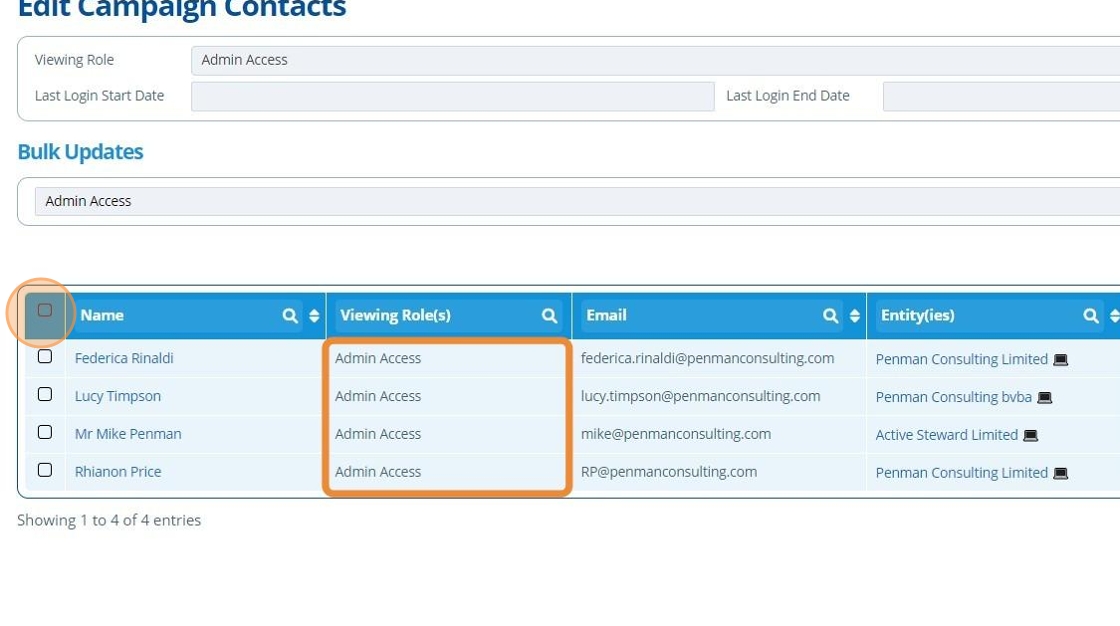
25. 👆 Click the checkbox in the header to select all contacts with the role.
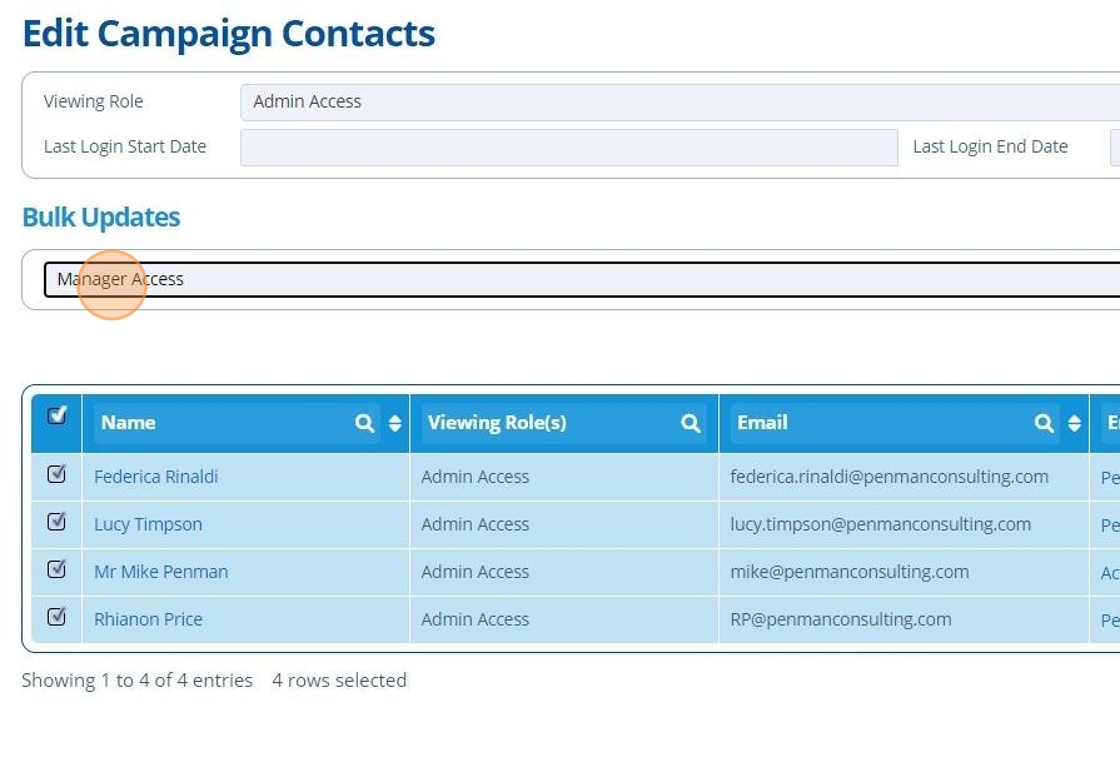
26. 👆 Choose the new role to assign in the "Bulk Updates" section.
27. 👆 Click "Add Role" to add the new role to the contacts.
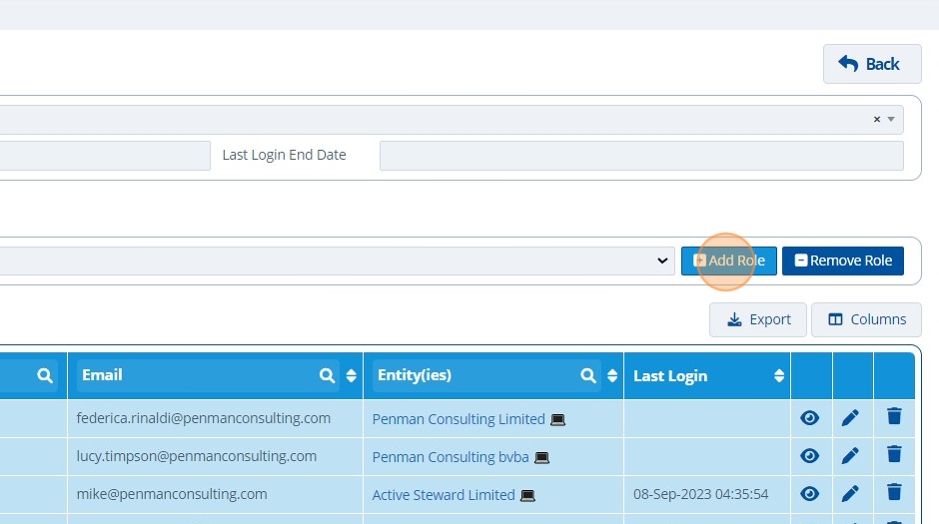
28. 👆 Select all contacts again. See that the new role is assigned and the rows are green, indicating that the update was successful.
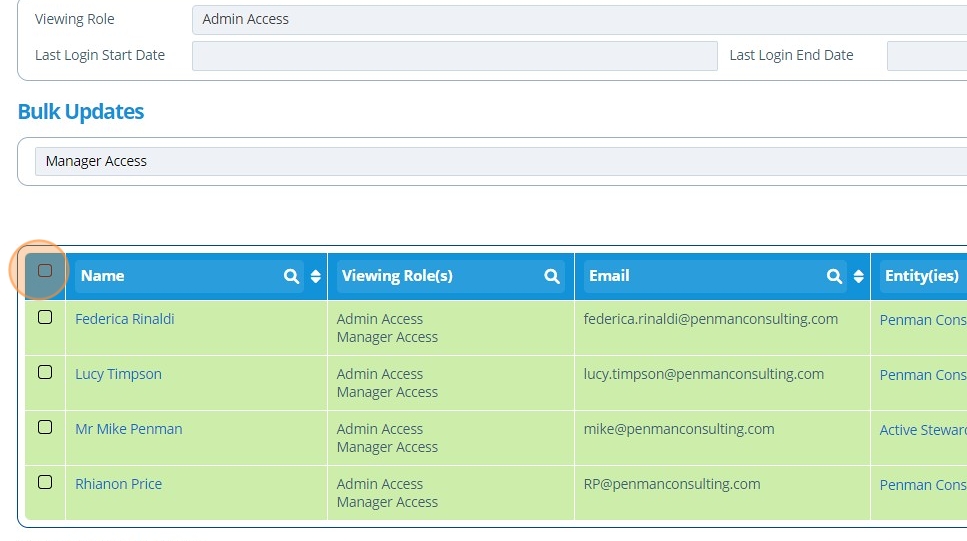
29. 👆 Now select the role to remove in the "Bulk Updates" section.
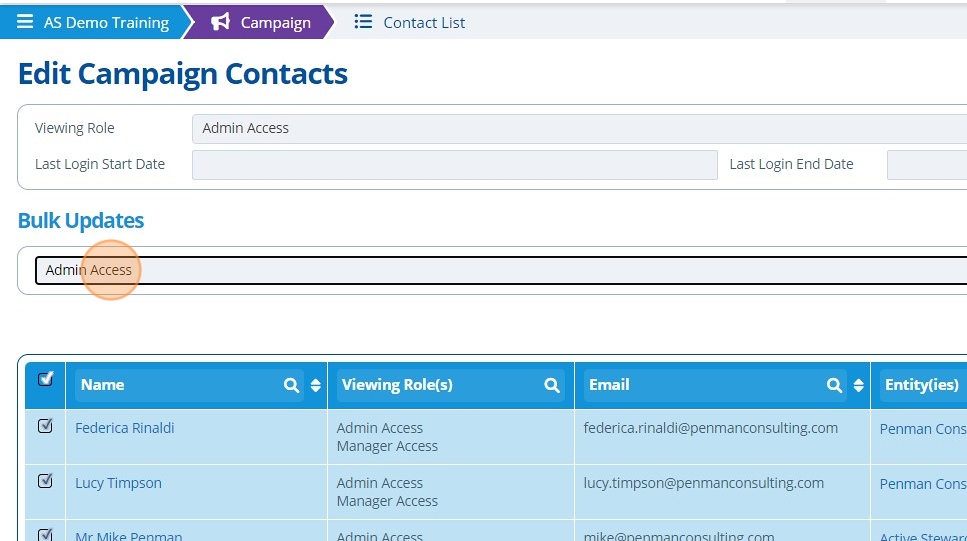
30. 👆 Click "Remove Role".

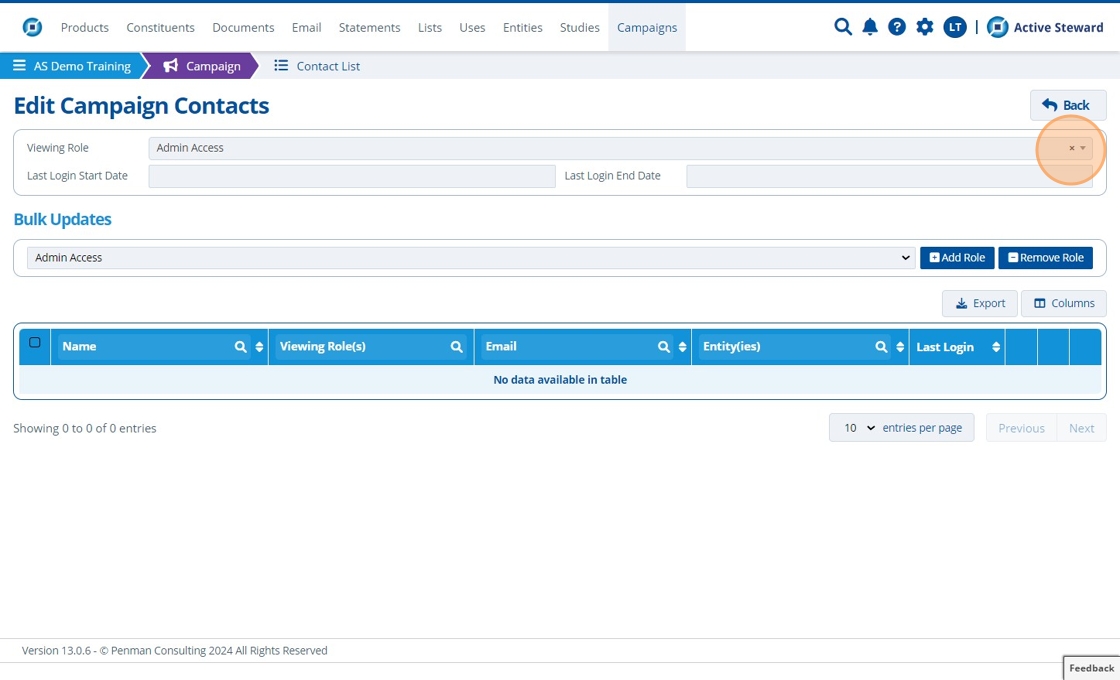
31. 👆 Click "×" to remove the filter on the contacts. The table is now empty as no contacts have this role.
32. 👆 Click "Manager Access" to only show / filter contacts with this new role.
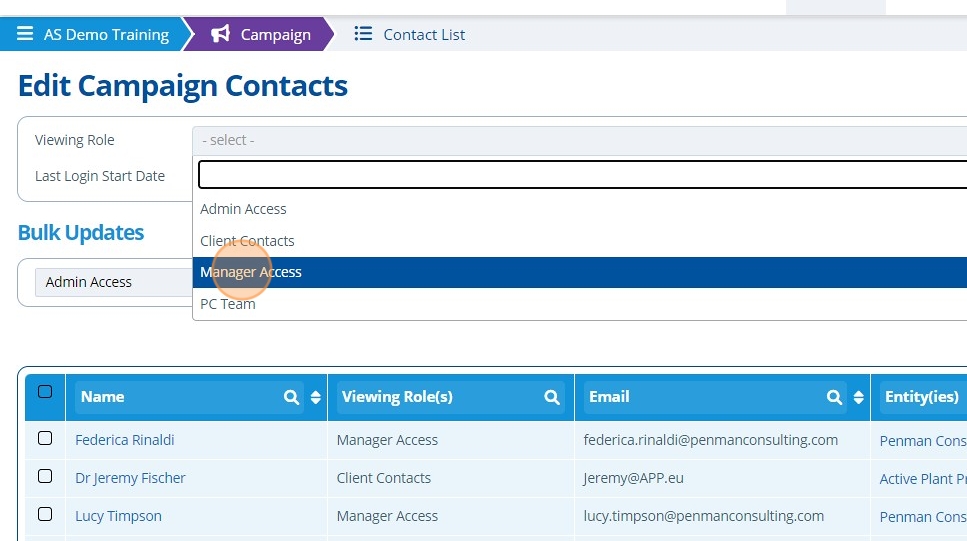
33. 🥳 See that 4 contacts shown in step 25 with role "Admin Access" have replaced the role with "Manager Access".

Delete a Viewing Role
Tip
Deleting a viewing roles means that the role is removed from all contacts in the campaign. Note that it will also remove the role from pages and tasks. If the role was the only role on a page / task, then the page / task will be archived.
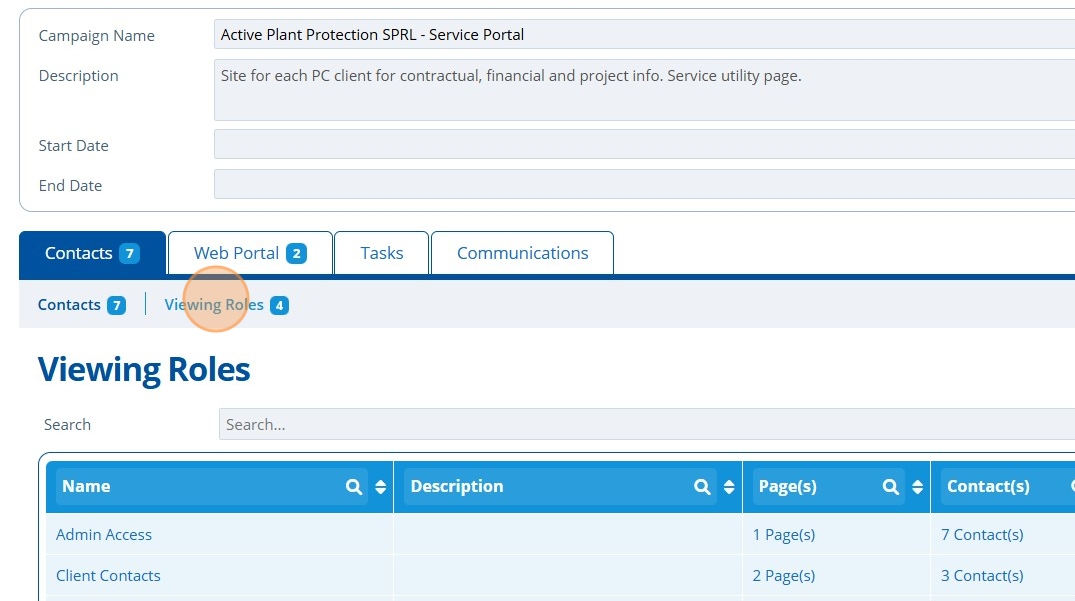
34. 👆 Navigate to Contacts 👉 Viewing Roles.
Tip
Click on the link for Page(s) / Task(s) / Contact(s) to see where the role is used. Note that the viewing role "Client Contacts" is used on 2 pages and 3 contacts.
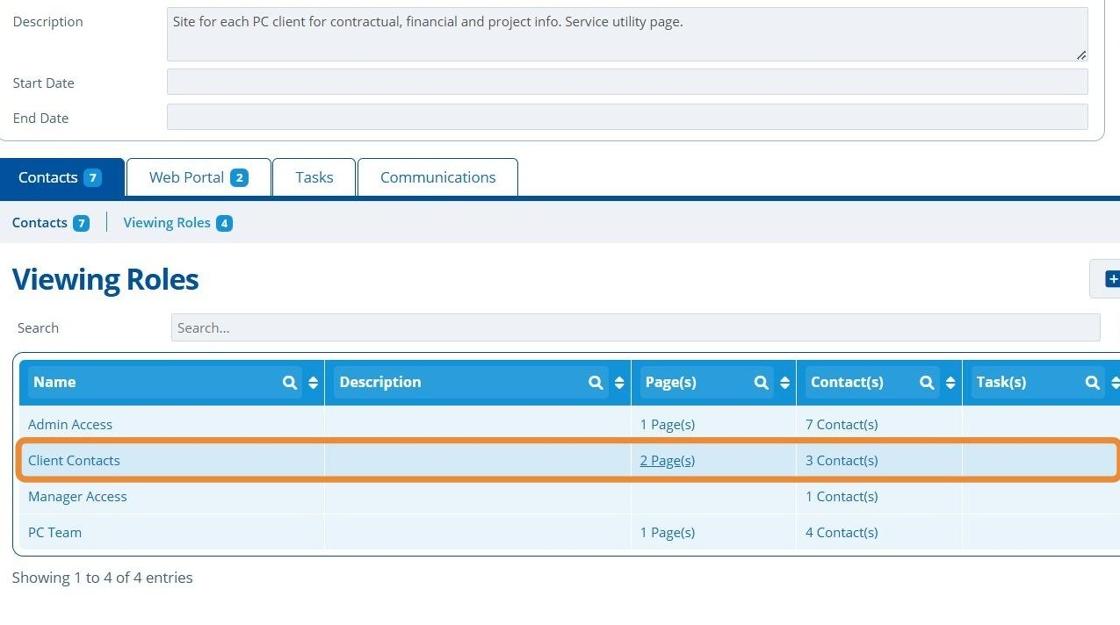
35. 👆 Click the delete icon for the relevant role.
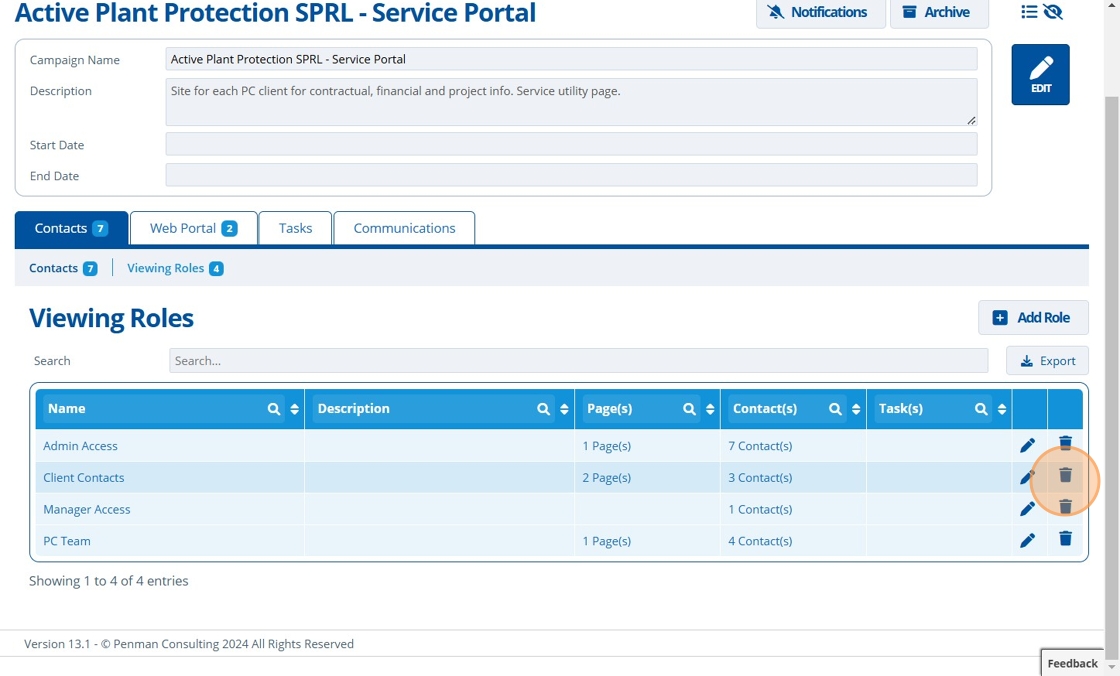
36. 🥳 Role is deleted and is no longer shown in the list.

Tip
🥳 See that no contacts have the role "Client Contacts" anymore.
