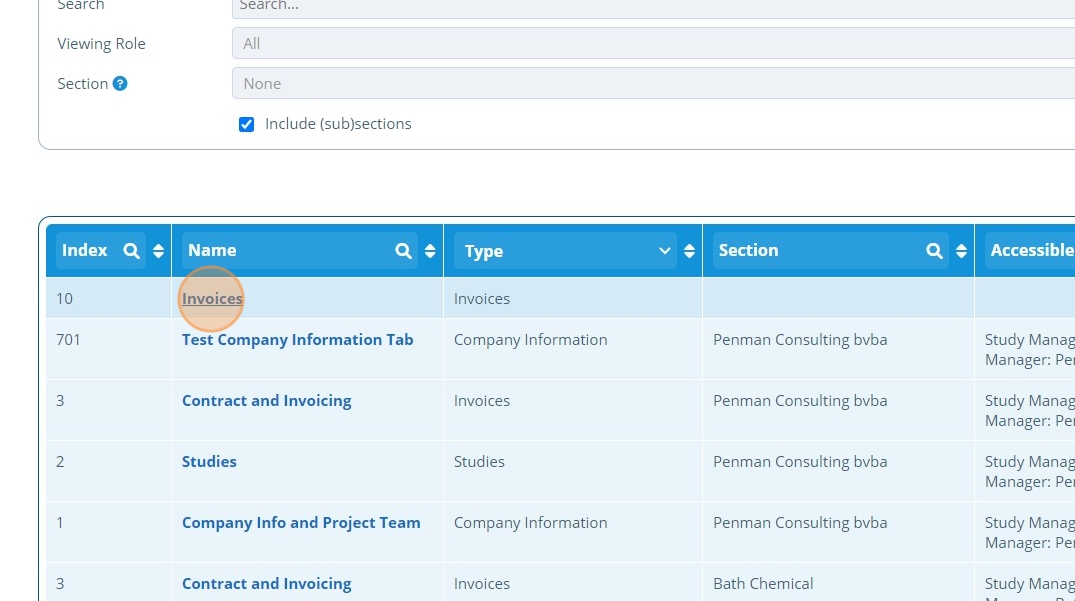
How to Create an Invoicing Page
Tip
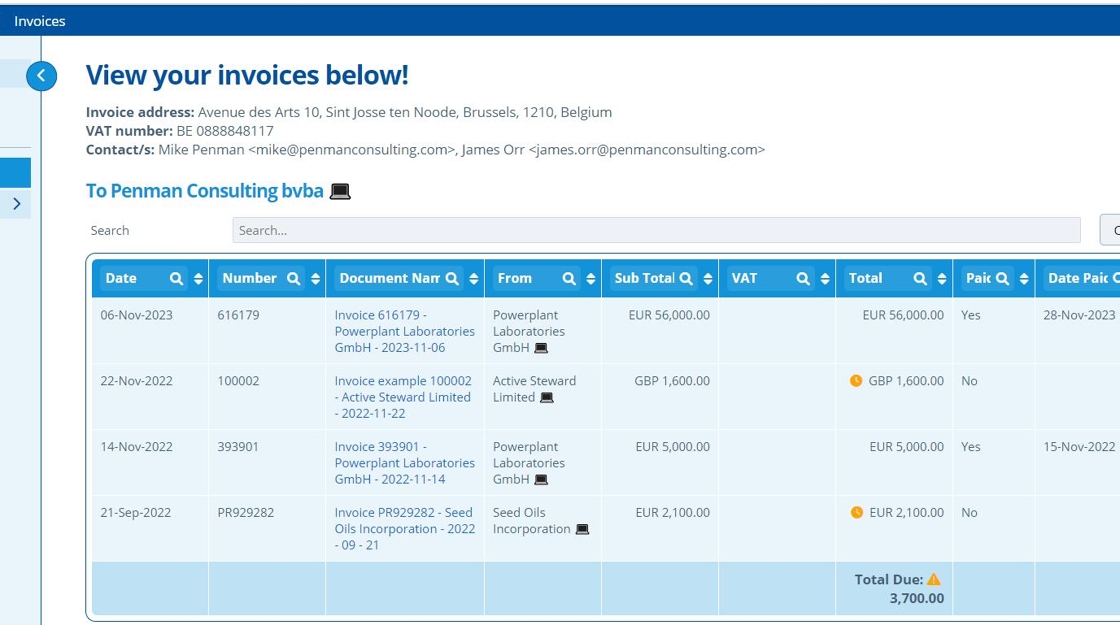
This page can be used to display invoices associated with the selected entities. The invoices are displayed in a table which contains information about payment status, dates, amounts and has a link to download the invoice file. Here is a preview of the Invoicing page from a campaign contact's view.
Overdue icons appear on invoices that are "overdue". An unpaid invoice is marked as overdue when a set number of days has past since the "Invoice Date".
Tip
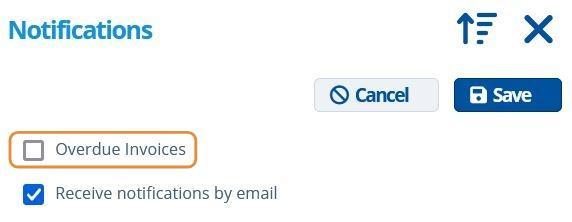
Campaign contacts with access to this page are able to enable notification reminders when an invoice becomes overdue.
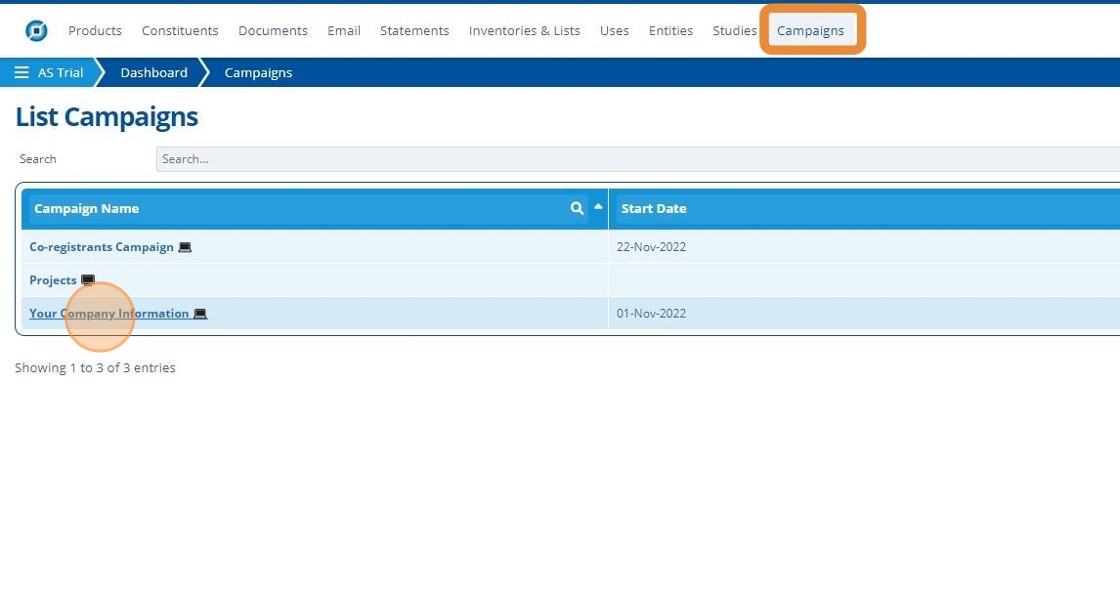
1. 👆 Navigate to Campaigns 👉 Select the campaign of interest from the list.
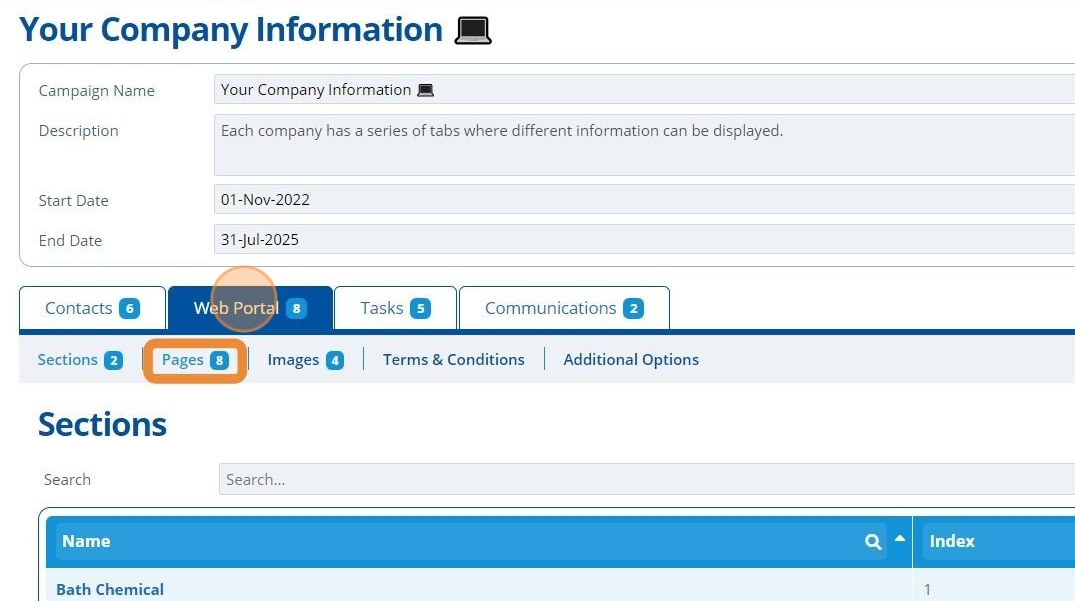
2. 👆 Click "Web Portal" 👉 Navigate to "Pages".
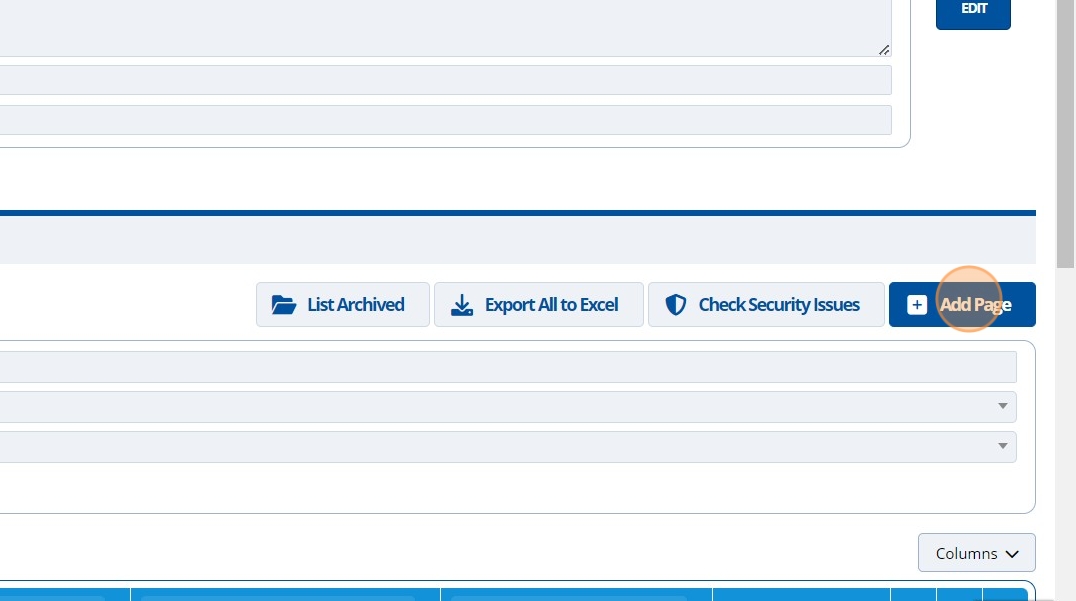
3. 👆 Click "Add Page".
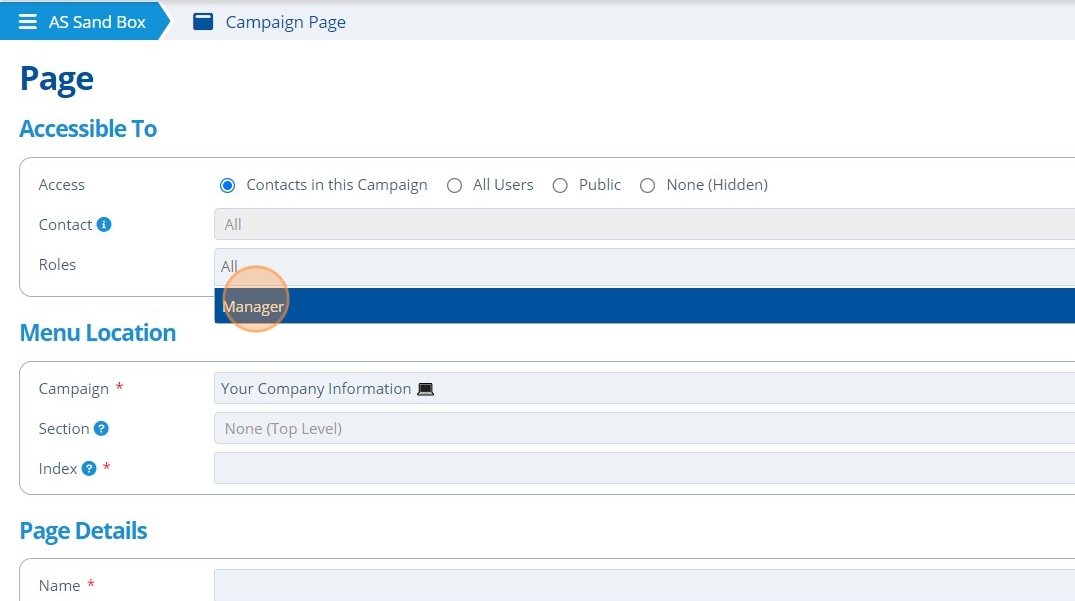
4. 👆 Select an option in the "Accessible To" section. This will control who can see the page.
Your user account will need permission to set access to "Public" or "All Users".
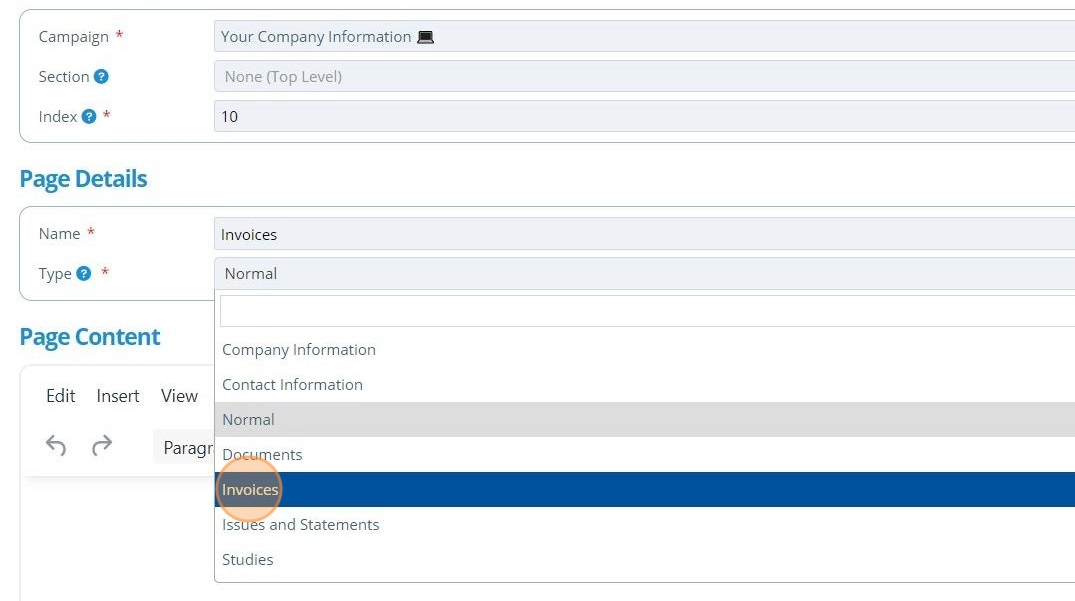
5. ✍️ Enter the page name and choose "Invoices" from the "Type" dropdown.
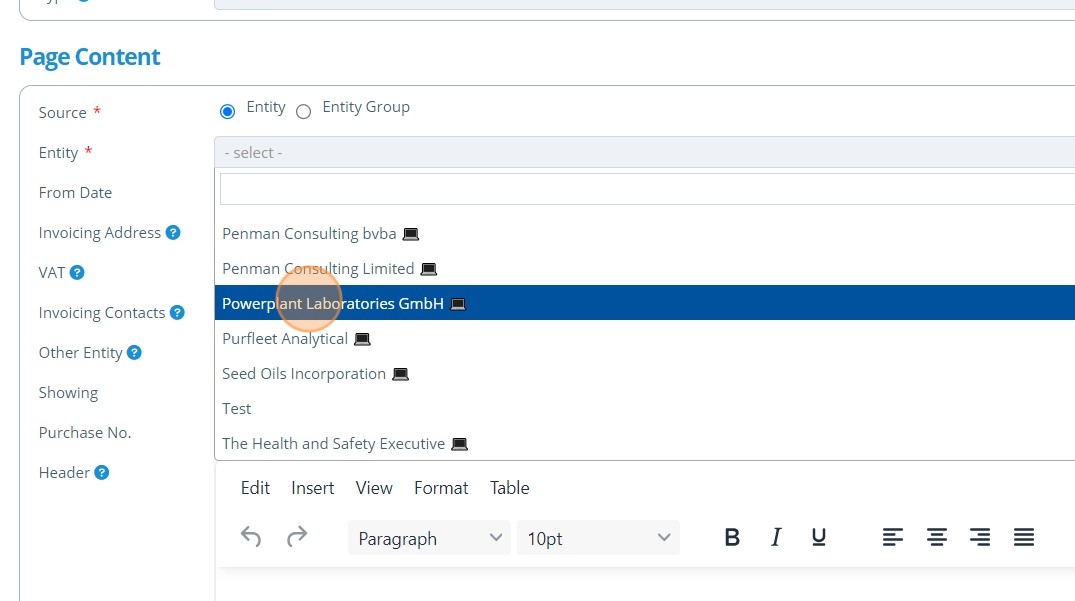
6. 👆 Select an Entity or Entity Group from the dropdown list. The invoices shown will be the ones associated with this entity.
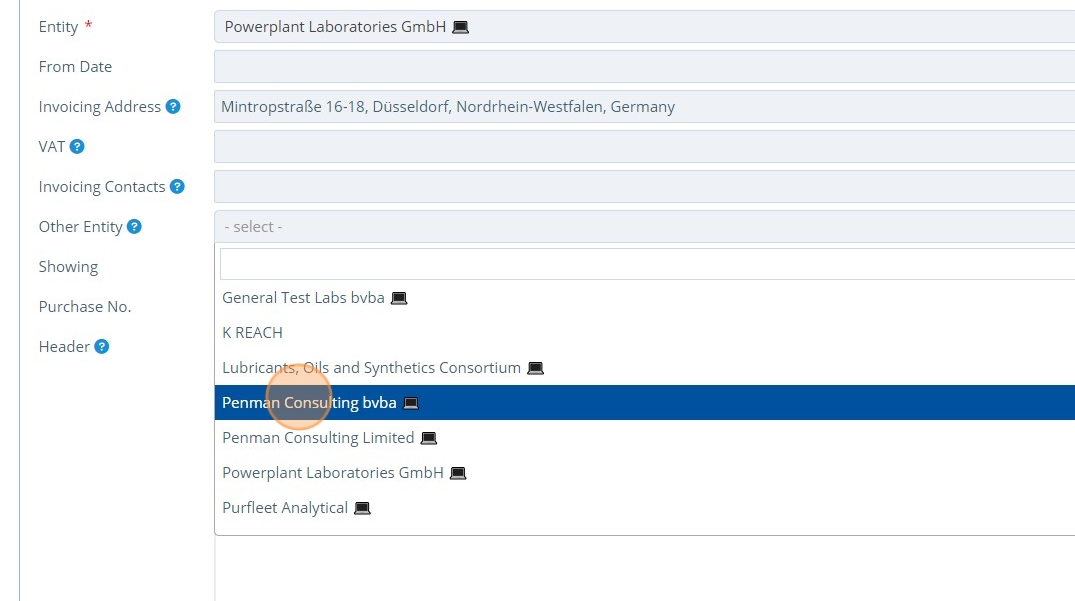
7. If required, 👆 select an "Other Entity" from the dropdown list. If choosing an entity here, then the invoices shown will be between this "Other Entity" and the one chosen in the "Entity" field.
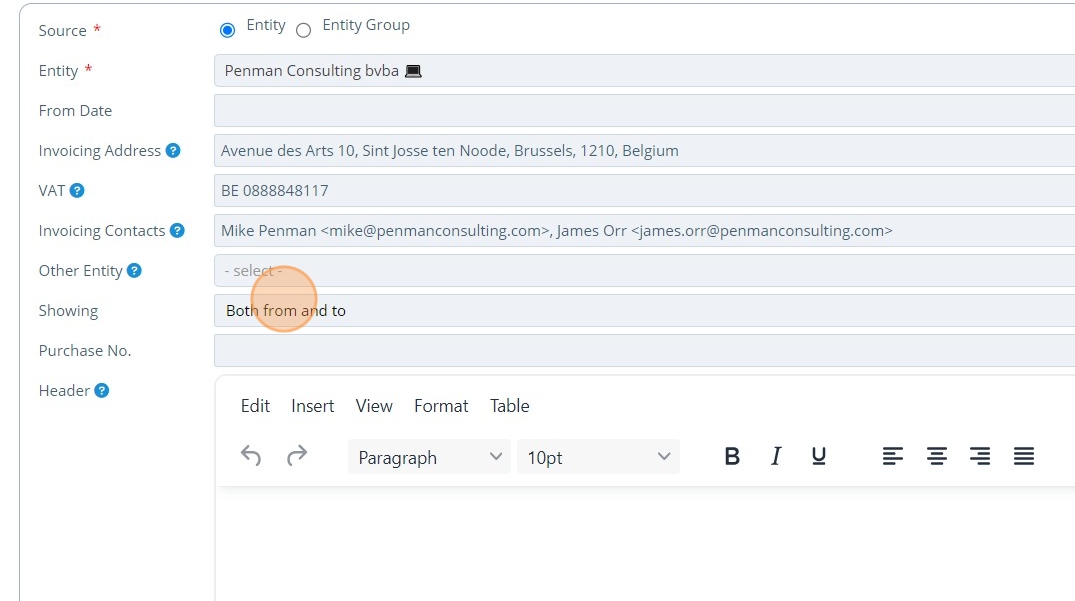
8. 👆 Click the "Showing" dropdown to change the type of invoices shown. The options are "Both from and to", "to" and "from".
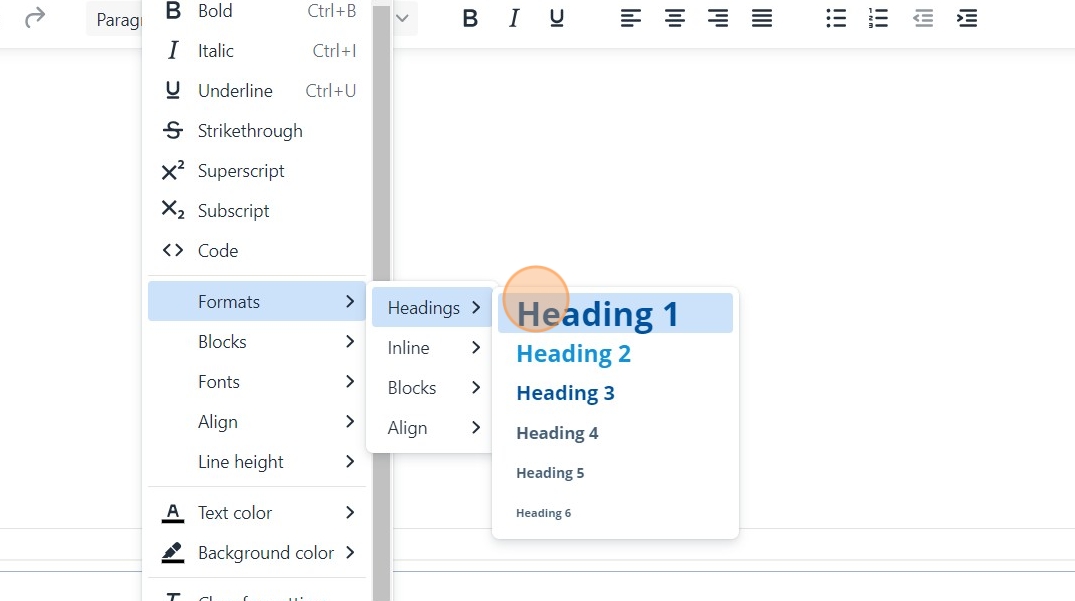
9. 👆 Click "Format" to format the page as required.
10. 👆 Click "SAVE AND RETURN".

11. 🥳 The Invoices page will now appear in the list of pages.
