Create Study Group With Linked Entities
Tip
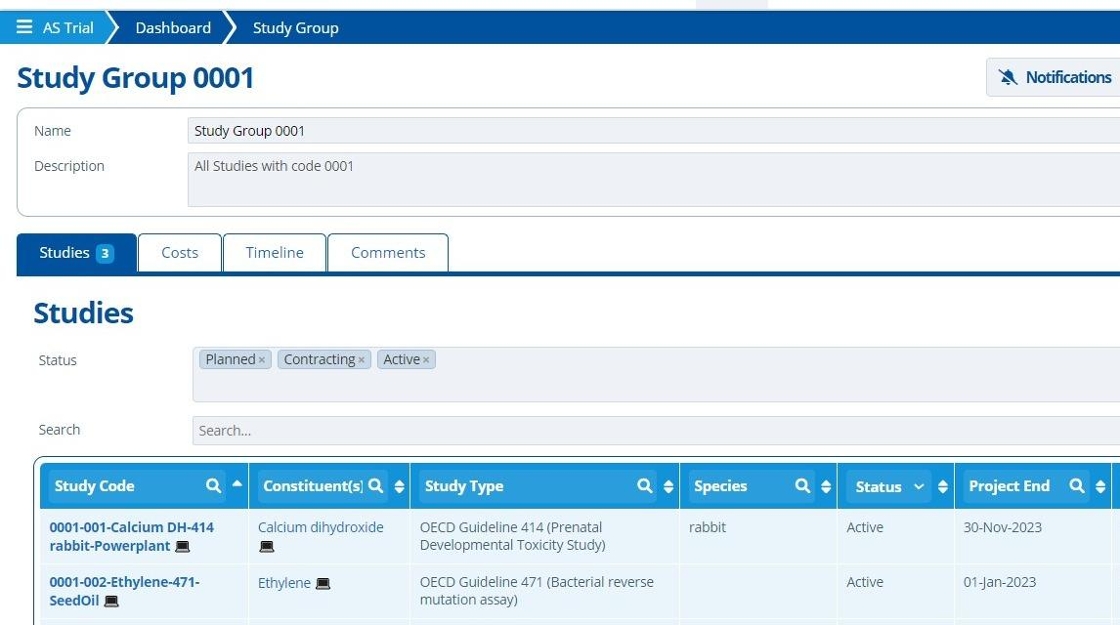
Study Groups group together multiple studies. This is useful as studies can "inherit" and use information from the group. Information inherited:
-
Timelines - all studies in the group can have and use the same timeline events
-
Linked Entities - a group of entities can be interested in a whole group of studies, so can be quickly linked to all
This tutorial details how to create a study group and assign its linked entities.
See this tutorial on Using Study Groups for study group uses.
Create Group
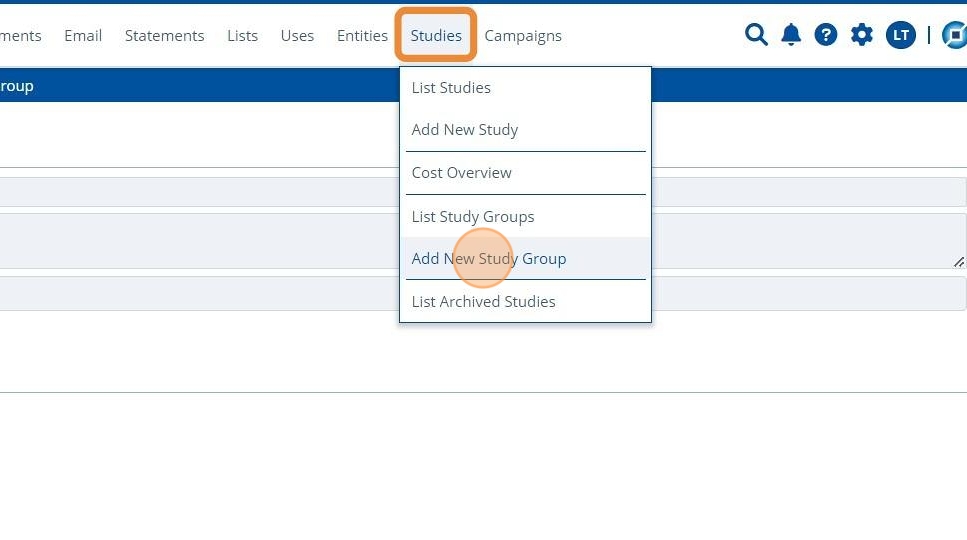
1. 👆 Navigate to Studies 👉 "Add New Study Group".
2. ✍ Fill in the name of the group and include a description.

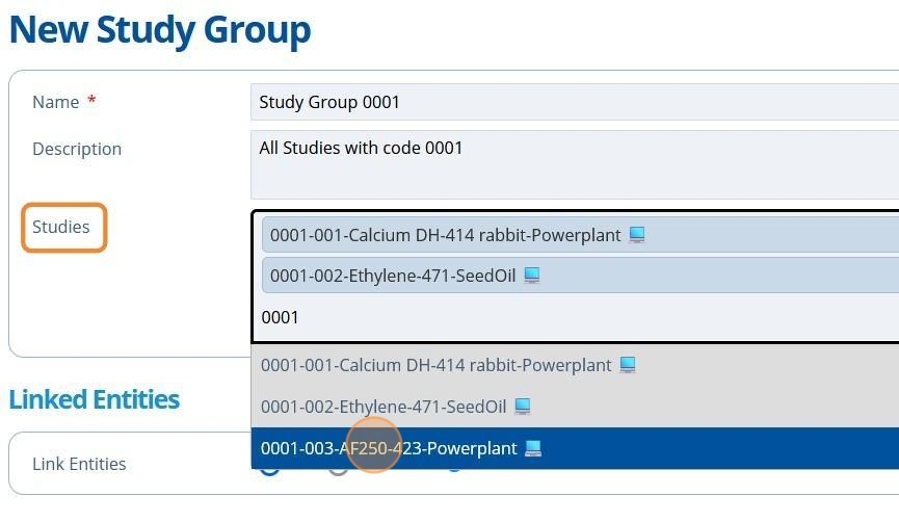
3. 👆 Select the studies to add to the group using the dropdown "Studies" field.
Tip
More studies can be assigned to the group after it is created.
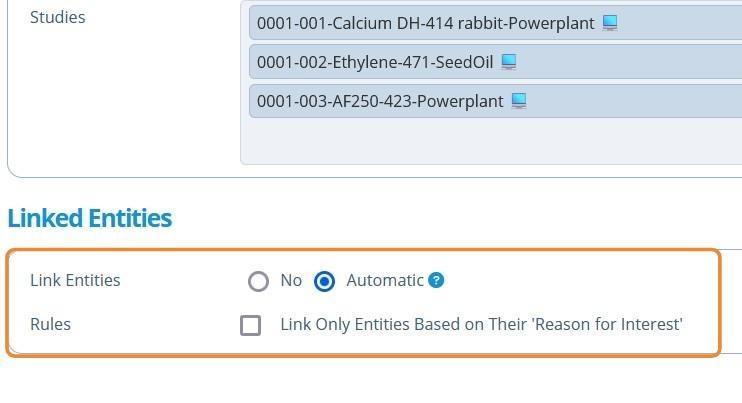
4. 👆 The buttons for "Link Entities" determines whether entities are to be automatically linked to the group or not.
When deciding to automatically link entities (by having "Automatic" selected), there is an additional "Rules" checkbox that filters the entities linked. Entities can be automatically linked to the group upon study group creation or after creation, either automatically (steps 7-14) or manually (steps 15-20).
Tip
Rules - what entities are automatically linked?
- If the checkbox is unchecked; Entities that are actively linked to any of the studies constituents and have a study related entity role ("Only Representative" or "Registrant").
- If the checkbox is checked; The same entities in the above point are used, but are filtered so only those that have a relevant "Reason for Interest" are linked.
5. 👆 Click "SAVE".
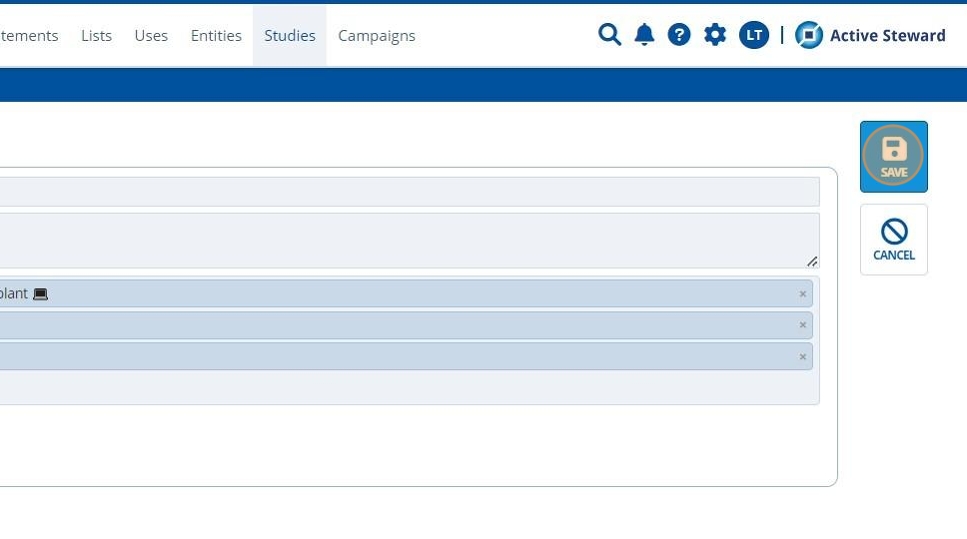
6. 🥳 The study group has been created.
Whether entities were automatically linked, depends on the checkbox options chosen in step 4.
Linking Entities After Study Creation
Automatically Link
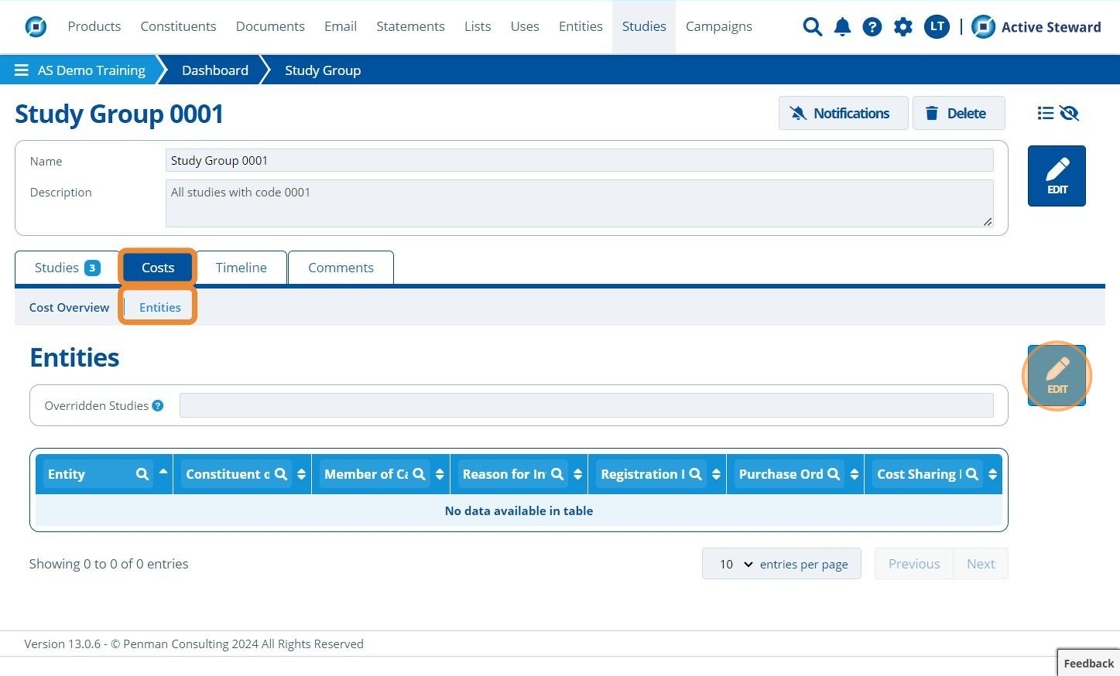
7. 👆 Navigate to Costs 👉 Entities 👉 Click "EDIT".
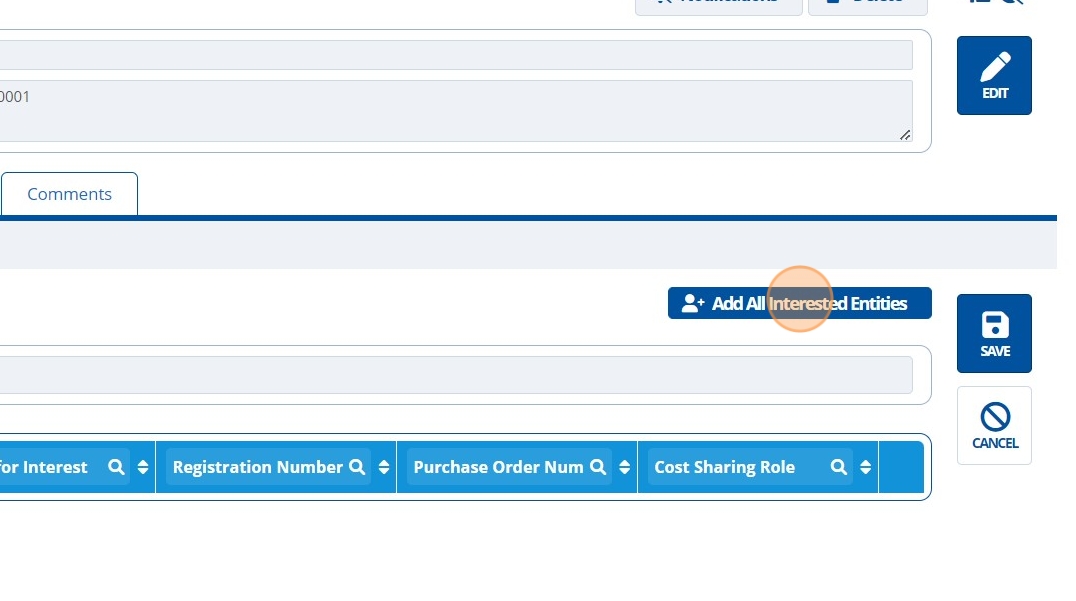
8. 👆 Click "Add All Interested Entities".
Link Entities With Study Related Roles
Tip
Entities that get linked are:
- Entities that are actively linked to any of the studies constituents and have a study related entity role (Only Representative or Registrant).
9. 👆 Untick the checkbox 👉 Click "Add".
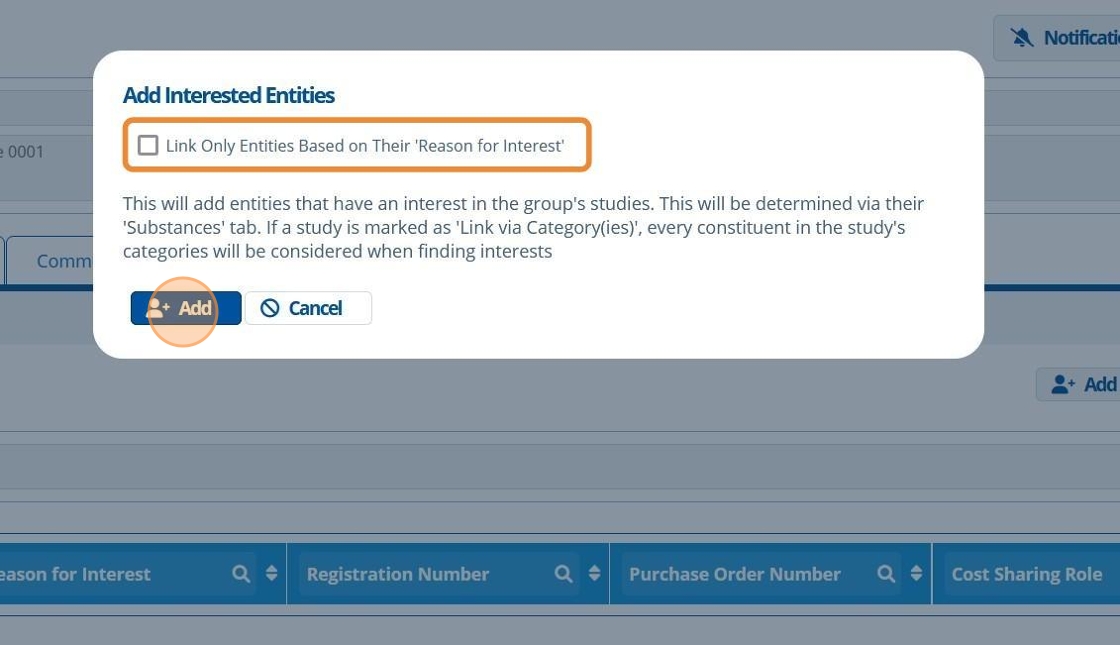
10. 👆 Click "SAVE".
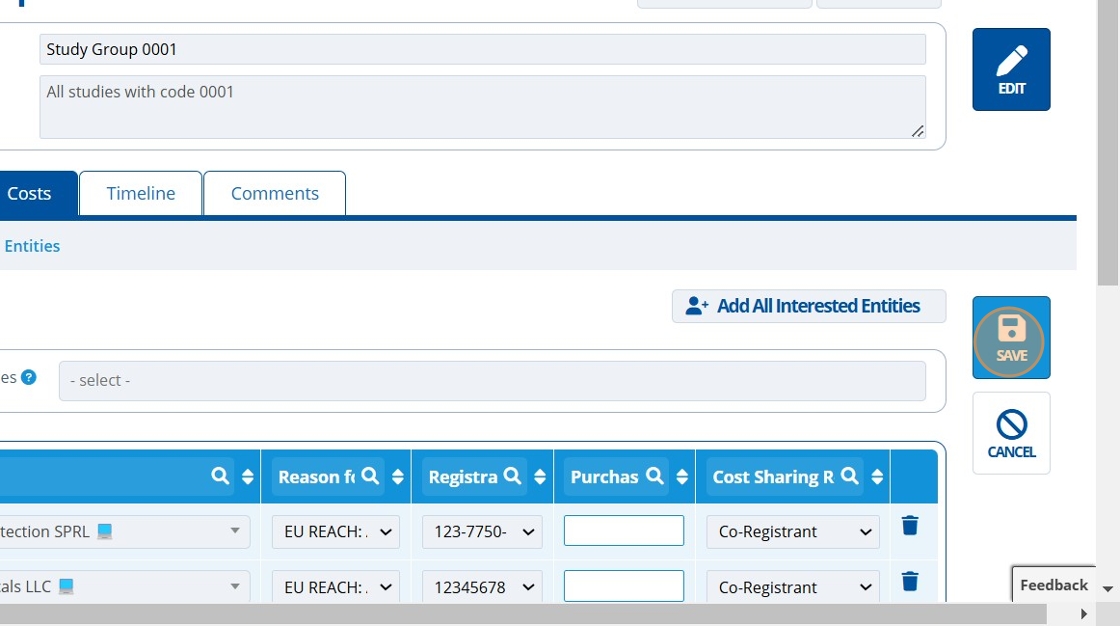
11. 🥳 Entities are linked.

Link Entities Based on their Reason for Interest
Tip
The entities that get linked are:
- Entities that are actively linked with any of the studies constituents, have a study related entity role and have the relevant "Reason for Interest" assigned.
12. 👆 Ensure the checkbox is ticked 👉 Click "Add".
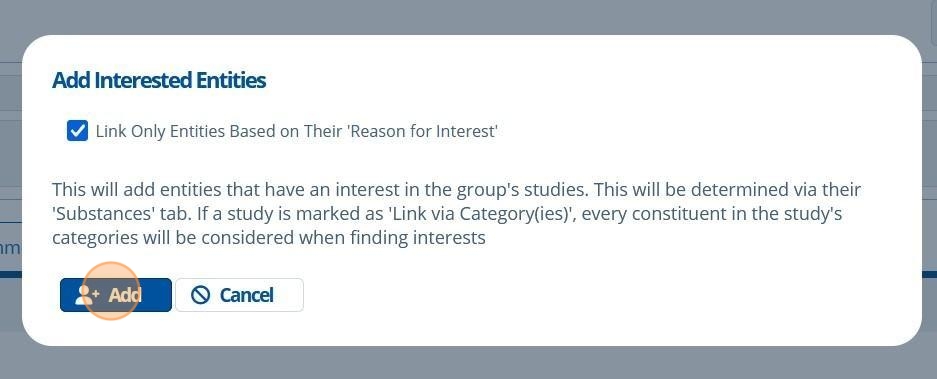
13. 👆 Click "SAVE".
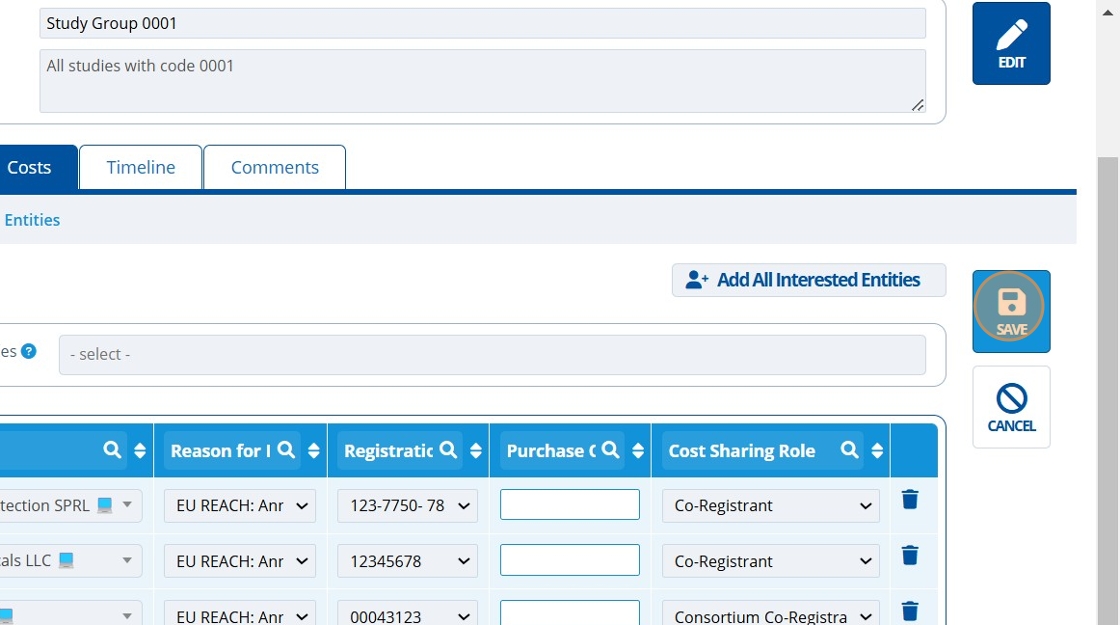
14. 🥳 Entities are automatically linked.

Tip
See that the entities linked in the above step are only those with the relevant "Reason for Interest" to "meet" any of the study purposes from studies in this group (purposes highlighted below).
To "meet" the purpose means the following:
For NON-EU REACH:
- The entity link's "Reason for Interest" must match the study's "Purpose".
For EU REACH:
- The entity link's "Reason for Interest" must match the study's "Purpose". Or the Annex Number in the "Reason for Interest" must be the same or higher than the Annex Number in the study's "Purpose".

Manually Link
15. 👆 Click "EDIT" on the Entities tab.
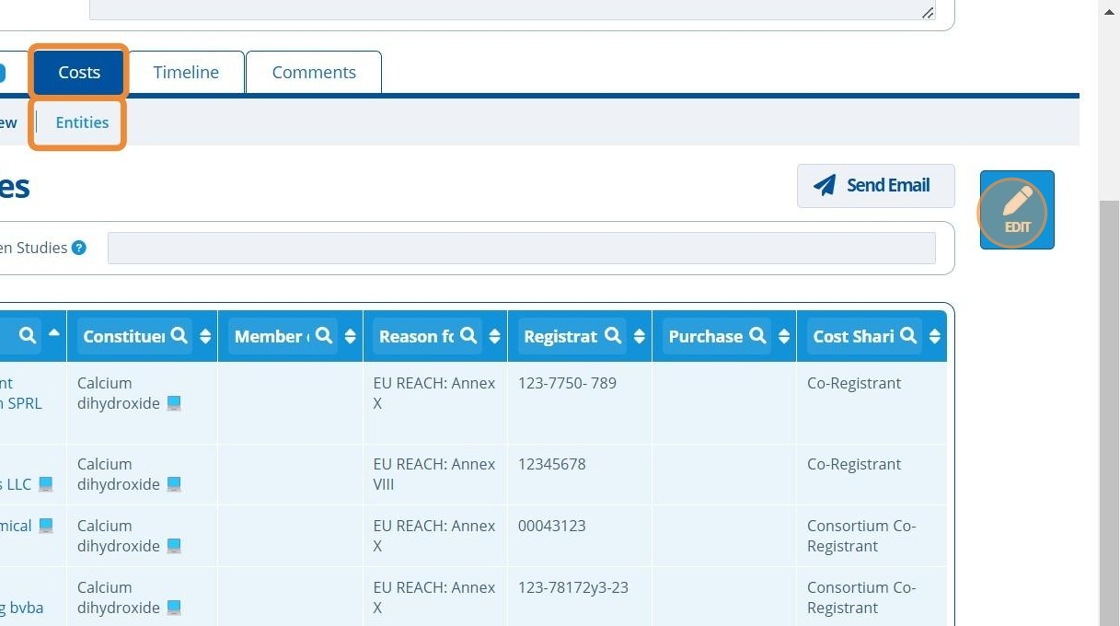
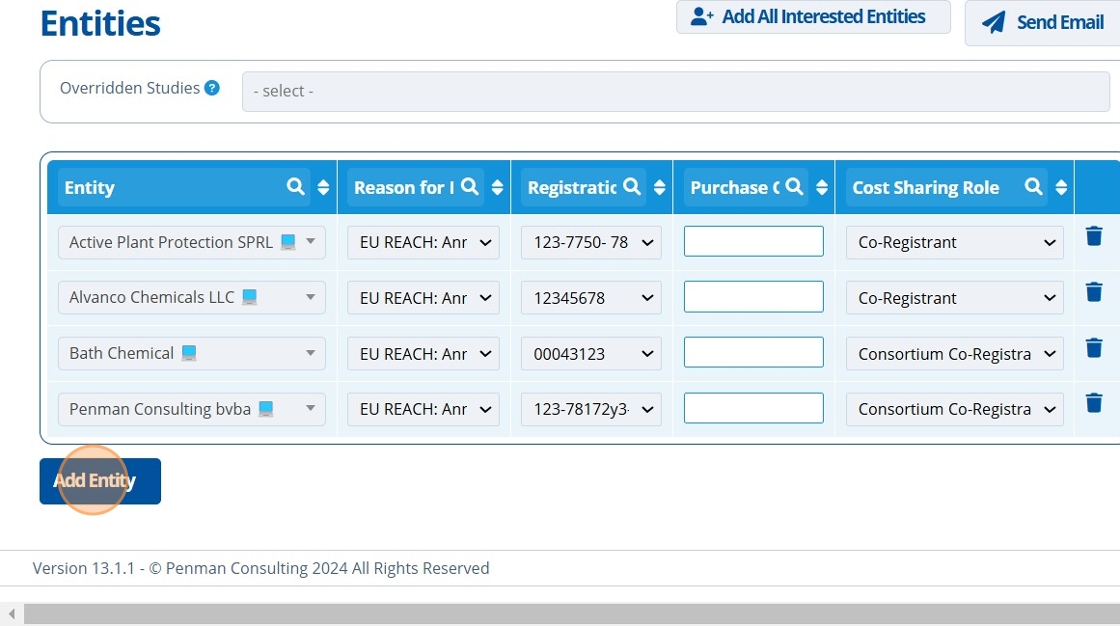
16. 👆 Click "Add Entity".
17. 👆 Select an entity from the dropdown list.
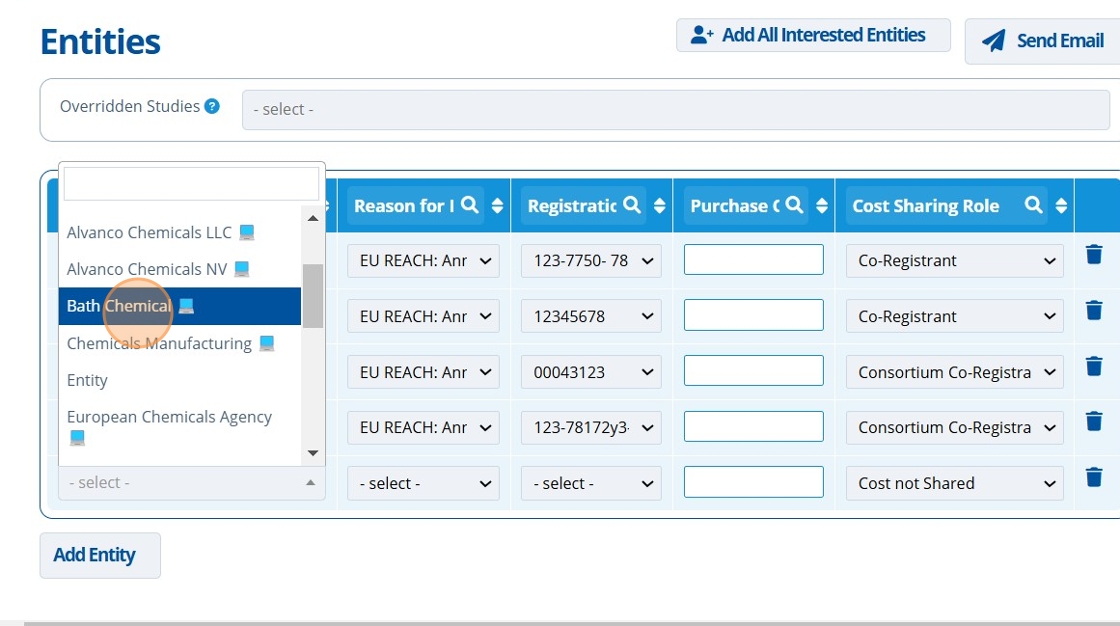
18. ✍️ Fill in the relevant fields for this table row.

19. 👆 Click "SAVE".
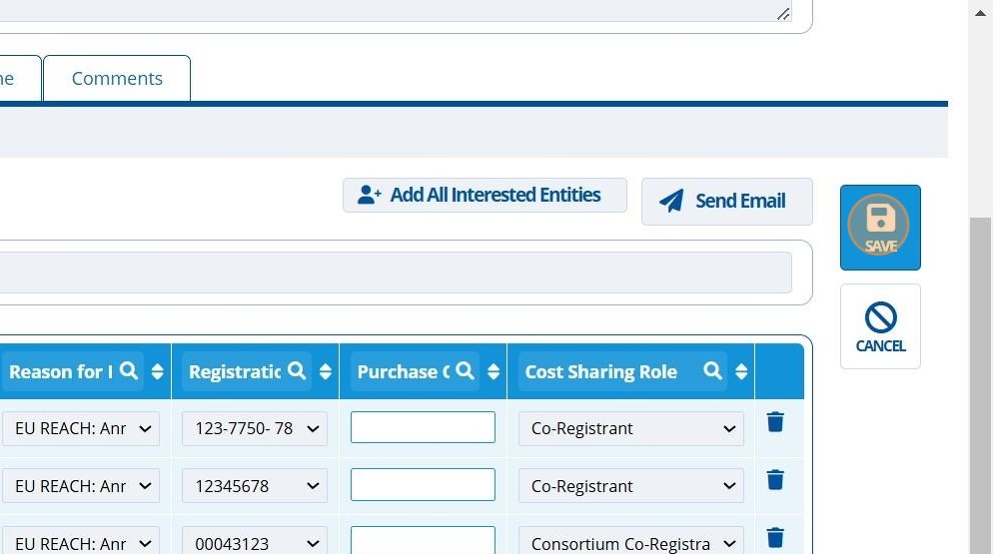
20. 🥳 Entity manually linked.
