How to Create a Task Tracker Page
Tip
Task Tracker pages will automatically display accessible tasks from the selected "Task Group". Using this page type makes sharing content on the web portal more efficient. Below is a preview of the Task Tracker page from a contact's view.
Useful features of using task tracker pages:
- When a new task is added to the selected task group, no page update is required as the task does not need inserting onto the page. It will be appended to the table.
- Task tracker tables have simple set formatting, making the styling easier and the pages look more consistent.
- There is no need to edit links/task names on the page when a document task has a new name or version, and its Version Identifier is updated.
- Tasks not accessible to the user accessing the page, will not be shown in the list.
- Option to show only tasks in the group that were created past a certain date.

1. 👆 Navigate to Campaigns 👉 Select the campaign of interest from the list.

2. 👆 Click "Web Portal" 👉 Navigate to "Pages".

3. 👆 Click "Add Page".

4. 👆 Select an option in the "Accessible To" section. This will control who can see the page.
Your user account will need permission to set access to "Public" or "All Users".

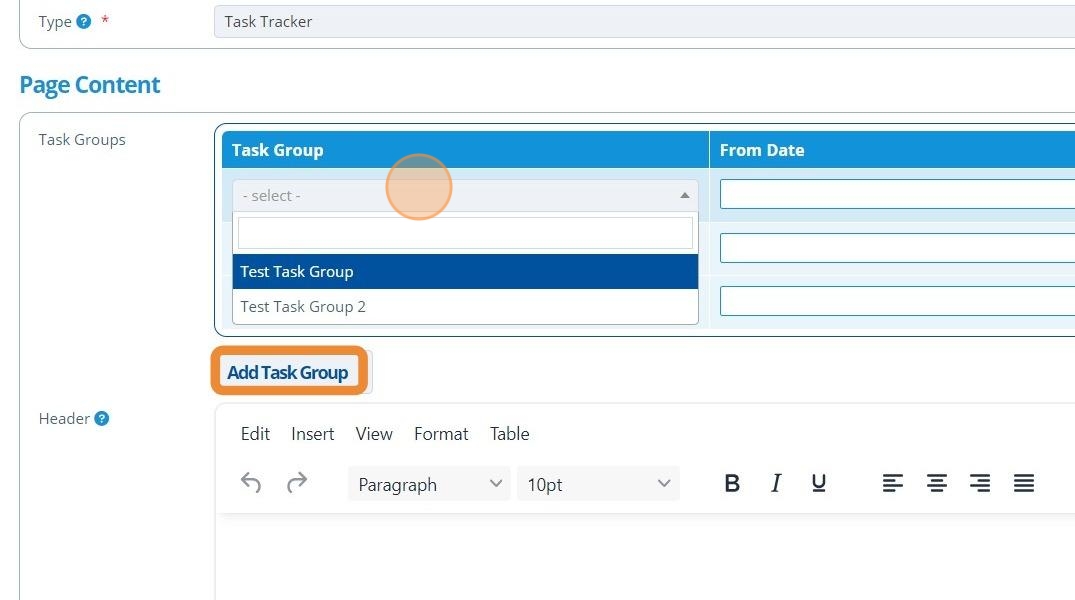
5. ✍️ Enter the page name and choose "Task Tracker" from the "Type" drop-down.

Warning
To assign a "Task Group" to the "Task Tracker" page, the group must first be created: How to Create a Task Group.
6. 👆 Click "Add Task Group" and select a task group from the drop-down menu. Repeat this step to display multiple groups. Each group will appear in a separate table.
7. 👆 Click the "From Date" field to choose the date from which the tasks will apply.
This "From Date" is based on each tasks "Creation Date". If the task was created before this date, it will not be shown on the task tracker page. If the task was created after this date, it will appear on the page in the table.

8. 👆 Click "Format" to format the page as required. Content in this box will be displayed on the page, above the task group.

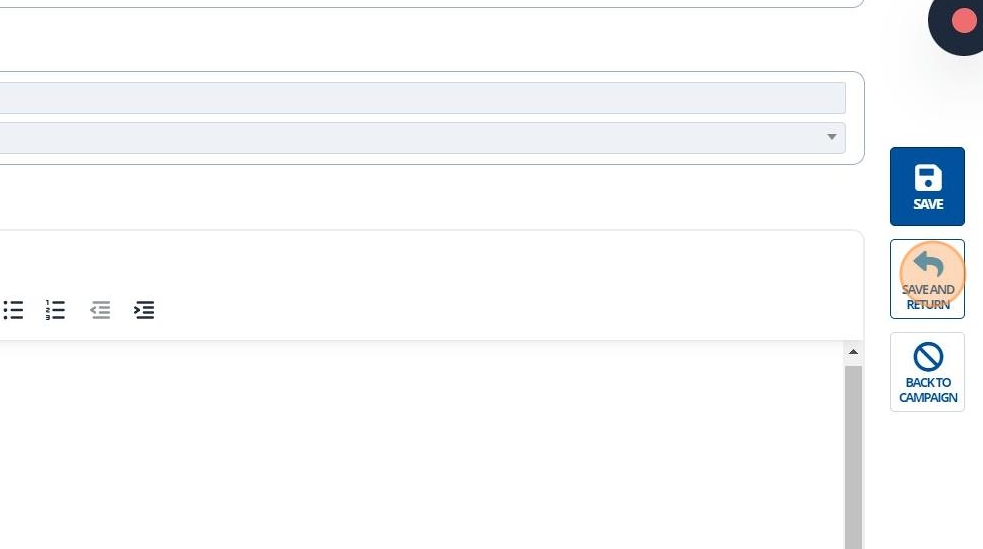
9. 👆 Click 'SAVE AND RETURN'.
10. 🥳 The Task Tracker page will now appear in the list of pages.
