How to Create a Contact Information Page
Tip
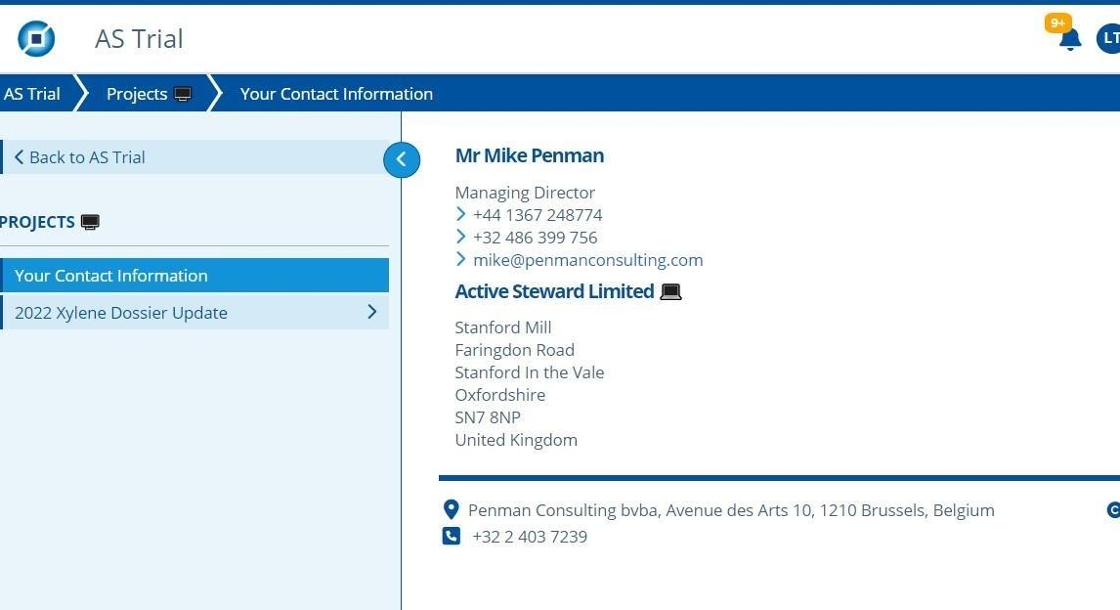
This page can be used to list contact information that Active Steward holds on the user that opens the page. Below is a preview of what the user "Mike Penman" will see.
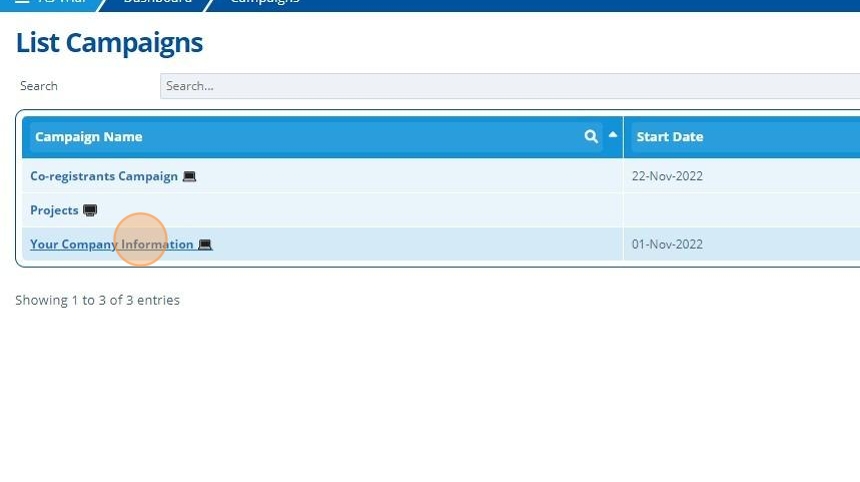
1. 👆 Navigate to Campaigns 👉 Select the campaign of interest from the list.
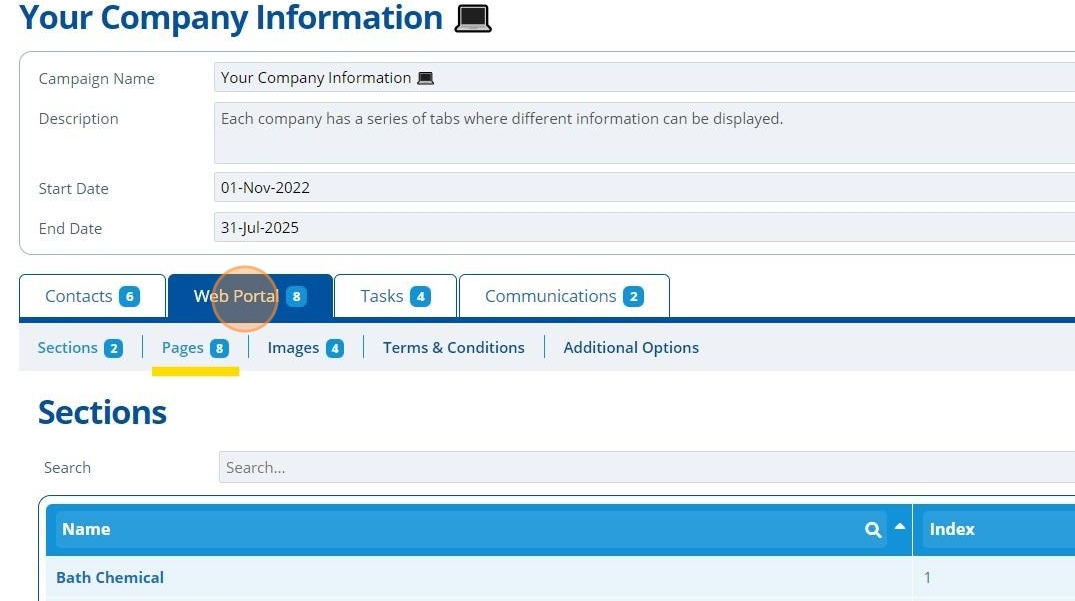
2. 👆 Click "Web Portal" 👉 Navigate to "Pages".
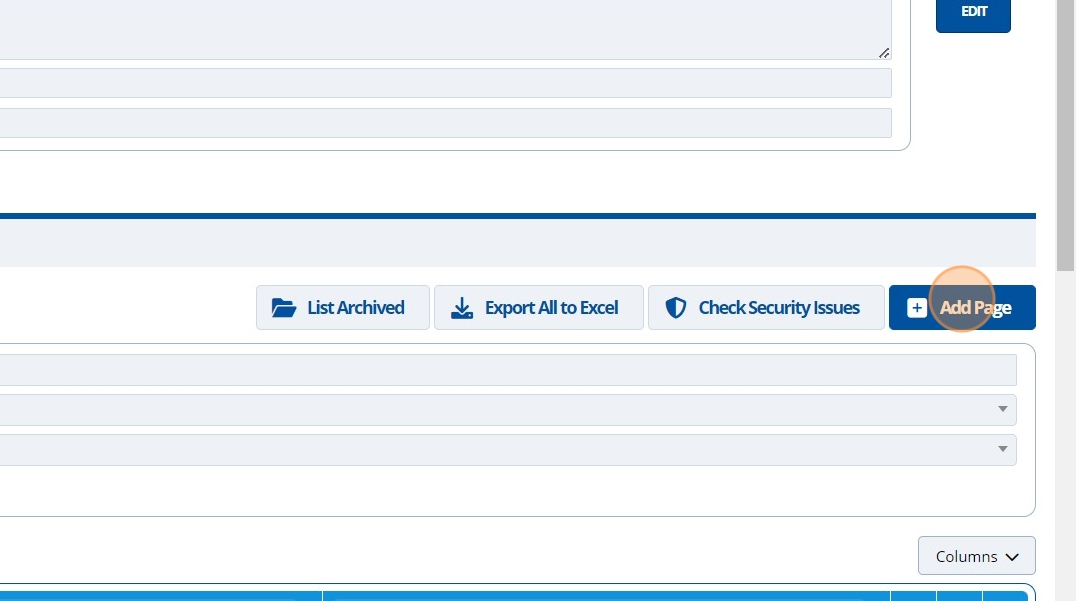
3. 👆 Click "Add Page".
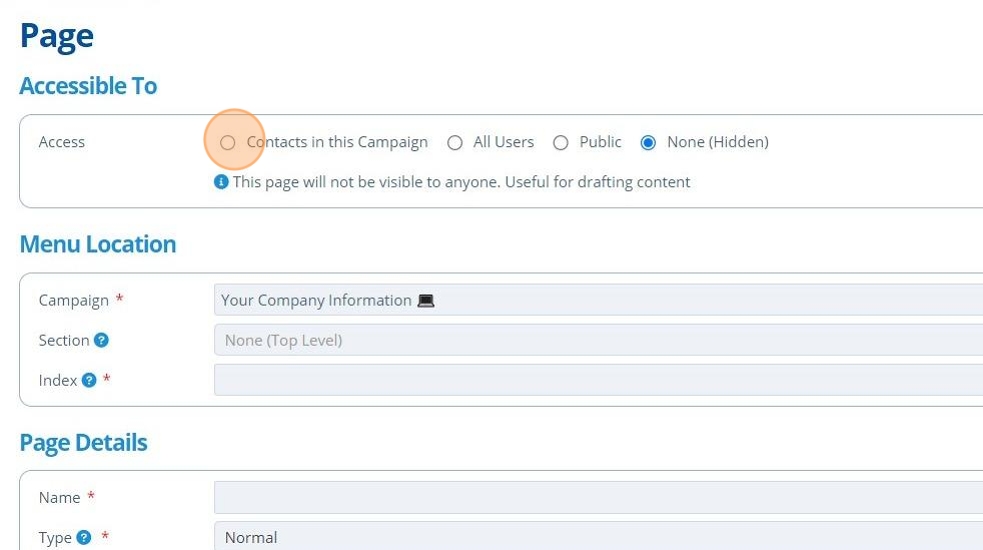
4. Choose the viewing roles that the page will have by 👆 selecting one of the radio buttons in the "Accessible To" section. Note: Only users with the relevant permissions are able to set the page access to "Public" or "All Users".
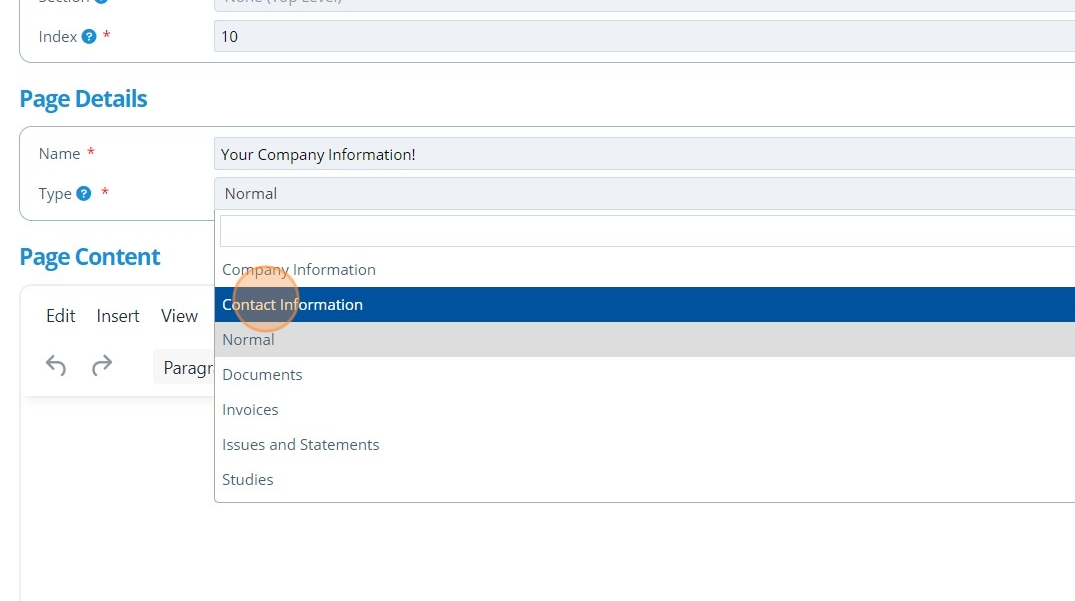
5. ✍️ Enter the page name, assign an index number, and choose "Company Information" from the "Type" dropdown.
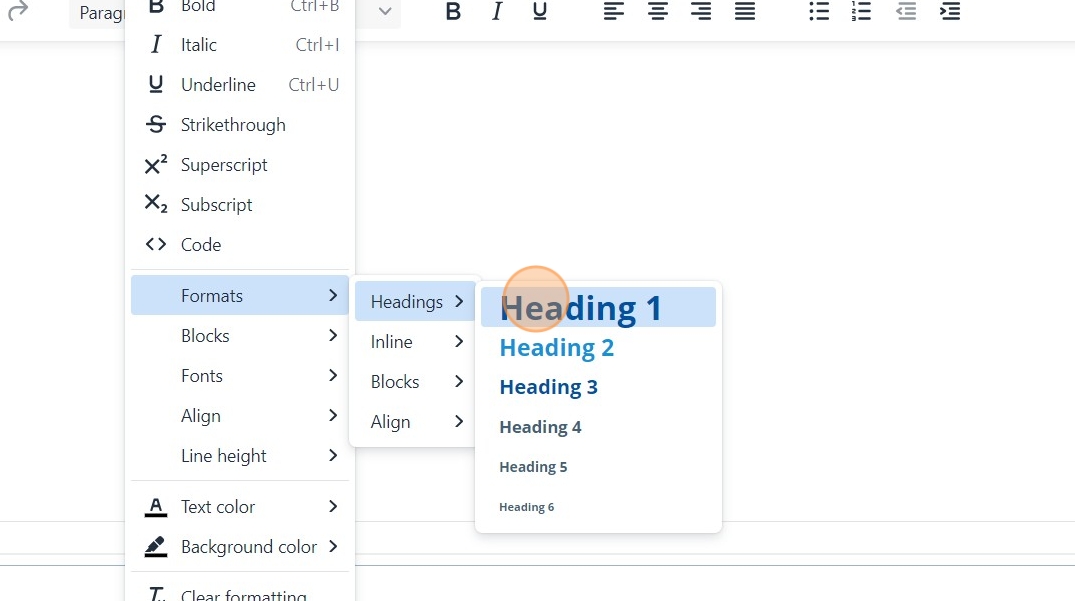
6. 👆 Click "Format" to format the page as required.
7. 👆 Click "SAVE AND RETURN".
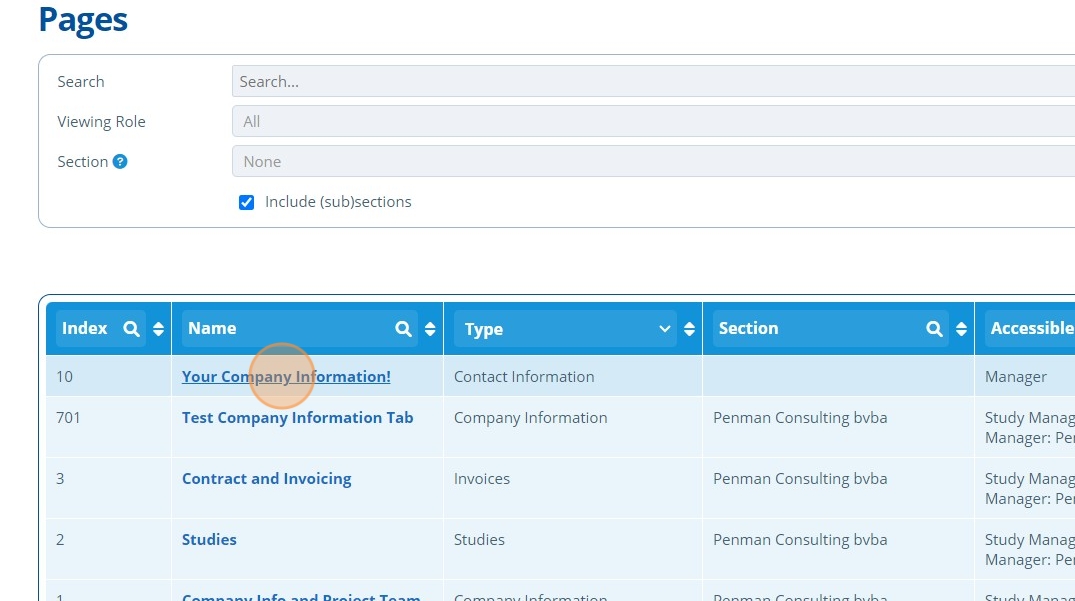
8. 🥳 The Contact Information page will now appear in the list of pages.