How to Send Invoices
Tip
Invoices can be sent out to contacts using the "Send Invoices" wizard. Each invoice selected will be attached to an email. Steps on how to draft this email are shown in the tutorial below.
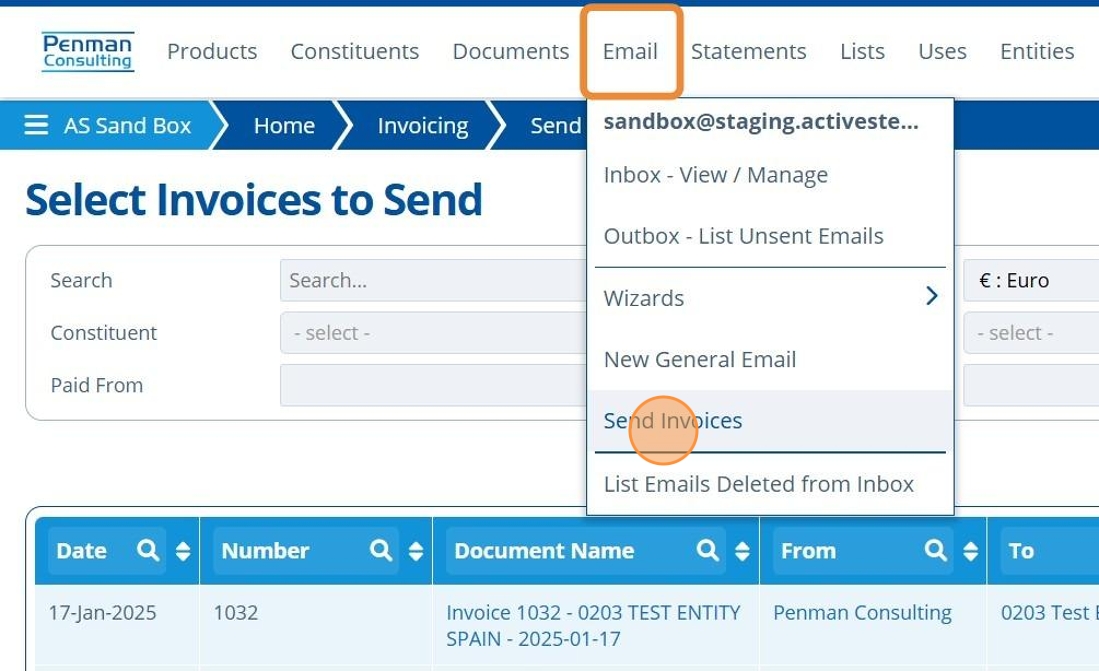
1. 👆 Navigate to Email 👉 Send Invoices.
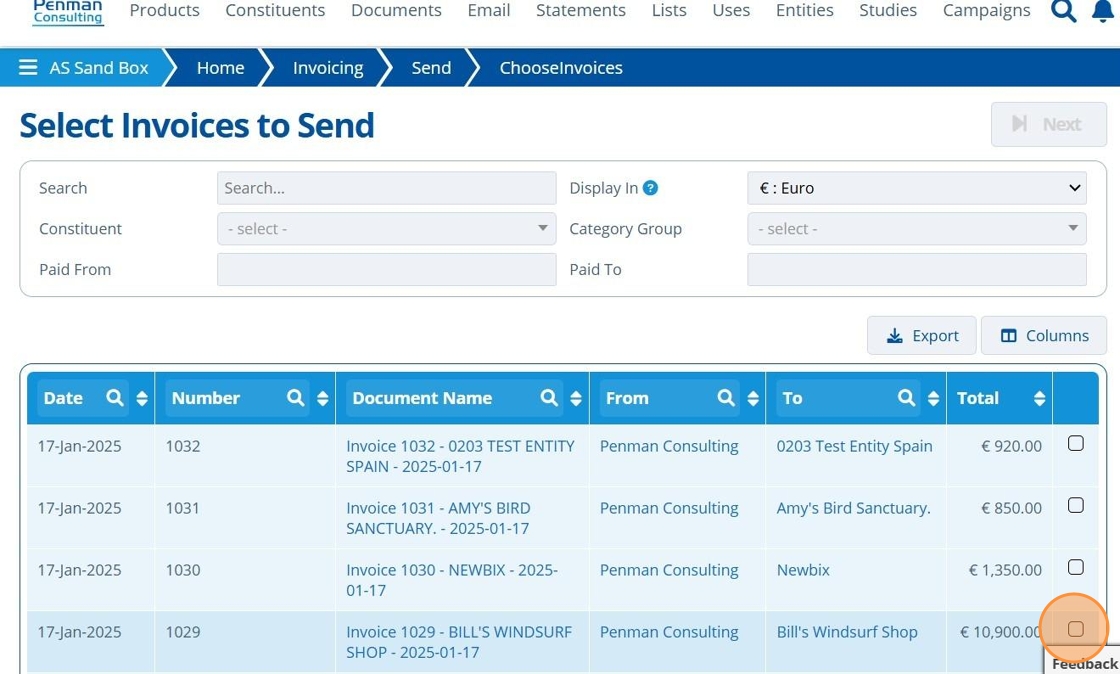
2. 👆 Use the checkbox to select an invoice to send.
Tip
👆 Hold shift and tick boxes to select multiple adjacent invoices at once.
👆 Hold Ctrl and tick boxes to select multiple invoices that are not adjacent in the list.
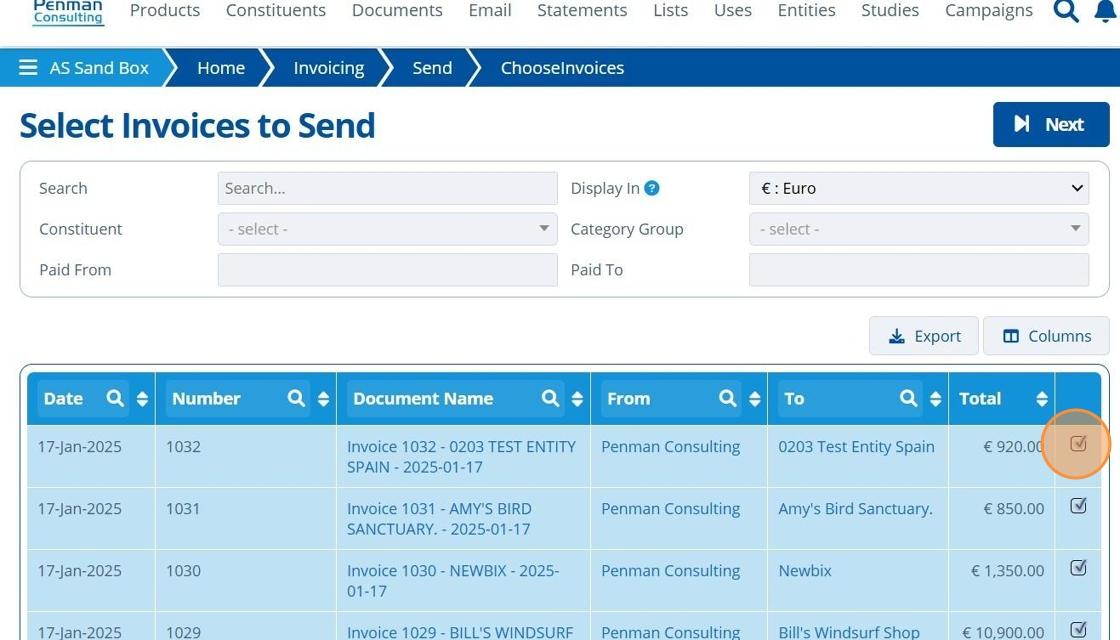
3. 👆 Click "Next".

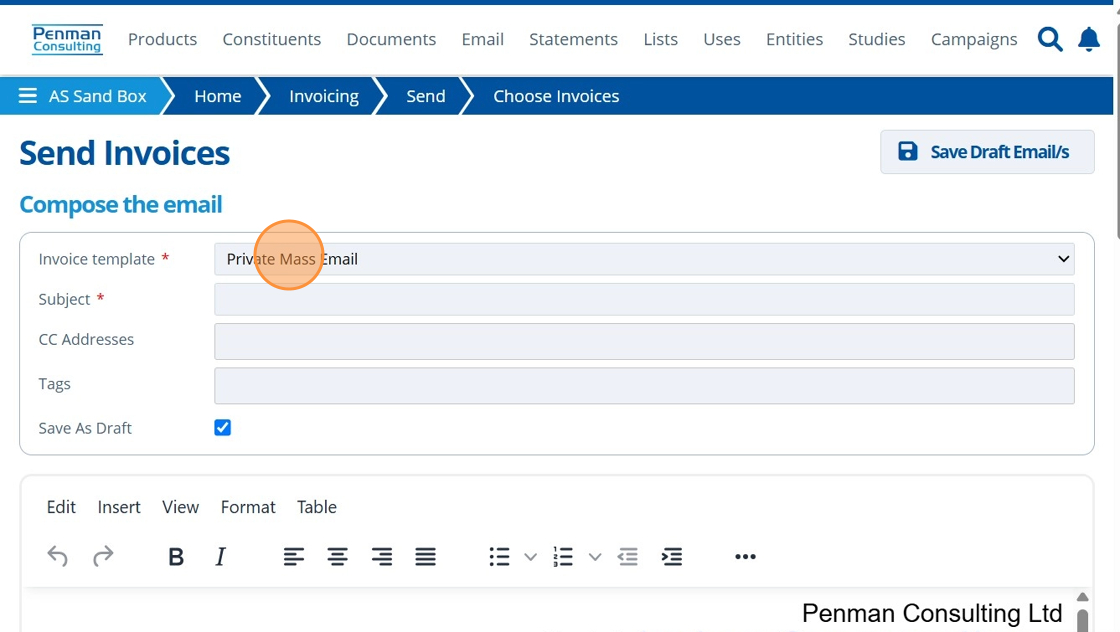
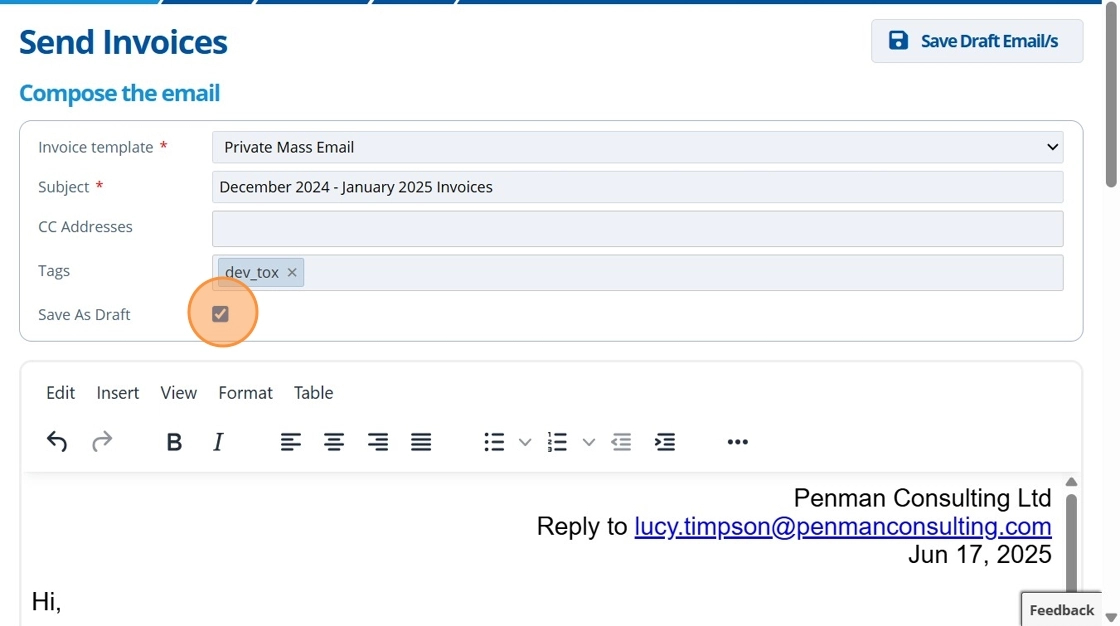
4. 👆 Choose from the list of Invoice templates to decide the content of the email body.
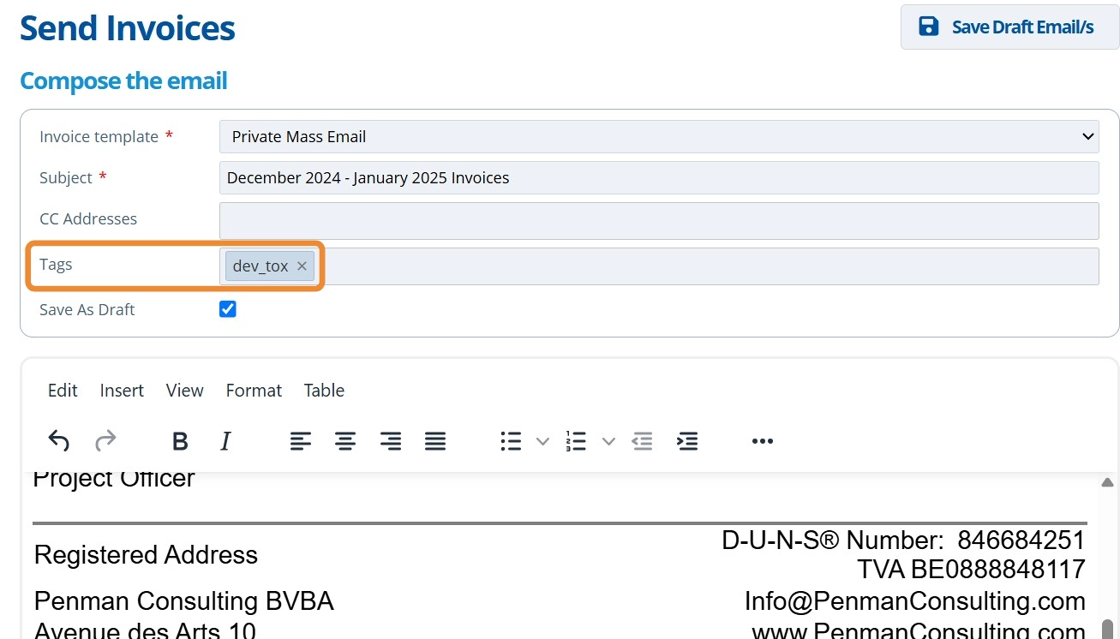
5. ✍️ Enter the email Subject.

Tip
The email being drafted is sent out for each invoice selected in step 2. Each invoice will be attached to the email(s) as documents.
6. ✍️ Enter a Tag, if required.
Once sent, the emails will be saved in the system as a document, with these tag(s) assigned. Tags are used to organise documents, making them easier to find when searching.
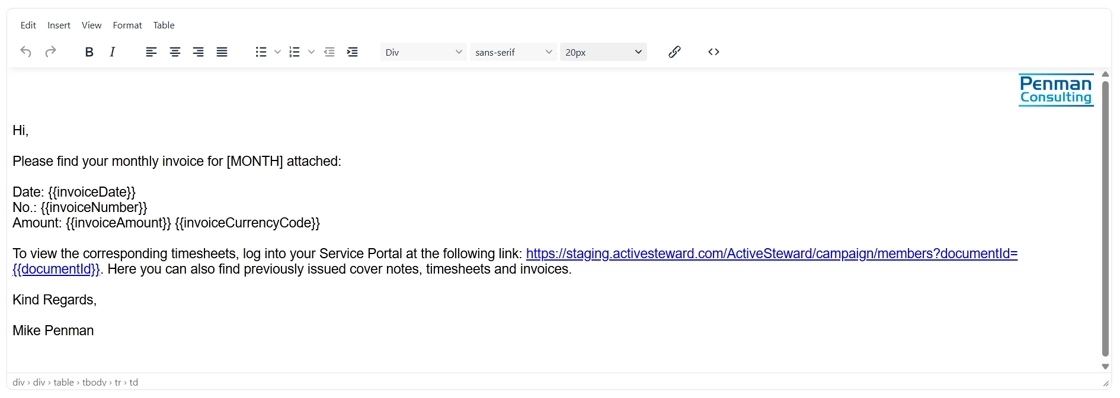
7. ✍️ Edit/ format the email content.
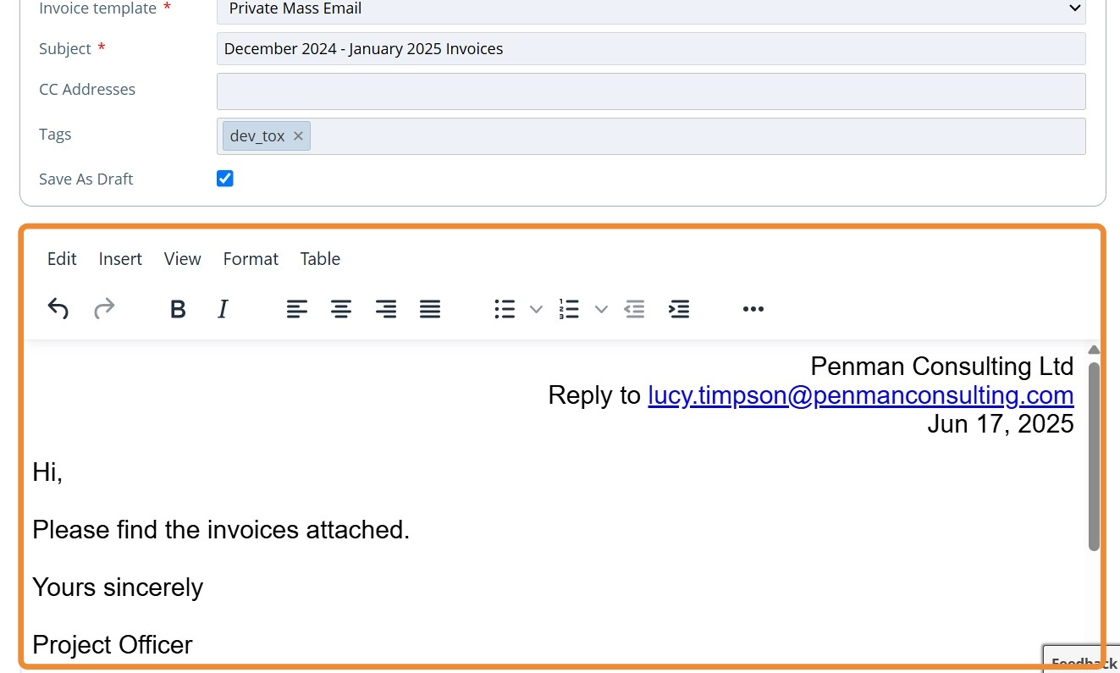
Tip
Some email templates include invoice attributes - shown with "{{" symbols. When the email is sent, these are populated using attributes from selected invoices.
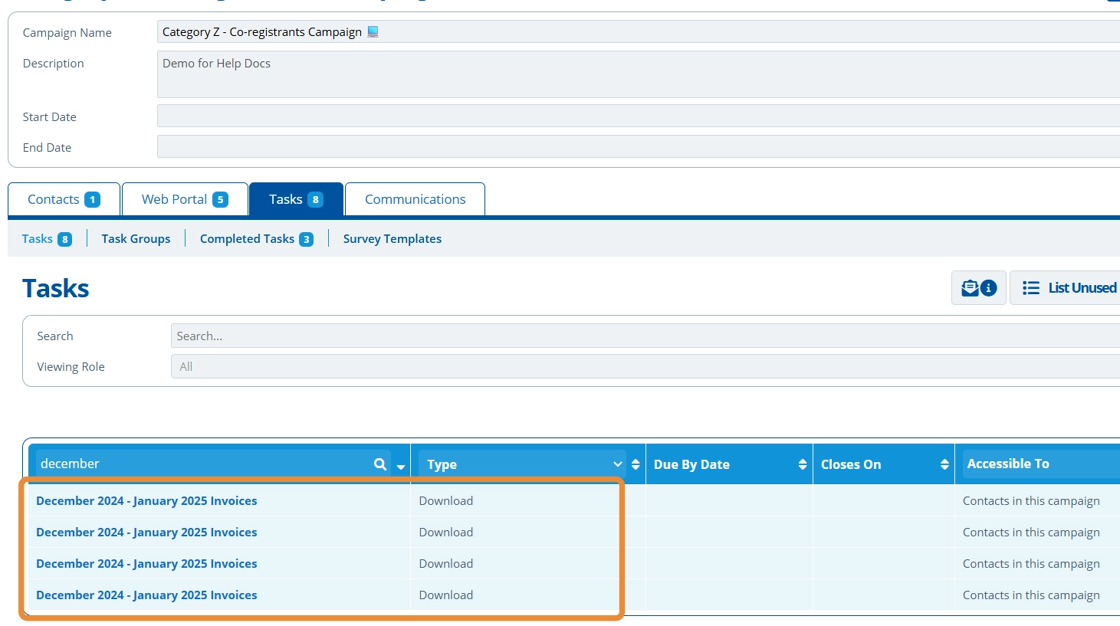
8. 👆 Tick "Share as Task" to upload a copy of the email body to a campaign.

9. 👆 Select a Campaign to share the email in.
Select a Contact, Viewing Role or Task Group if applicable.
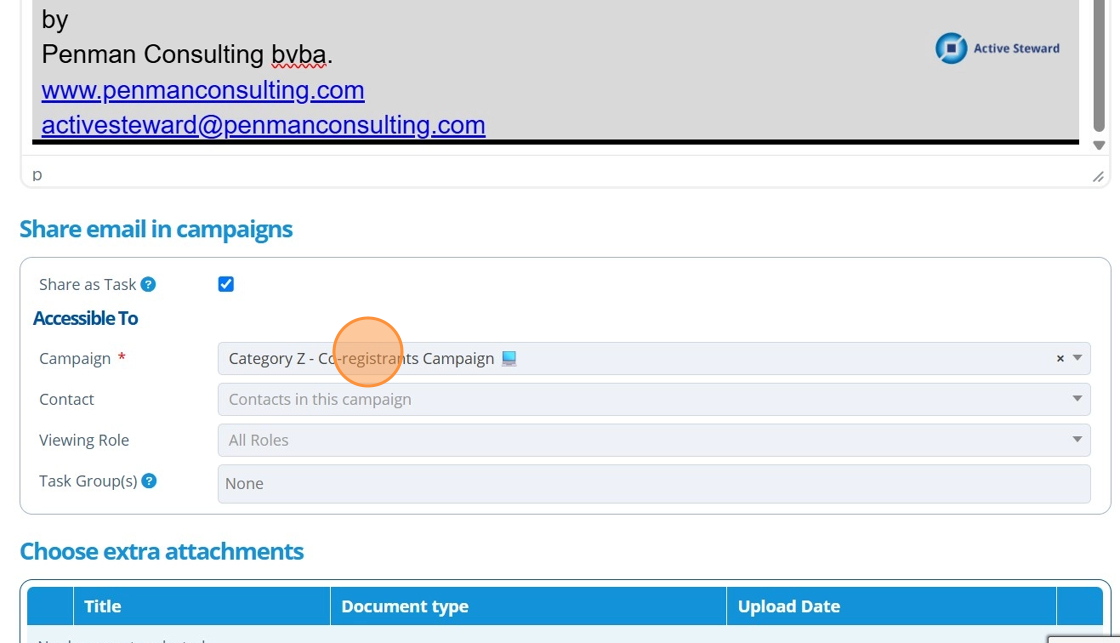
10. 👆 Choose to attach additional documents to the email.

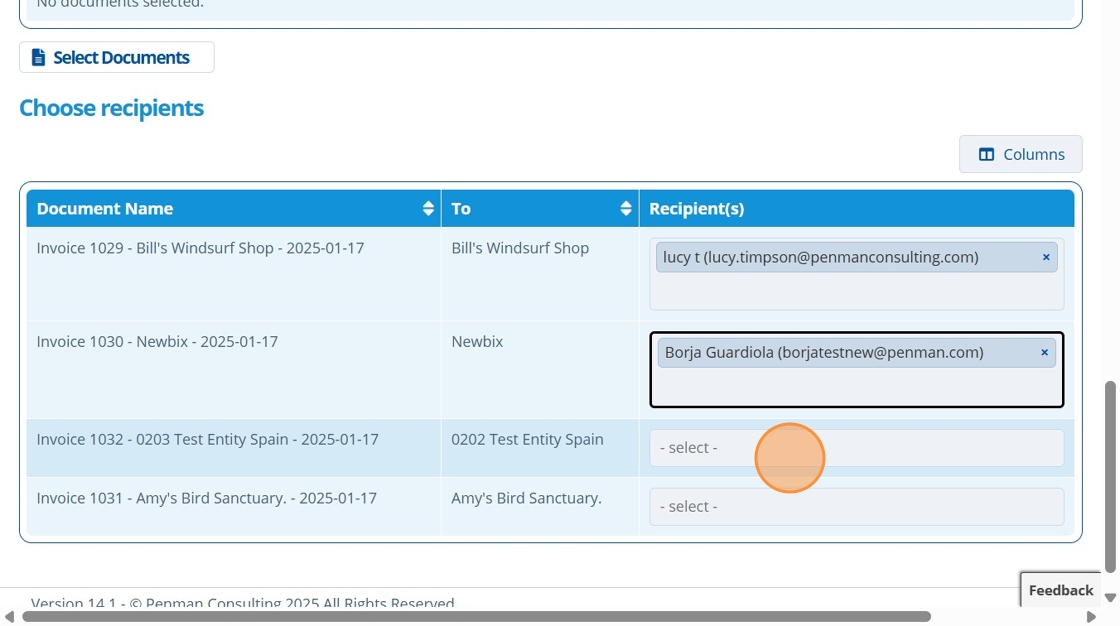
11. 👆 Choose the relevant contact each invoice is to be sent to. The field will be auto-populated if the entity has an assigned invoicing contact. Otherwise, choose from the dropdown list of contacts assigned to that entity. If there are no contacts, they will need creating.
Tip
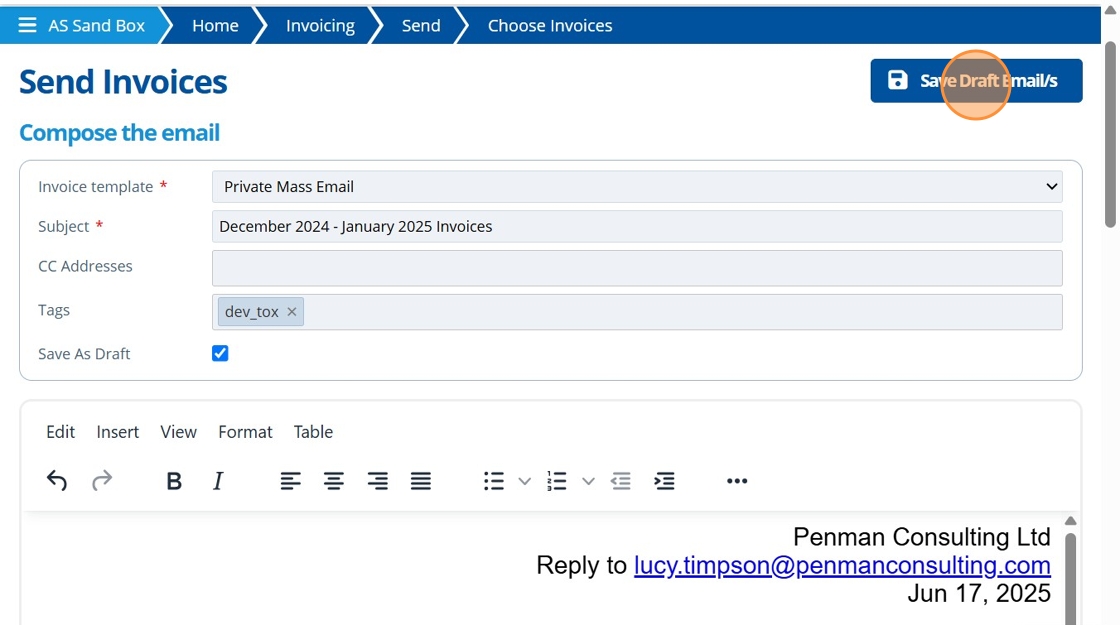
By default the "Save As Draft" option is checked. Untick this to send the email straight out to recipients. Otherwise, the email will be saved in the outbox and not sent. It can be returned to at a later time.
12. 👆 Click "Save Draft Email/s".
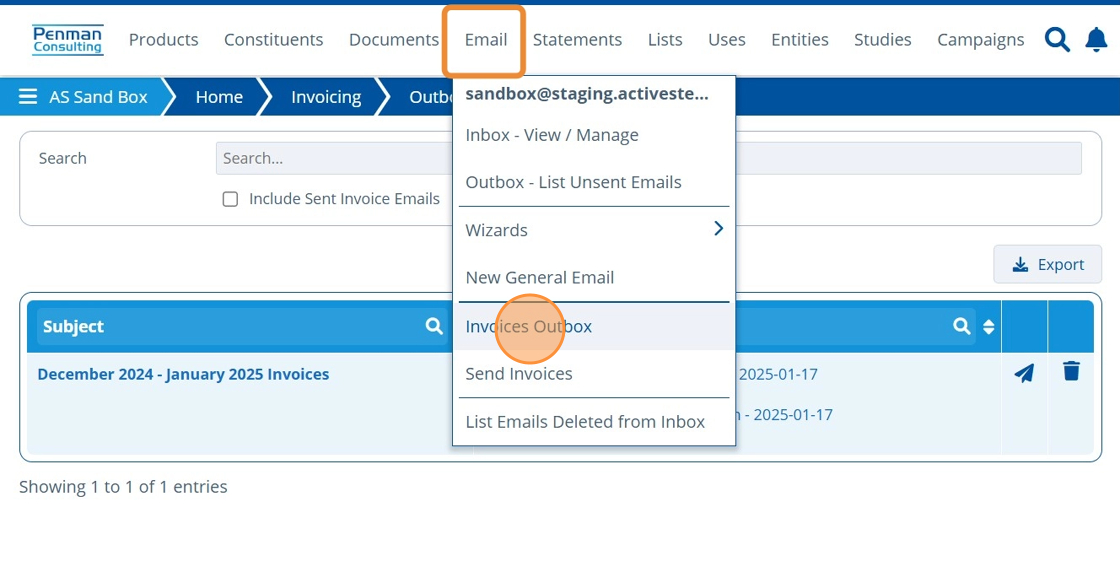
13. After the email has been saved as a draft and reviewed, navigate to the "Invoices Outbox".
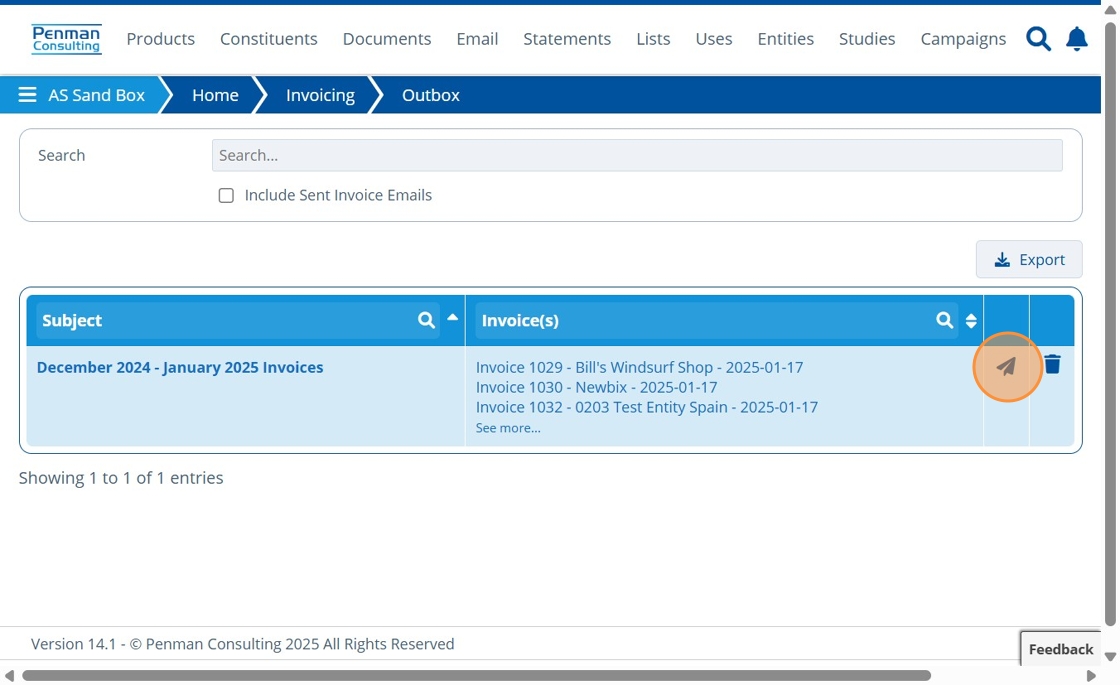
14. 👆 Click the send icon on the relevant email in the table.
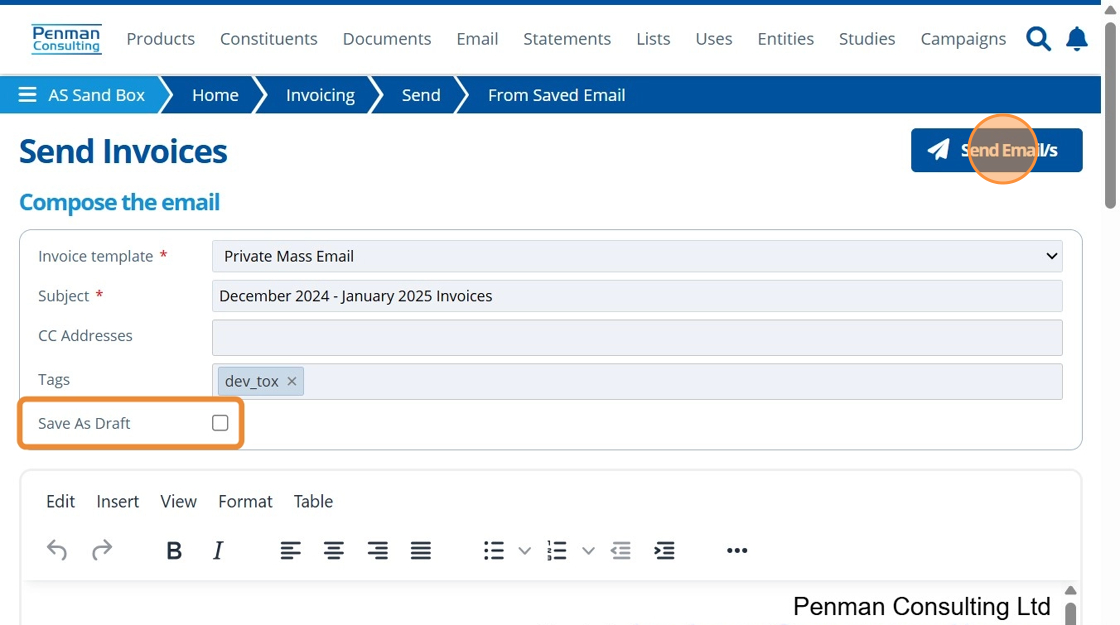
15. 👆 To send the email rather than saving it as a draft, untick the checkbox 👉 Click "Send Email/s".
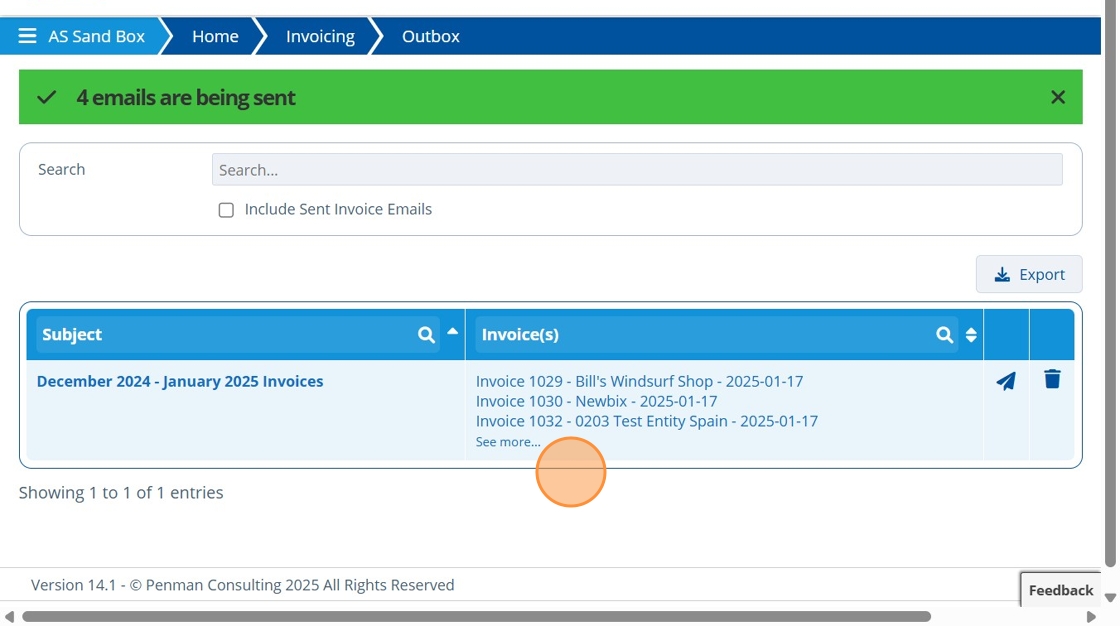
16. 🥳 A green banner indicates the emails were successfully sent.
17. 🥳 Find in the partitions selected email folder, a copy of the outgoing emails.

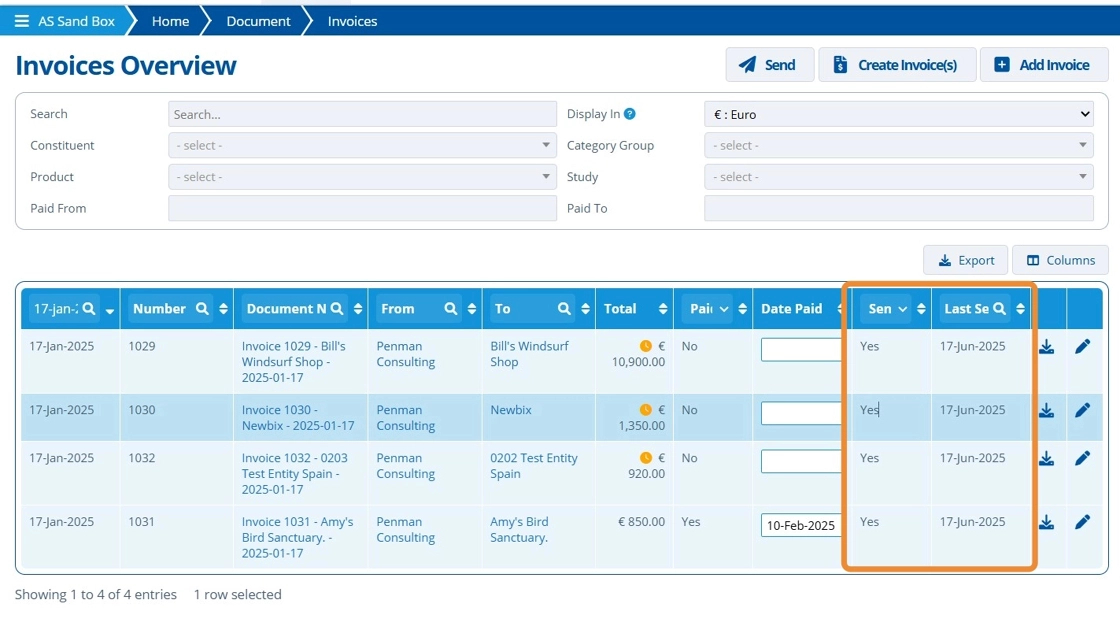
Tip
After sending the invoices out, the attributes for "Sent via Email" and "Last Sent" are updated. These attributes are found on the Invoices Overview and Send Invoices Wizard. This is useful to see which invoices have been sent out the system and when.