How to Create a Documents Page
Tip
This page displays documents (of a chosen type or specified Tag) that are associated with the campaign.
To have files show on this page, see the following:
- Automatically Share Documents to Campaigns - Via Email
- Add a Document to a Campaign by Creating a Download Task
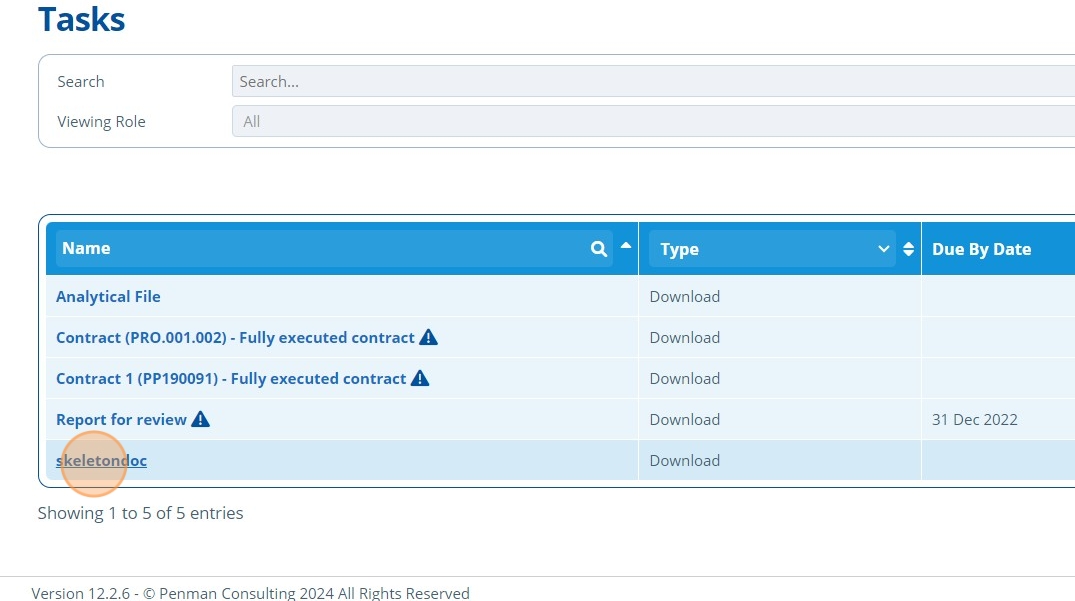
Here is a preview of the Documents page from a campaign contact's view:

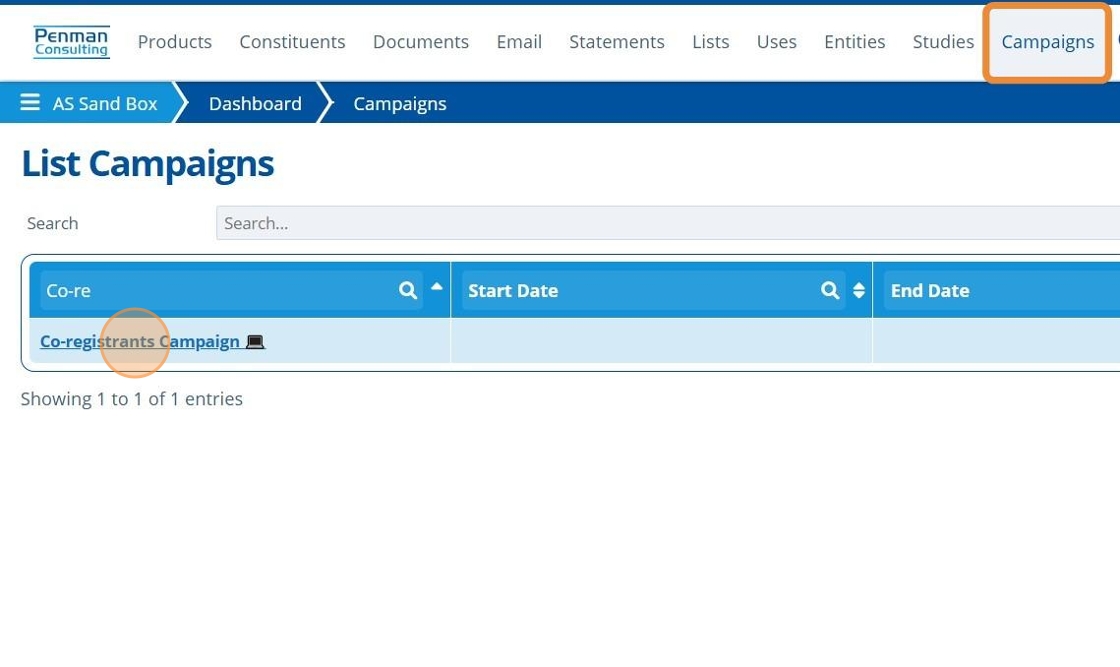
1. 👆 Navigate to Campaigns 👉 Select the campaign of interest from the list.
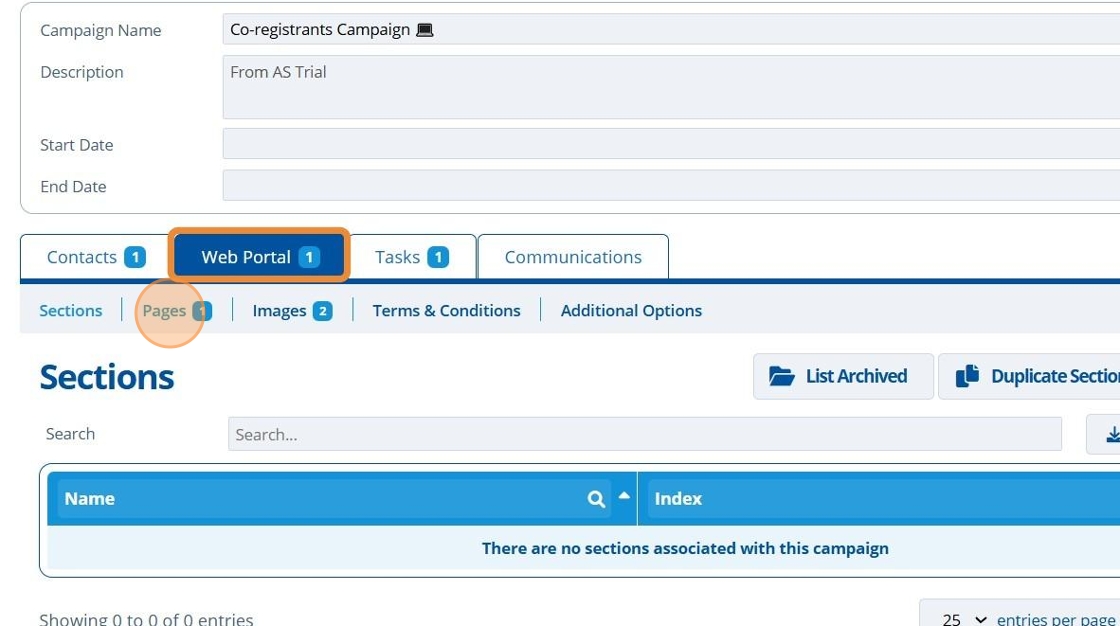
2. 👆 Click "Web Portal" 👉 Navigate to "Pages".
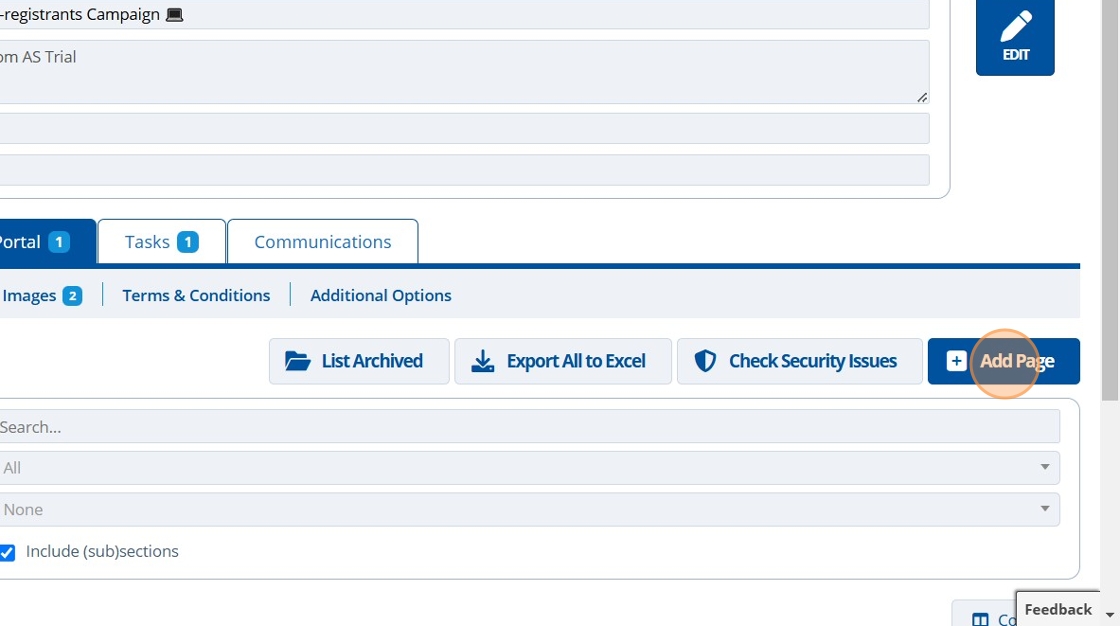
3. 👆 Click "Add Page".
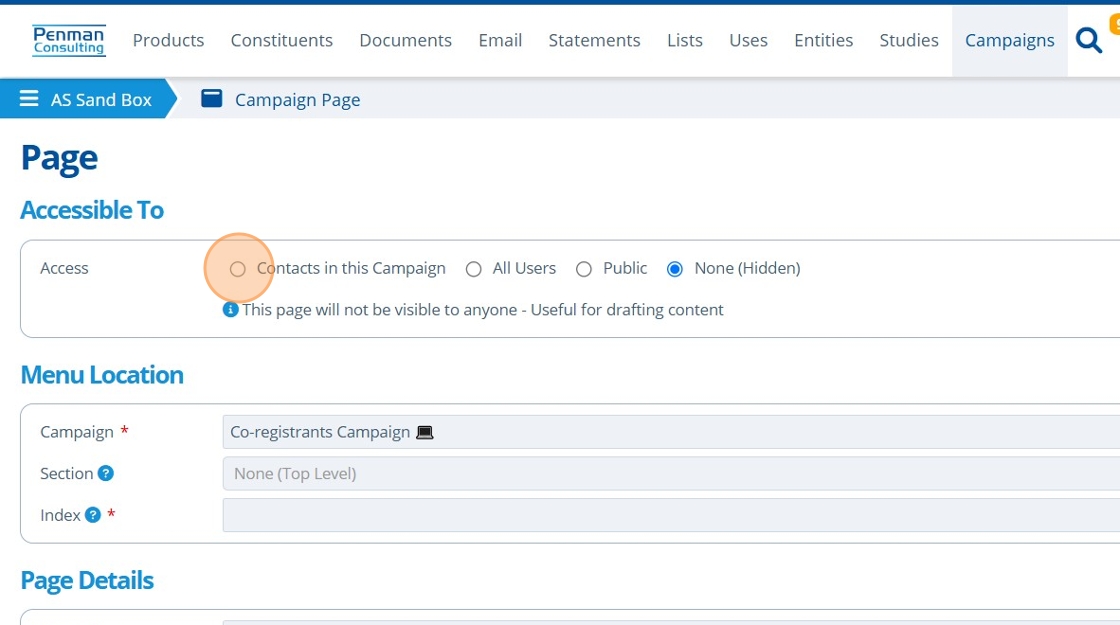
4. 👆 Select an option in the "Accessible To" section. This will control who can see the page.
Your user account will need permission to set access to "Public" or "All Users".
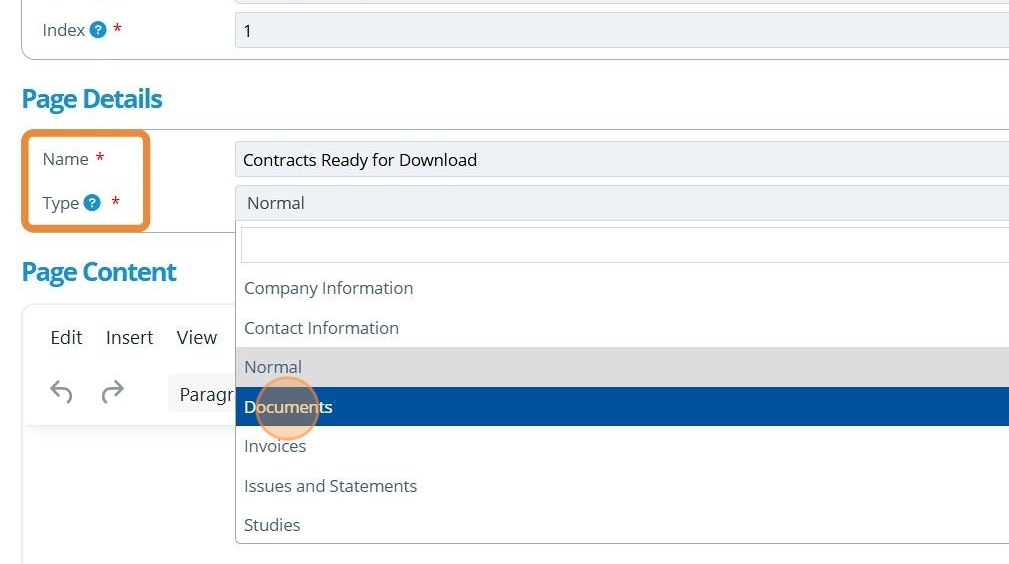
5. ✍️ Enter the page name and choose "Documents" from the "Type" dropdown.
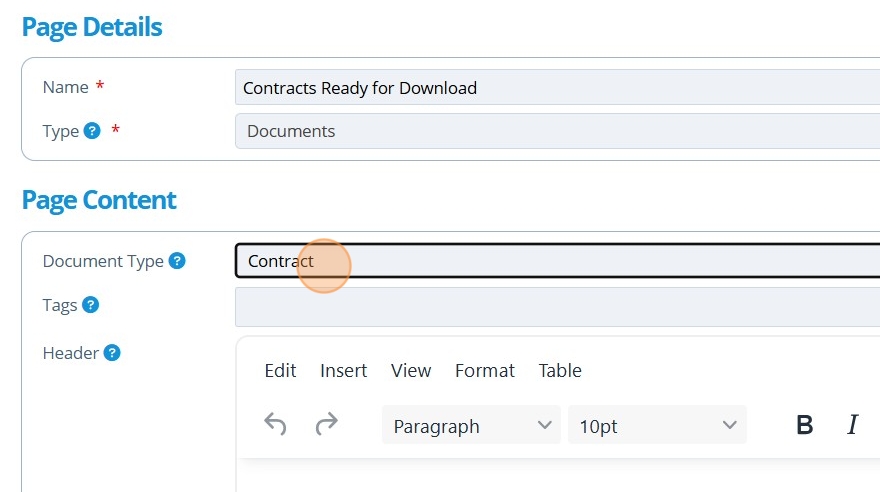
6. 👆 Click the "Document Type" field to choose what type of document will be shown on this page.
The page will display all types if left empty.
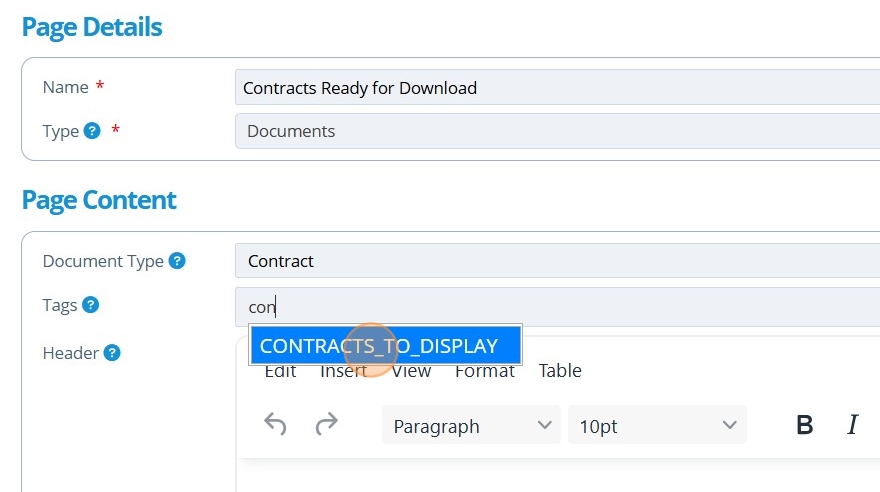
7. To only display certain documents that have a specific tag assigned to them, 👆 populate the "Tags" field with the relevant information.
8. 👆 Click "Format" to format the page as required.

9. 👆 Click "SAVE AND RETURN".
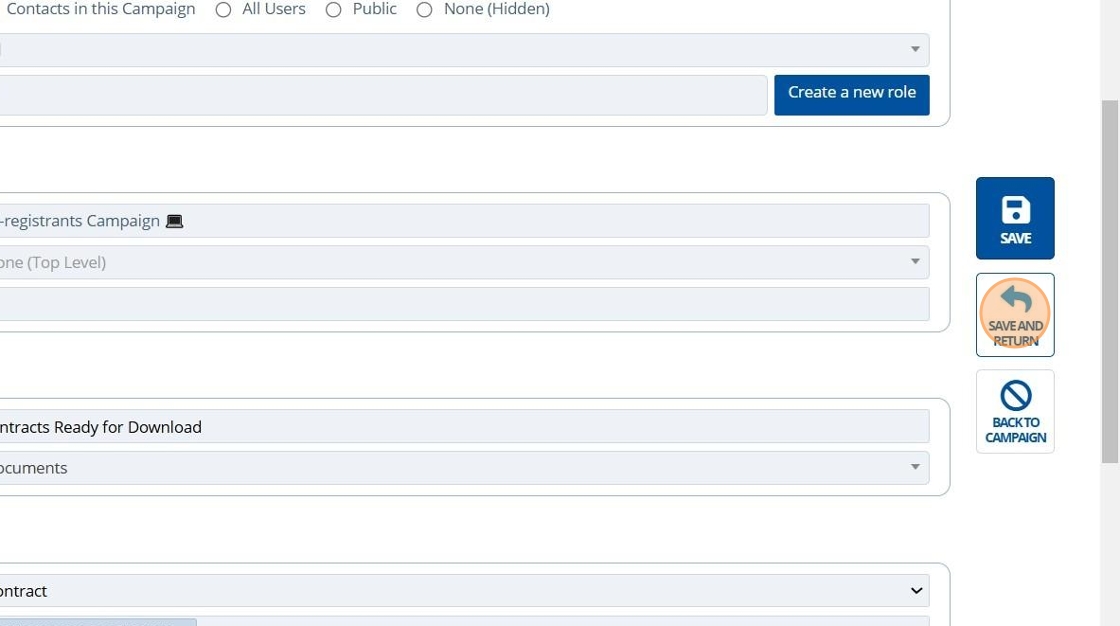
10. 🥳 The Documents page will now appear in the list of pages.
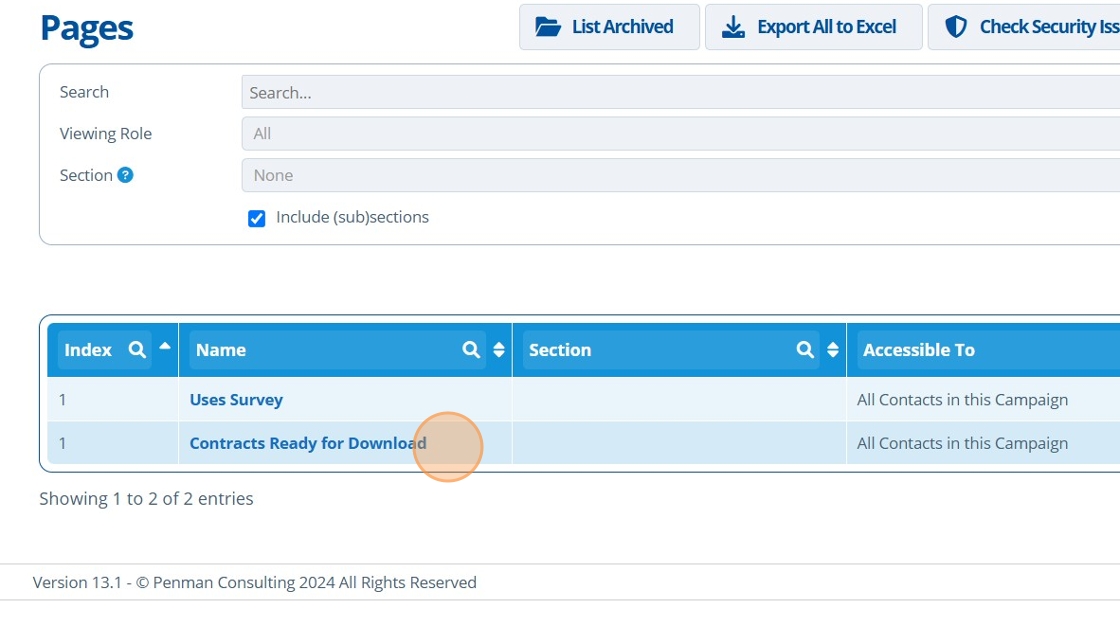
How to display a document on the "Documents" page
Tip
The document you want to display on this page must be the same type as selected in the "Document Type" field when setting up the page. The document must also have any selected "Tags" (see steps 6 & 7).
It is only documents that are uploaded to the campaign as a "Task" that will show on the page, not any documents in the system.
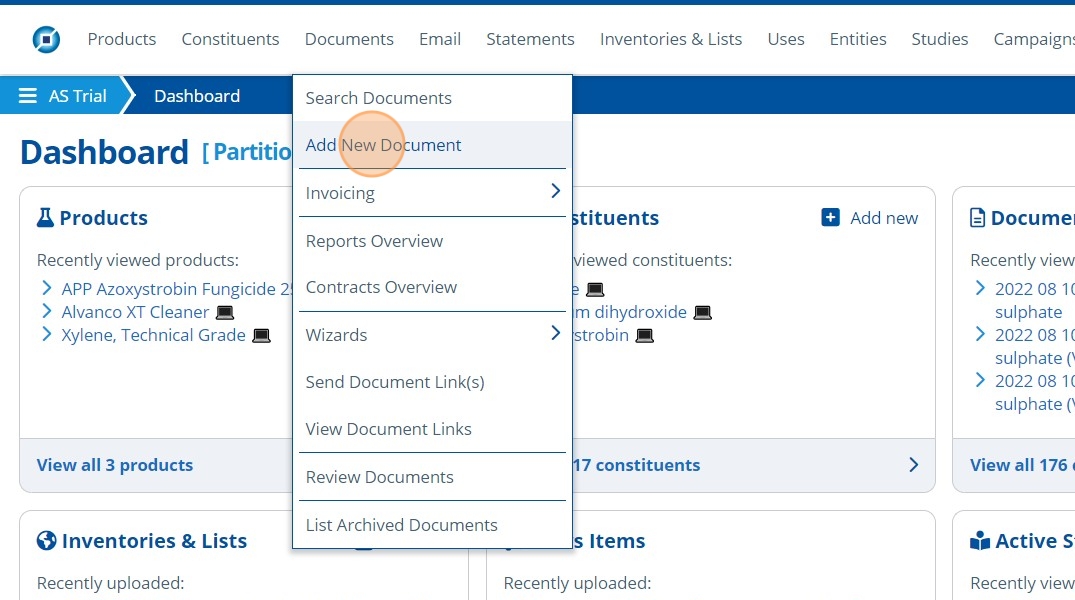
11. 👆 Navigate to Documents 👉 Select "Add New Document".
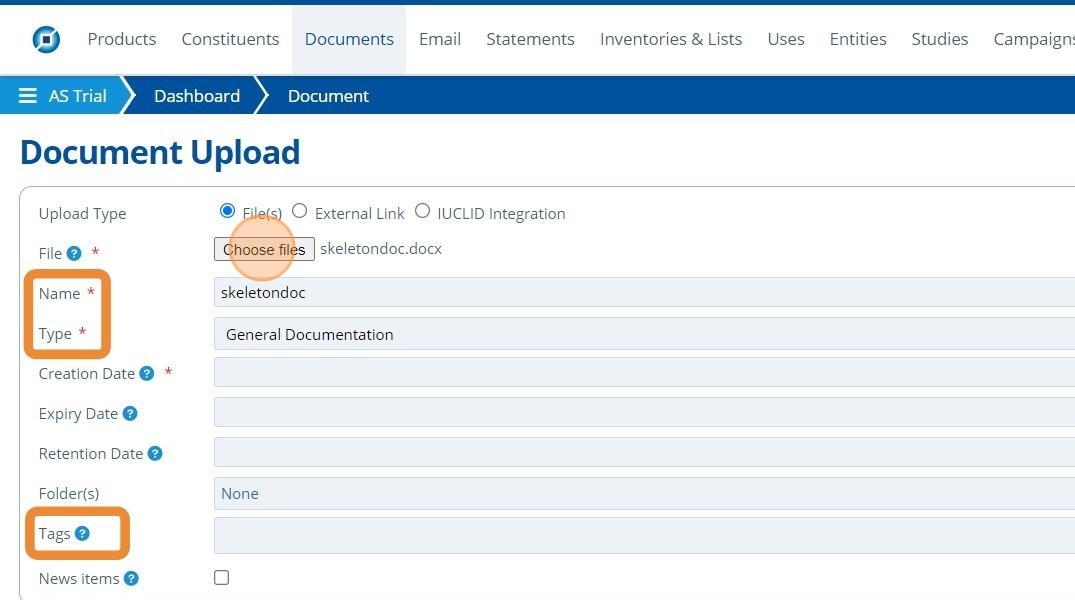
12. ✍️ Enter the documents "Name" and "Type". 📤 Upload the document by clicking the "Choose files" button.
If relevant, ✍️ enter any required "Tags".
13. 👆 Tick the "Share as Task" box in the "Campaigns" section.
Ticking this box means that the document will be automatically added to the selected campaign as a "Task".

14. 👆 Select the destination campaign from the dropdown list.

15. 👆 Click "SAVE AND RETURN".

16. 🥳 The uploaded document now appears as a task within the campaign, and will automatically display on the "Documents" page set up above.
