Create a Study
Tip
"Studies" in Active Steward are records that hold information about a study being conducted. Information held can be; finances / timelines / study details / documents. View the full study guide here.
Study information for the whole partition can be exported or imported by administrators in the Bulk Data screen. Bulk Data can be found by navigating to the settings icon in the top navigation bar.

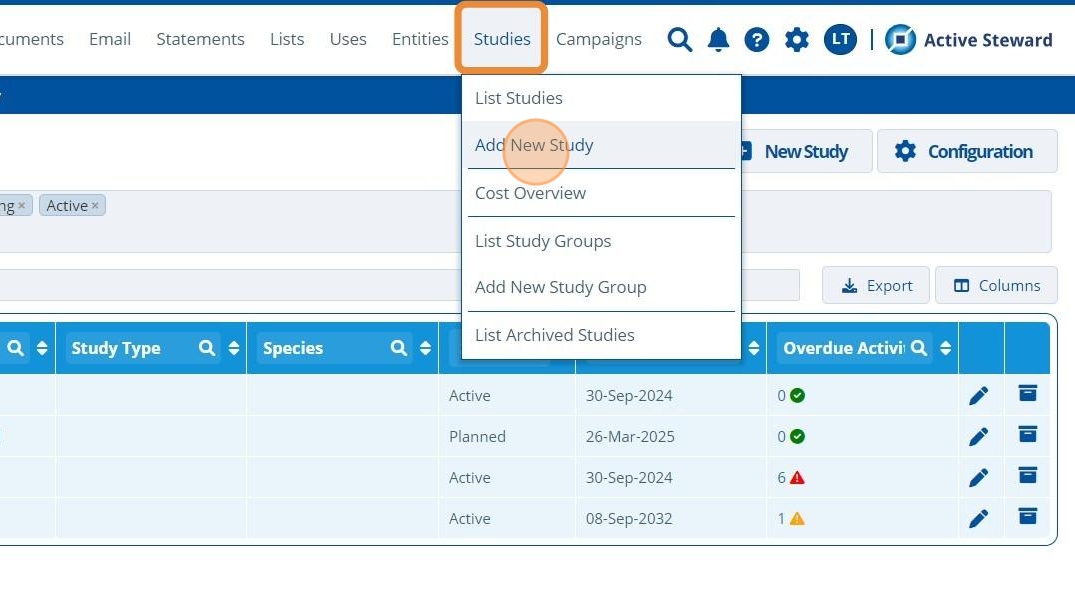
1. 👆 Navigate to Studies 👉 Click "Add New Study" in the menu or click the "New Study" button on the page.
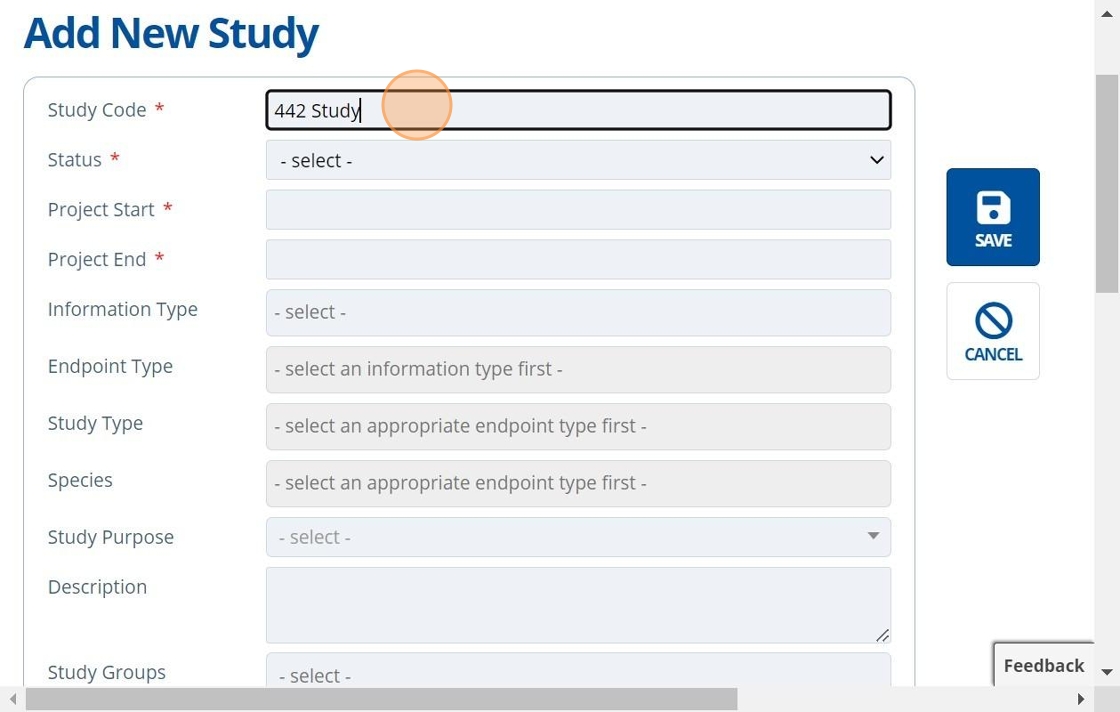
2. ✍️ Fill in the study name. Note that there is a maximum study length set in the instance configuration settings.
Tip
It is good practice to give the "Study Code" a unique name, so it is easier to identify throughout the system. Studies can be linked or used in other areas of Active Steward, such as Documents, Entities, Constituents, Products and Campaigns.
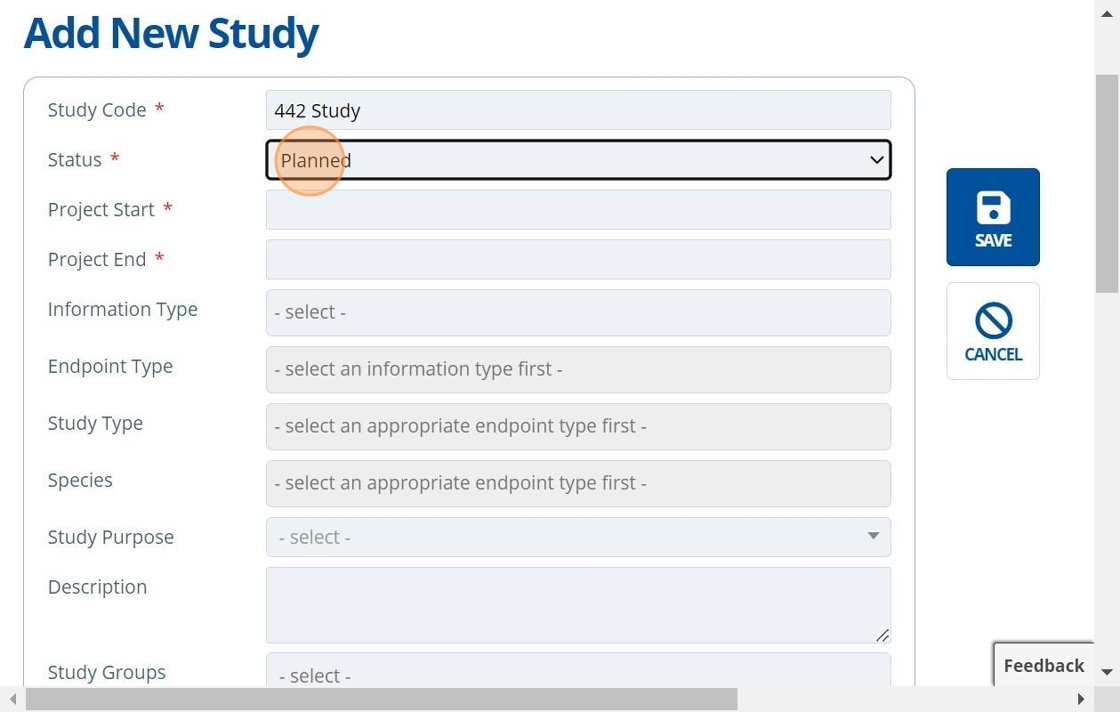
3. 👆 Set the study status.
Tip
The "Status" notes the current progress of the study. Usually the initial status is set to "Planned". As the study progresses, the status is updated by users to keep all informed of where the project is currently up to. The order usually goes Planned → Contracting → Active → Complete.
Users that have their notification preferences "on" for this study record will be notified when the study status changes.
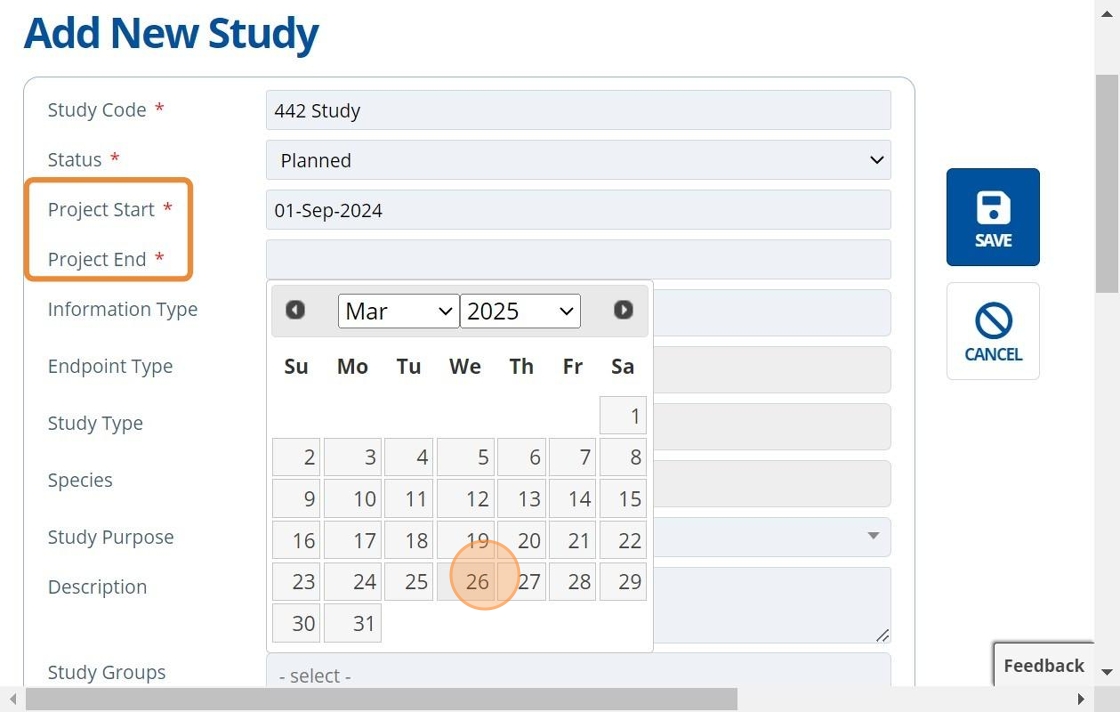
4. 👆 Choose Start and End dates.
Tip
Project duration (Start to End date) is set wider than the study dates provided by a Contact Research Organisation (CRO/Lab). This allows time for planning and other study activities such as "Report Circulation". Specific study events and their dates can be set up on the "Timeline" tab which gives a more detailed overview of the whole project plan: Create Study Activities and Set up the Timeline.
5. ✍️ Fill in specific details about the study if required.

6. 👆 Select a Study Purpose.
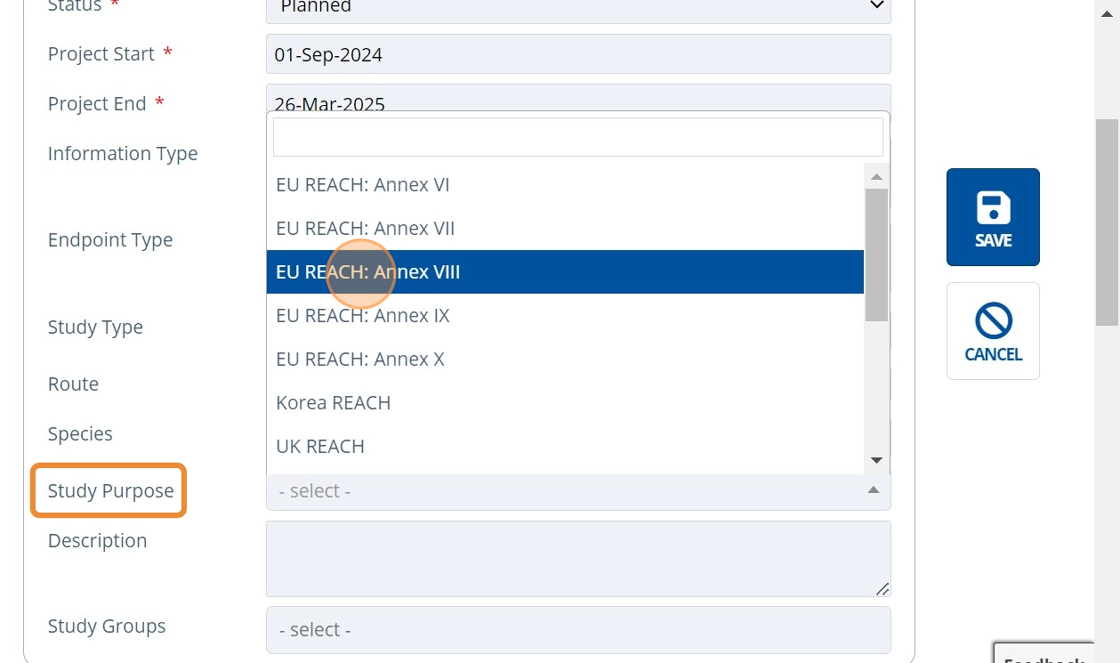
7. 👆 Select a Study Group if relevant. See Create a Study Group for more information.

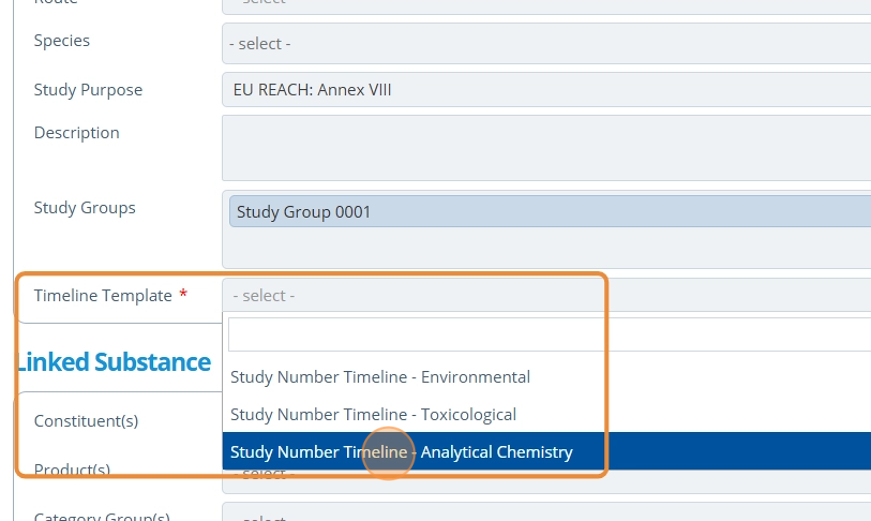
8. 👆 Choose a Timeline Template. The option selected determines the study timeline type shown for each study activity. The template chosen is based on if the study is toxicological environmental or analytical.
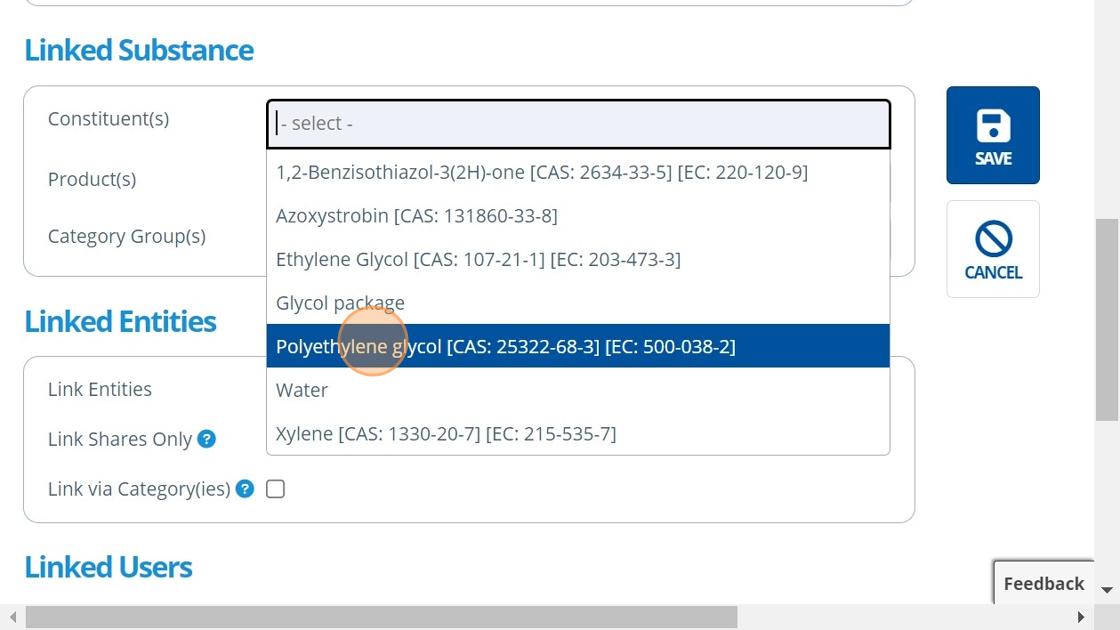
9. ✍️ Choose the substance(s) that the study is for.
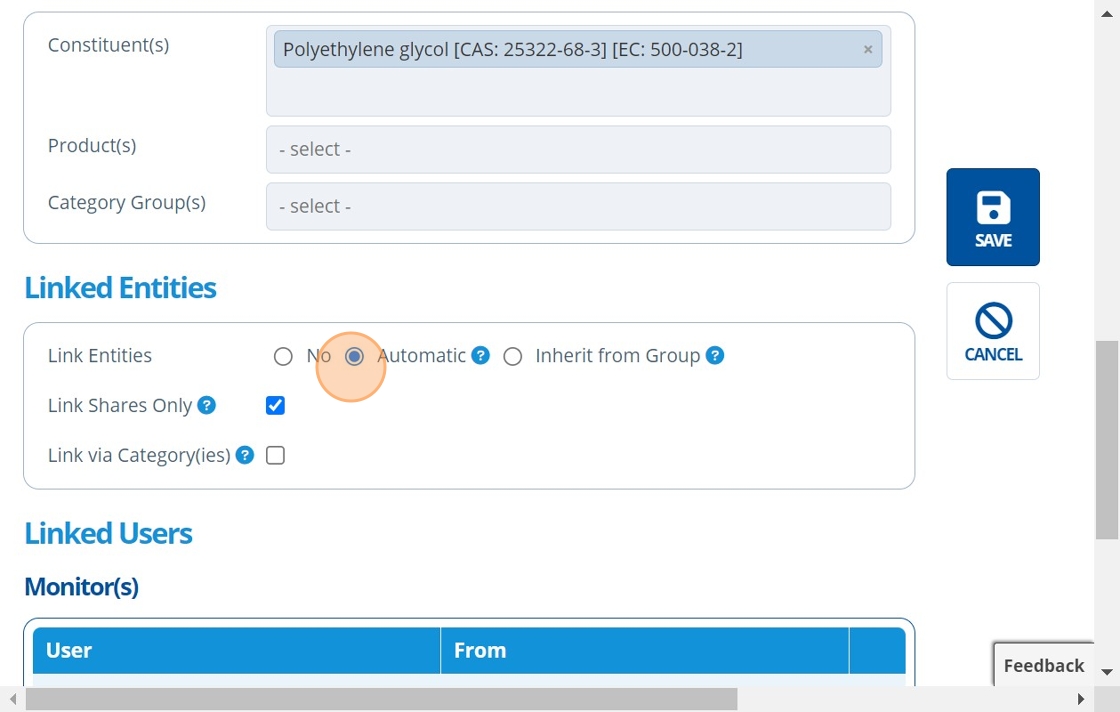
10. 👆 Choose an option for how to link entities to the study. For more information on study ⇔ entity links, see the following:
Manually Link Entities to Study
Automatically Link Entities to Study
11. 👆 Click "Add User" in the "Monitor(s)/Manager(s)" table to assign a study monitor/manager. Or, assign users after study creation by following: How to Assign Study Monitors / Managers to a Study.
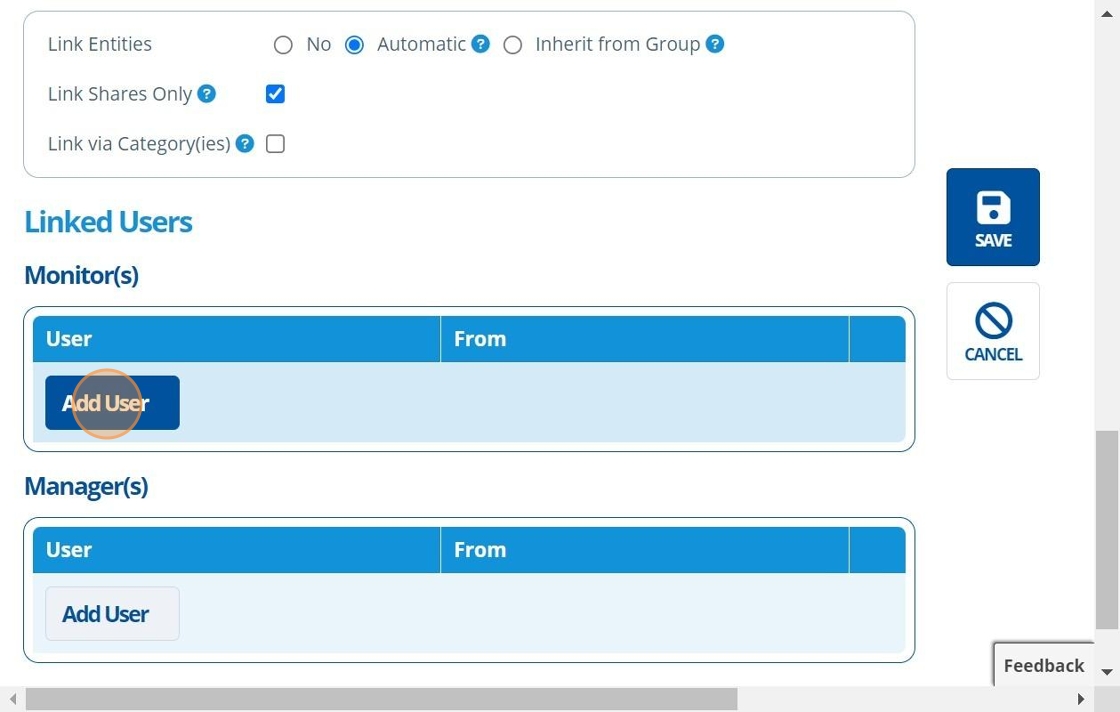
12. 👆 Click "SAVE".
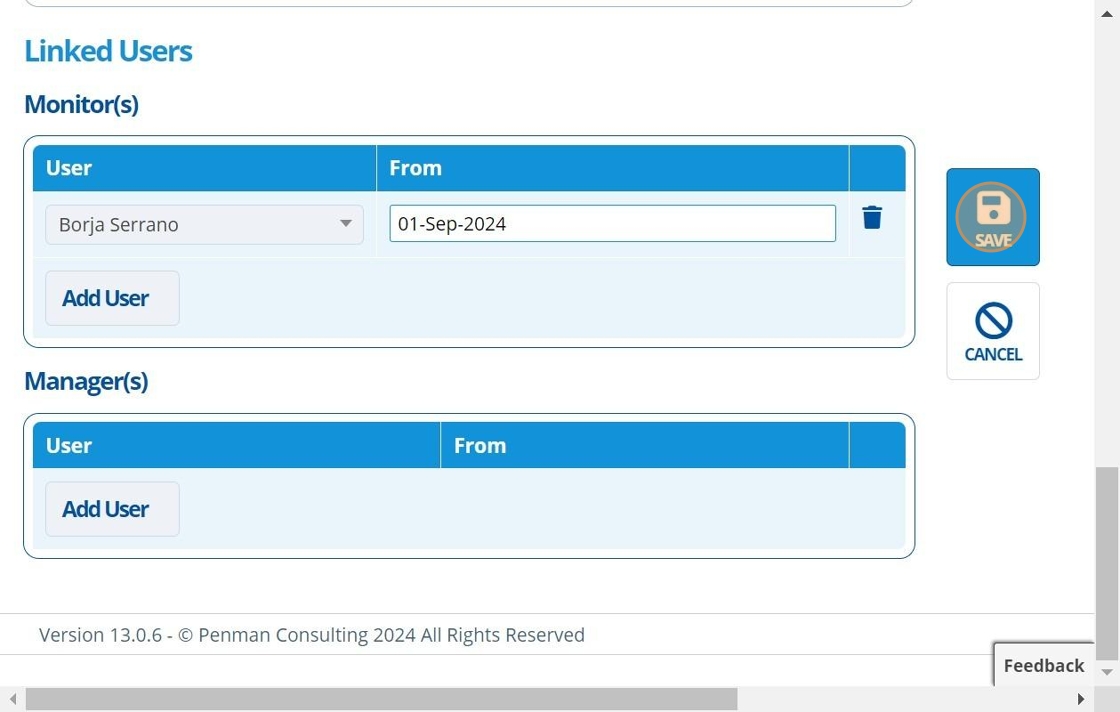
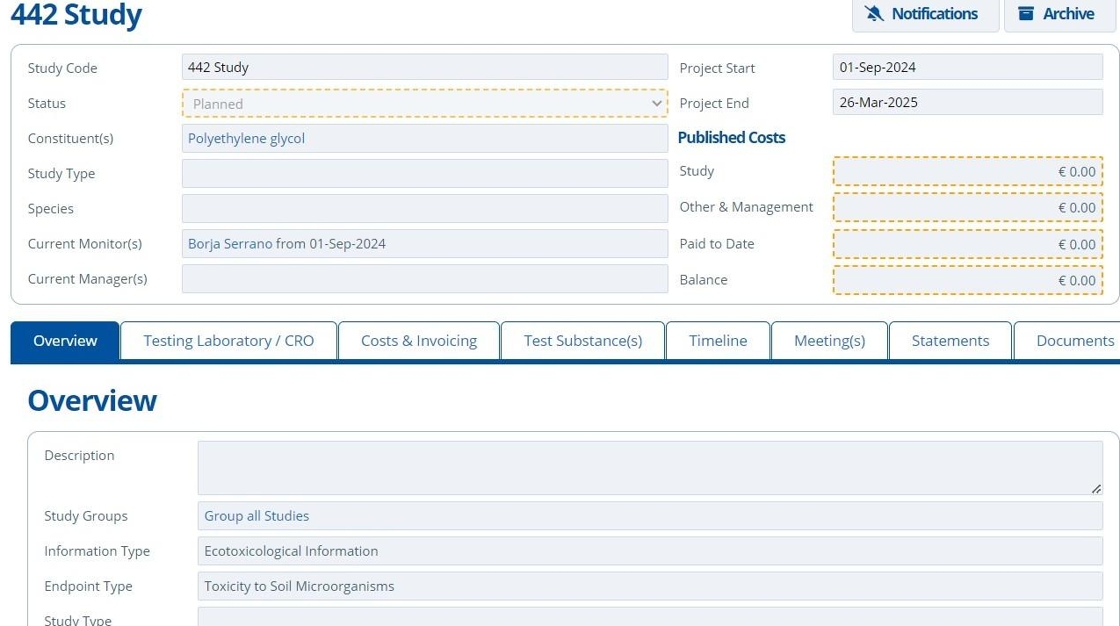
13. 🥳 Study record created.
Tip
There are additional set up options available for studies. Follow these tutorials for more:
- Assign Study Monitors / Managers to a Study
- Add a Test Substance
- Create Study Activities and Set up the Timeline
- Create Payment Schedule and Publish Costs
- Manually Link Entities to Study
- Automatically Link Entities to Study
- Create a Study Group
- Use a Study Group
- Generate a Meeting Document (With Agenda & Actions)
- Edit Study Configuration
- Automatically Save Emails (and Attachments)
Further Use Cases: