How to Insert a Task / Task Group onto a Page
Tip
Tasks in campaigns are anything that the contact can interact with. Task Groups are used to logically group tasks together and neatly display them in a table on a campaign page. Both tasks and task groups need adding to a page to be seen by contacts. This tutorial demonstrates how to manually insert task and task group links onto a page.
It is not recommended to manually insert links onto pages. Instead, use "Task" type pages with a single task and use "Task Tracker" type pages to display multiple tasks. These page types are designed to increase efficiency with page set up and task maintenance. They also improve the layout and consistency of the pages. See more information here:
- Task Type Page
- Task Tracker Page
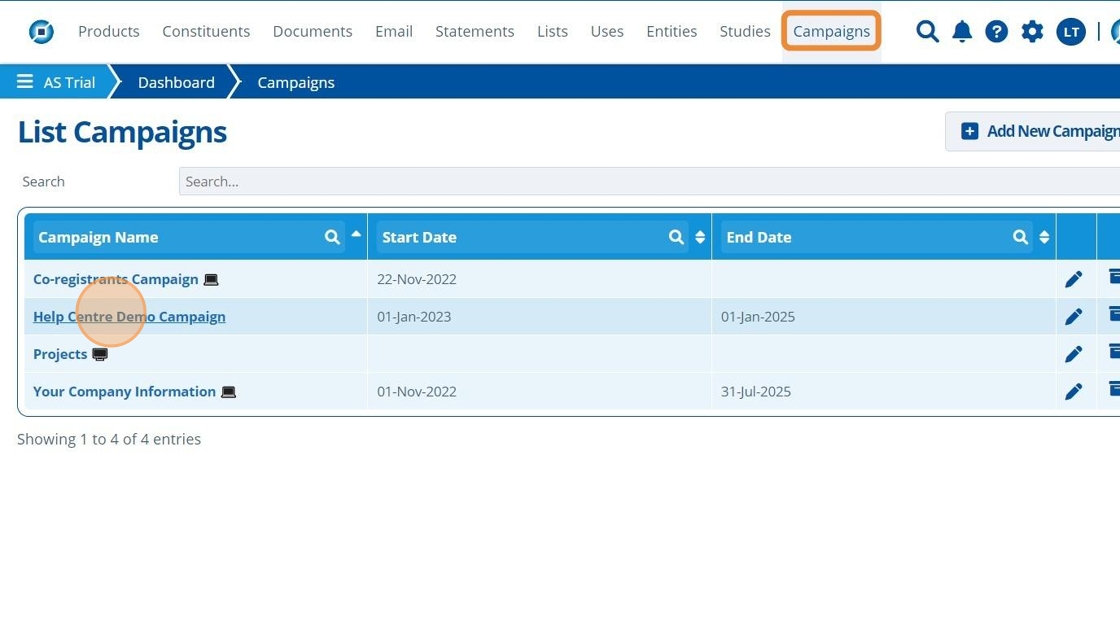
1. 👆 Navigate to Campaigns 👉 Select the campaign of interest from the list.
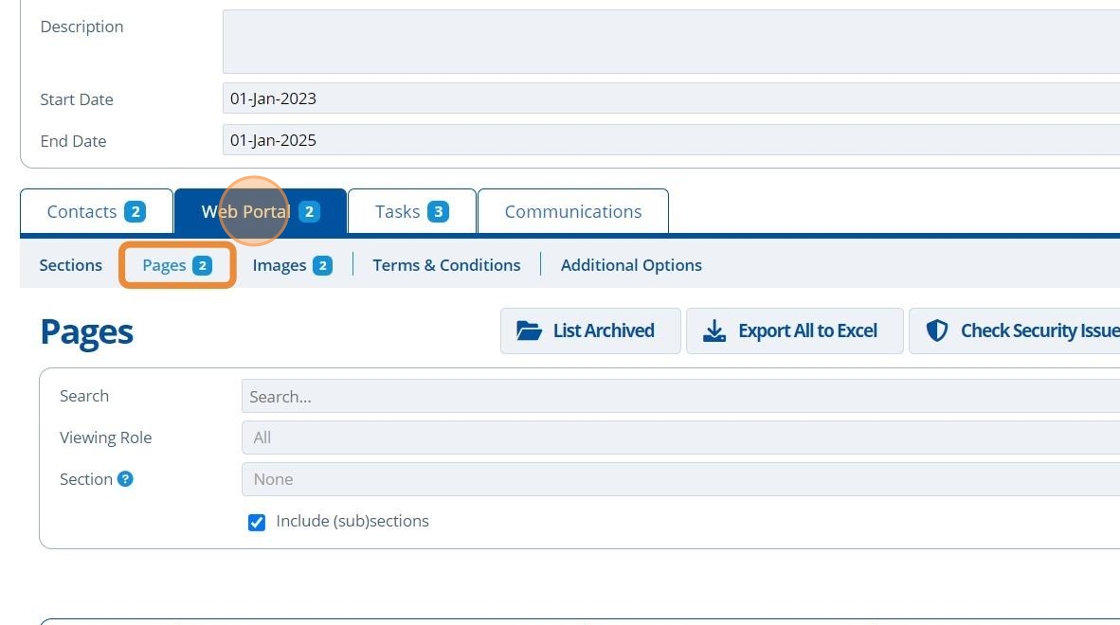
2. 👆 Click "Web Portal" 👉 Navigate to "Pages".
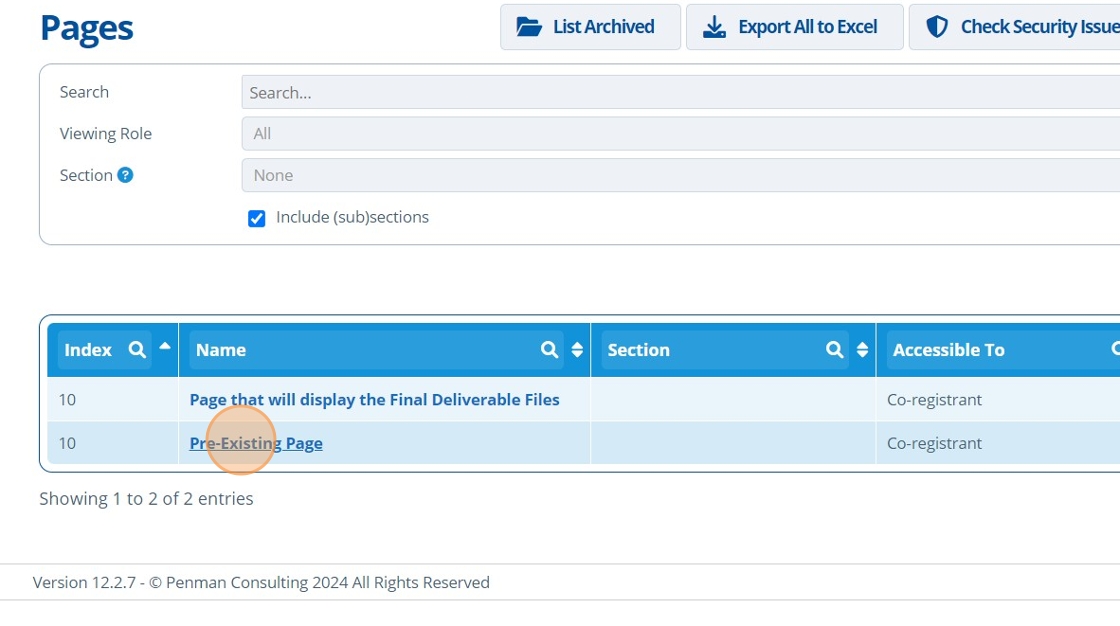
3. 👆 Click on the page of interest to edit it.
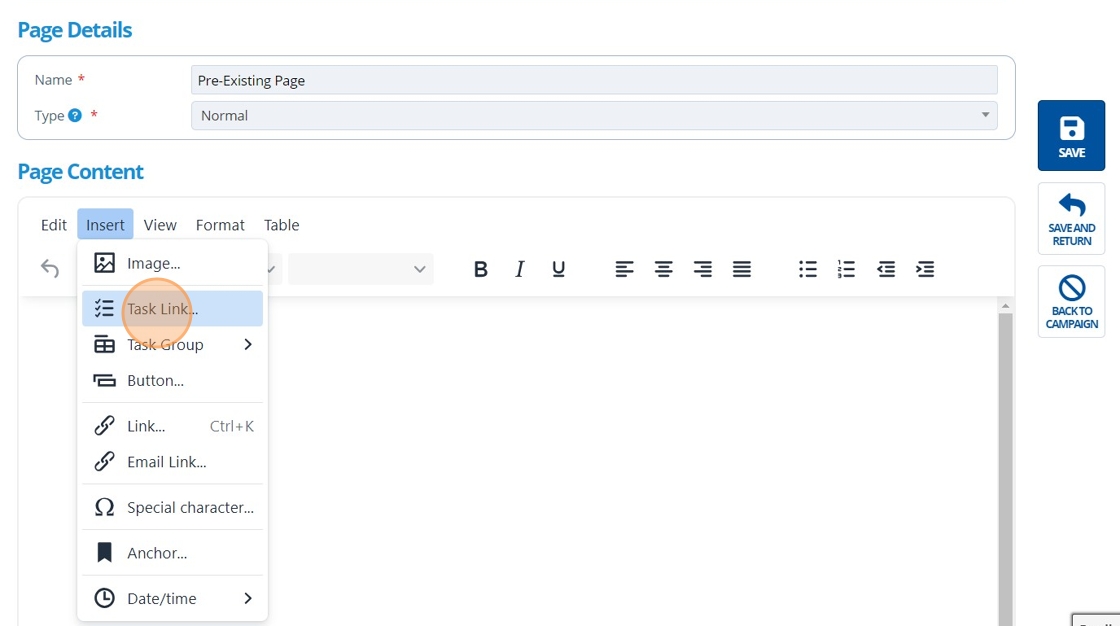
Inserting a Task
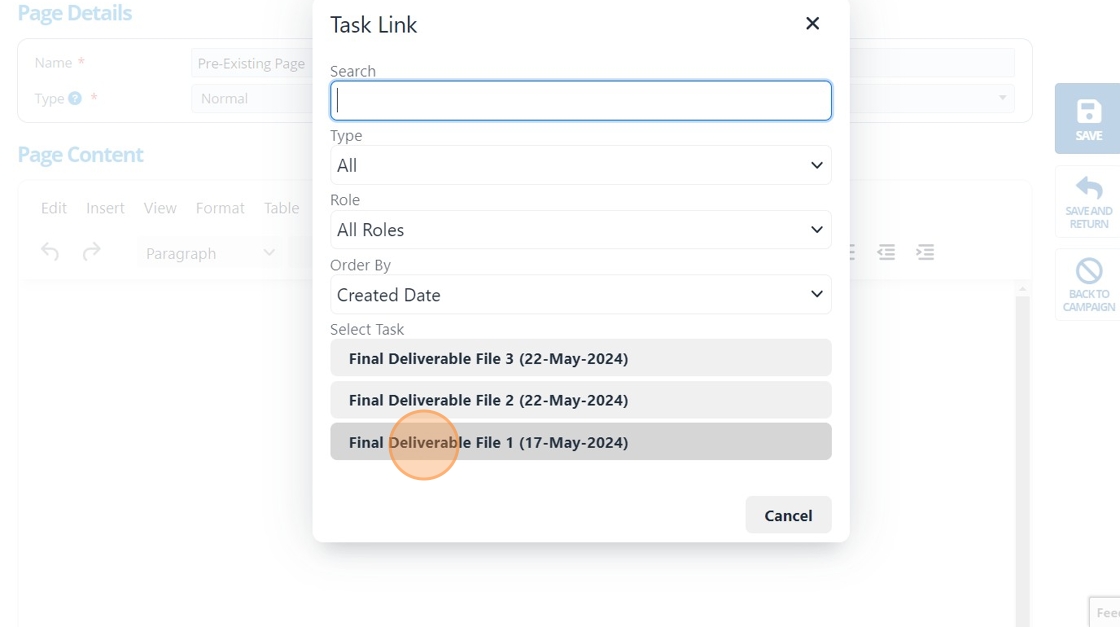
4. 👆 Click "Insert" 👉 "Task Link...".
5. 👆 Select the task you would like to add to the page from the list. Use the "Type" and "Role" filters or search by task name.
Warning
To add a "Task" to the page, the task must first be created:
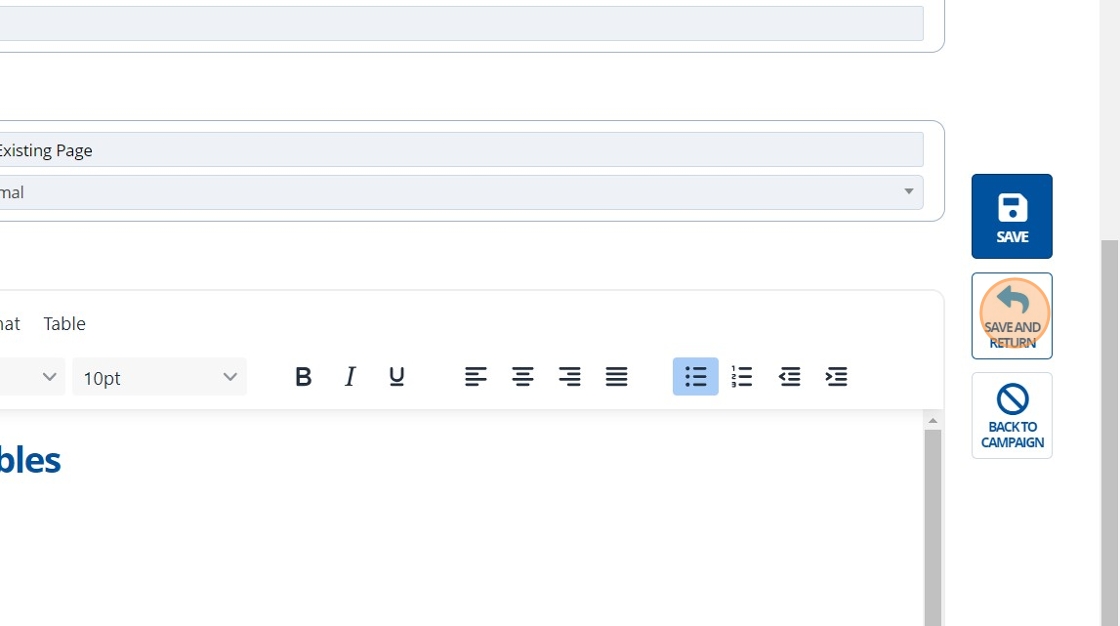
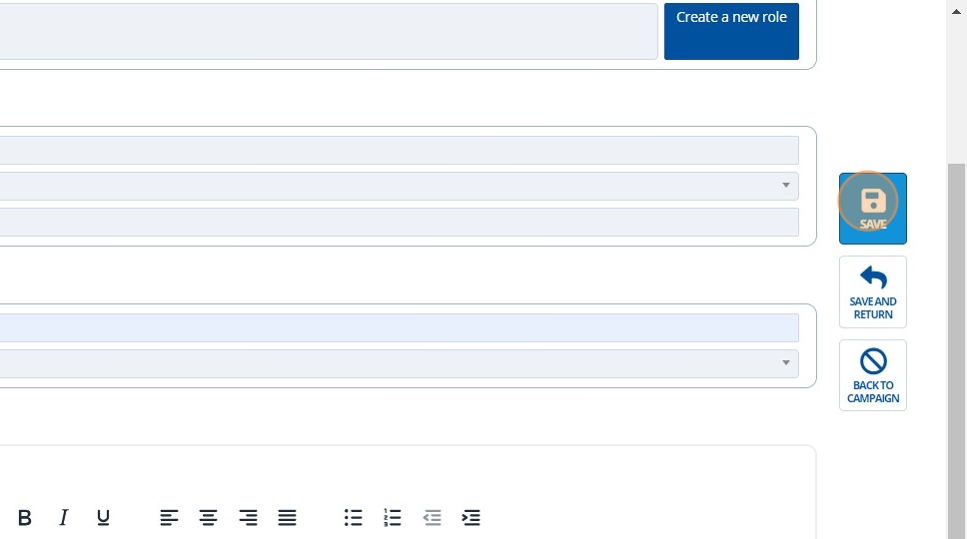
6. 👆 Click "SAVE AND RETURN".
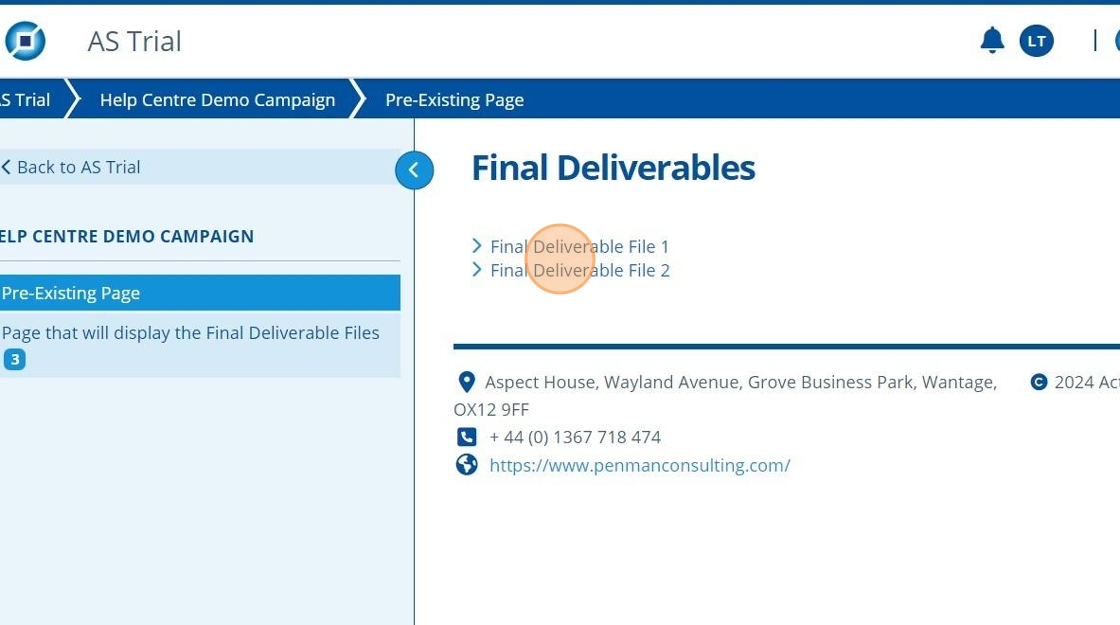
7. 🥳 The inserted task link(s) will now appear on the campaign page.
Insert a Task Group
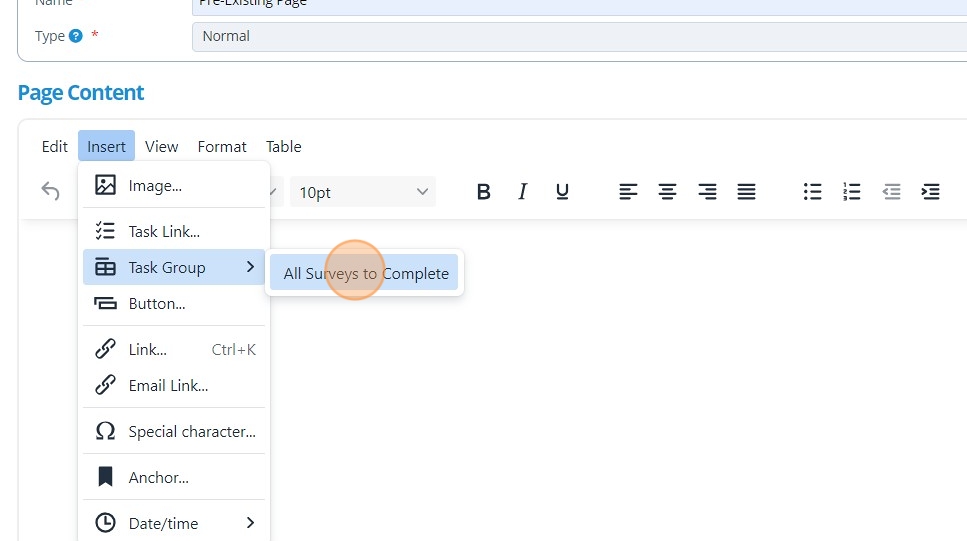
8. 👆 Click "Insert" 👉 "Task Group" 👉 Choose the task group from the expanded list.
Tip
Only tasks that are accessible in line with the page permissions are inserted to the page.
Warning
To add a "Task Group" to the page, the task group must first be created: How to Create a Task Group
9. 👆 Click "SAVE".
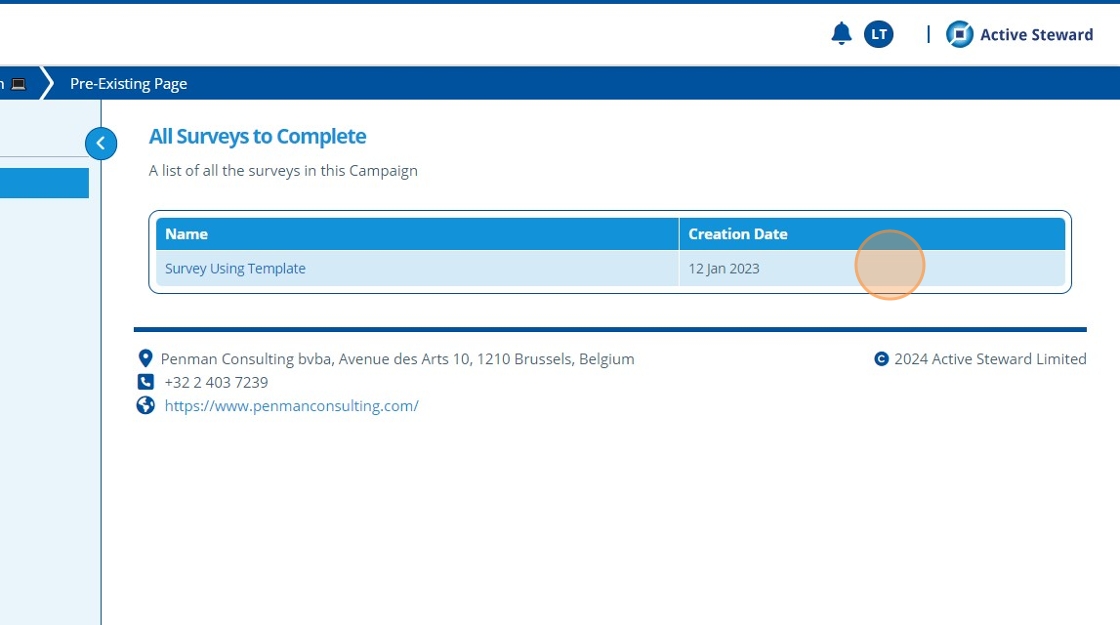
10. 🥳 The inserted task group(s) will now appear on the campaign page in a table format.
Warning
Any tasks added to the task group after inserting it into this page will not display. To get tasks to automatically update on this page, use a Task Tracker Page: Create a Task Tracker Page.