Set Up Navigation Option for Service Portals
Tip
A navigation icon is used for clients with their own stand-alone Active Steward instance for them to quickly / easily access the service portal campaigns we provide to them in our internal Active Steward instances. To set this up, the following is required:
- Create a contact account for the client in our internal instance. Ensure that the contact has been added to the client service portal campaign.
- Add the client service portal link into the configuration settings in the clients instance.
- Enable the "Client Service Portal" option on the clients user account in the clients instance.
Create Contact Account
1. In our internal instance, 👆 navigate to the Service Portal Campaign.

2. 👆 Assign a Contact to the Campaign.
Ensure that the email address used in the client contact is the same email as the client user account in the client instance.

Tip
Use Contact View to double-check that the contact can access and view the campaign.
3. 🥳 Contact account ready.
Configure the Campaign Link
4. ↔️ Switch over to the client instance.
5. 👆 Navigate to the settings icon 👉 Configuration.

6. 👆 Scroll to the "Whole instance" section to locate the Client portal URL field.

7. ↔️ Switch over to our internal instance to find the required URL link.
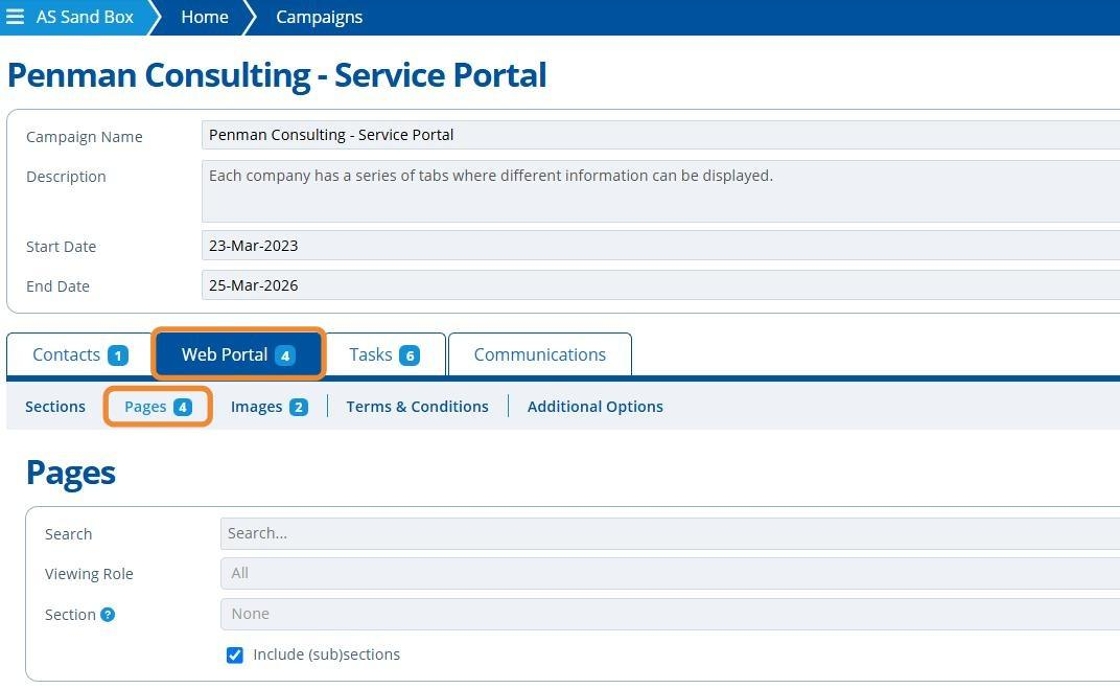
8. In the client service portal campaign, 👆 navigate to Web Portal 👉 Pages.

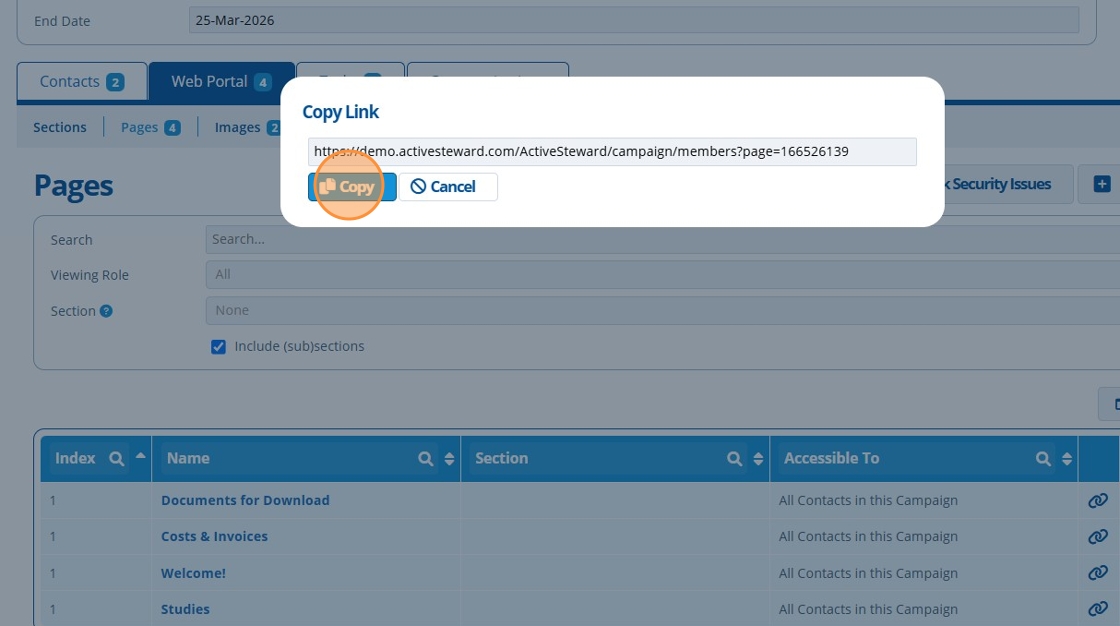
9. 👆 Click the link icon for the page the client will land on.
The landing page is the first one they see when entering the campaign.

10. 👆 Click "Copy" to copy the page URL.

11. ↔️ Switch back to the client instance.
12. ✍️ Paste the link into the Client portal URL field.

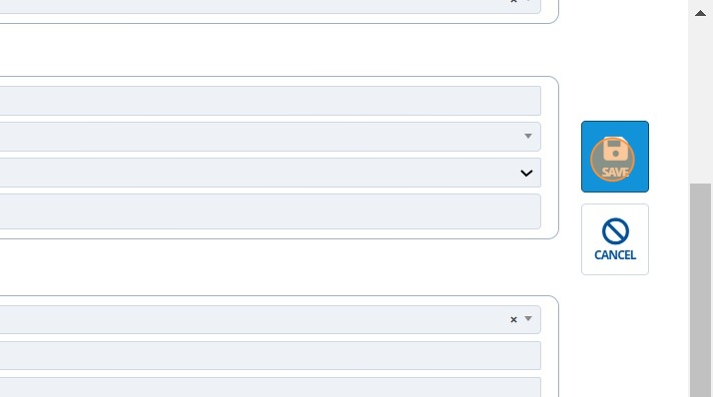
13. 👆 Click "SAVE".

14. 🥳 Link configured.
Enable Icon for Client
15. 👆 Navigate to settings 👉 Users 👉 List All Users 👉 Select the relevant client user account 👉 Click the Login name of the user to edit their record.

16. 👆 Click "EDIT" 👉 Tick the checkbox for "Client Portal Link?". By default, this will be unchecked.

17. 👆 Click "SAVE".

18. 🥳 Campaign icon enabled.
The Client View
19. When the client logs into their instance, they will now see an additional icon in the navigation bar.

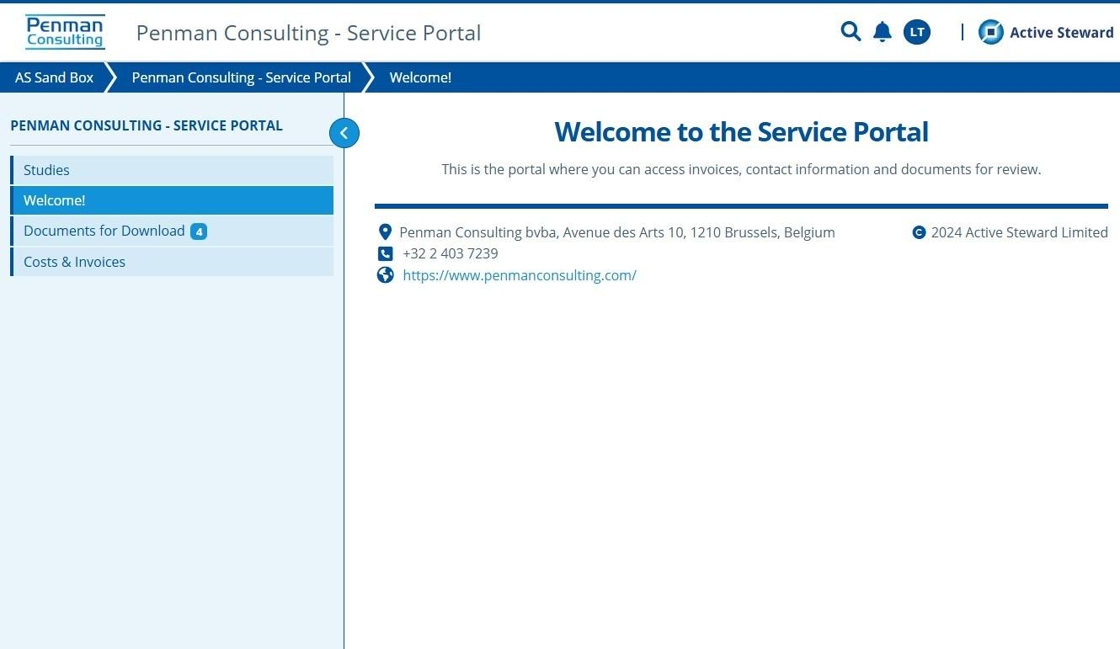
20. 👆 Clicking the icon will take the client to our instance to view the client service portal.
Note that they will need to log into our system. If the client is not signing on with SSO, then their credentials for our instance will be different to the login for their instance.

21. 🥳 The client can view our Service Portal campaign using the icon in their instance.
